
7 Tips for Planting Trees in the Spring
Spring is a prime time to plant your new tree as it gives the tree ample time to get properly established before the colder seasons. While many factors play into the overall health and prosperous life of trees, below are ones that can have a substantial impact on the survival of the tree you select to add to your property.
Placement and Selection
The first step is determining where you would like to plant your tree, whether that be in the front, back, or side of your house. Different trees will thrive more in certain areas depending on the amount of sunlight they require, soil type, and amount of water. It is essential to look into the zoning and neighborhood association rules to ensure you’re following all guidelines as some place limitations on the types of tree as well as the location in which they can be planted. Determining your property lines is another factor that should be considered as the expected size of the tree in its adult life may sway your decision.
When selecting your tree from a garden center, all necessary information will be available to you. If not, ask an employee so you can ensure the best option is selected. Tags will be visible on each tree that displays the sun or shade requirements, size of the mature tree, and the right growing zone for the tree to live and grow successfully.
Prepare the Proper Planting Hole
Creating the perfect base and home environment for your tree is crucial to its survival. The hole should be two to three times wider than the identified root mass upon removing it from its previous environment. Keep in mind that the new hole should never be deeper than the one the tree was previously growing in. Identifying the root flare is helpful
as the tree shouldn’t be placed in soil that covers the flare in any way.
Inspect Roots and Disturb When Necessary
Upon bringing your tree home, the roots must be inspected to ensure they aren’t bound in a circular pattern or are damaged in any way. If the roots are beginning to take on a bound appearance,
you must break up the root pattern as this adjustment allows the tree to flourish and thrive appropriately in its environment. If the pattern isn’t broken up, and the tree is placed into the ground the following factors may occur.
Tree roots are very resilient, so don’t be concerned about damaging the roots or losing soil as it’s better to make sure the plant is healthy and has an established nonconstructive pattern before going into the ground. The root mas can either be pulled apart by hand, with a gardening tool or removed with scissors should trimming be necessary. If an individual is hired to plant your trees, save a step, and make sure they’re giving full attention to this detail.
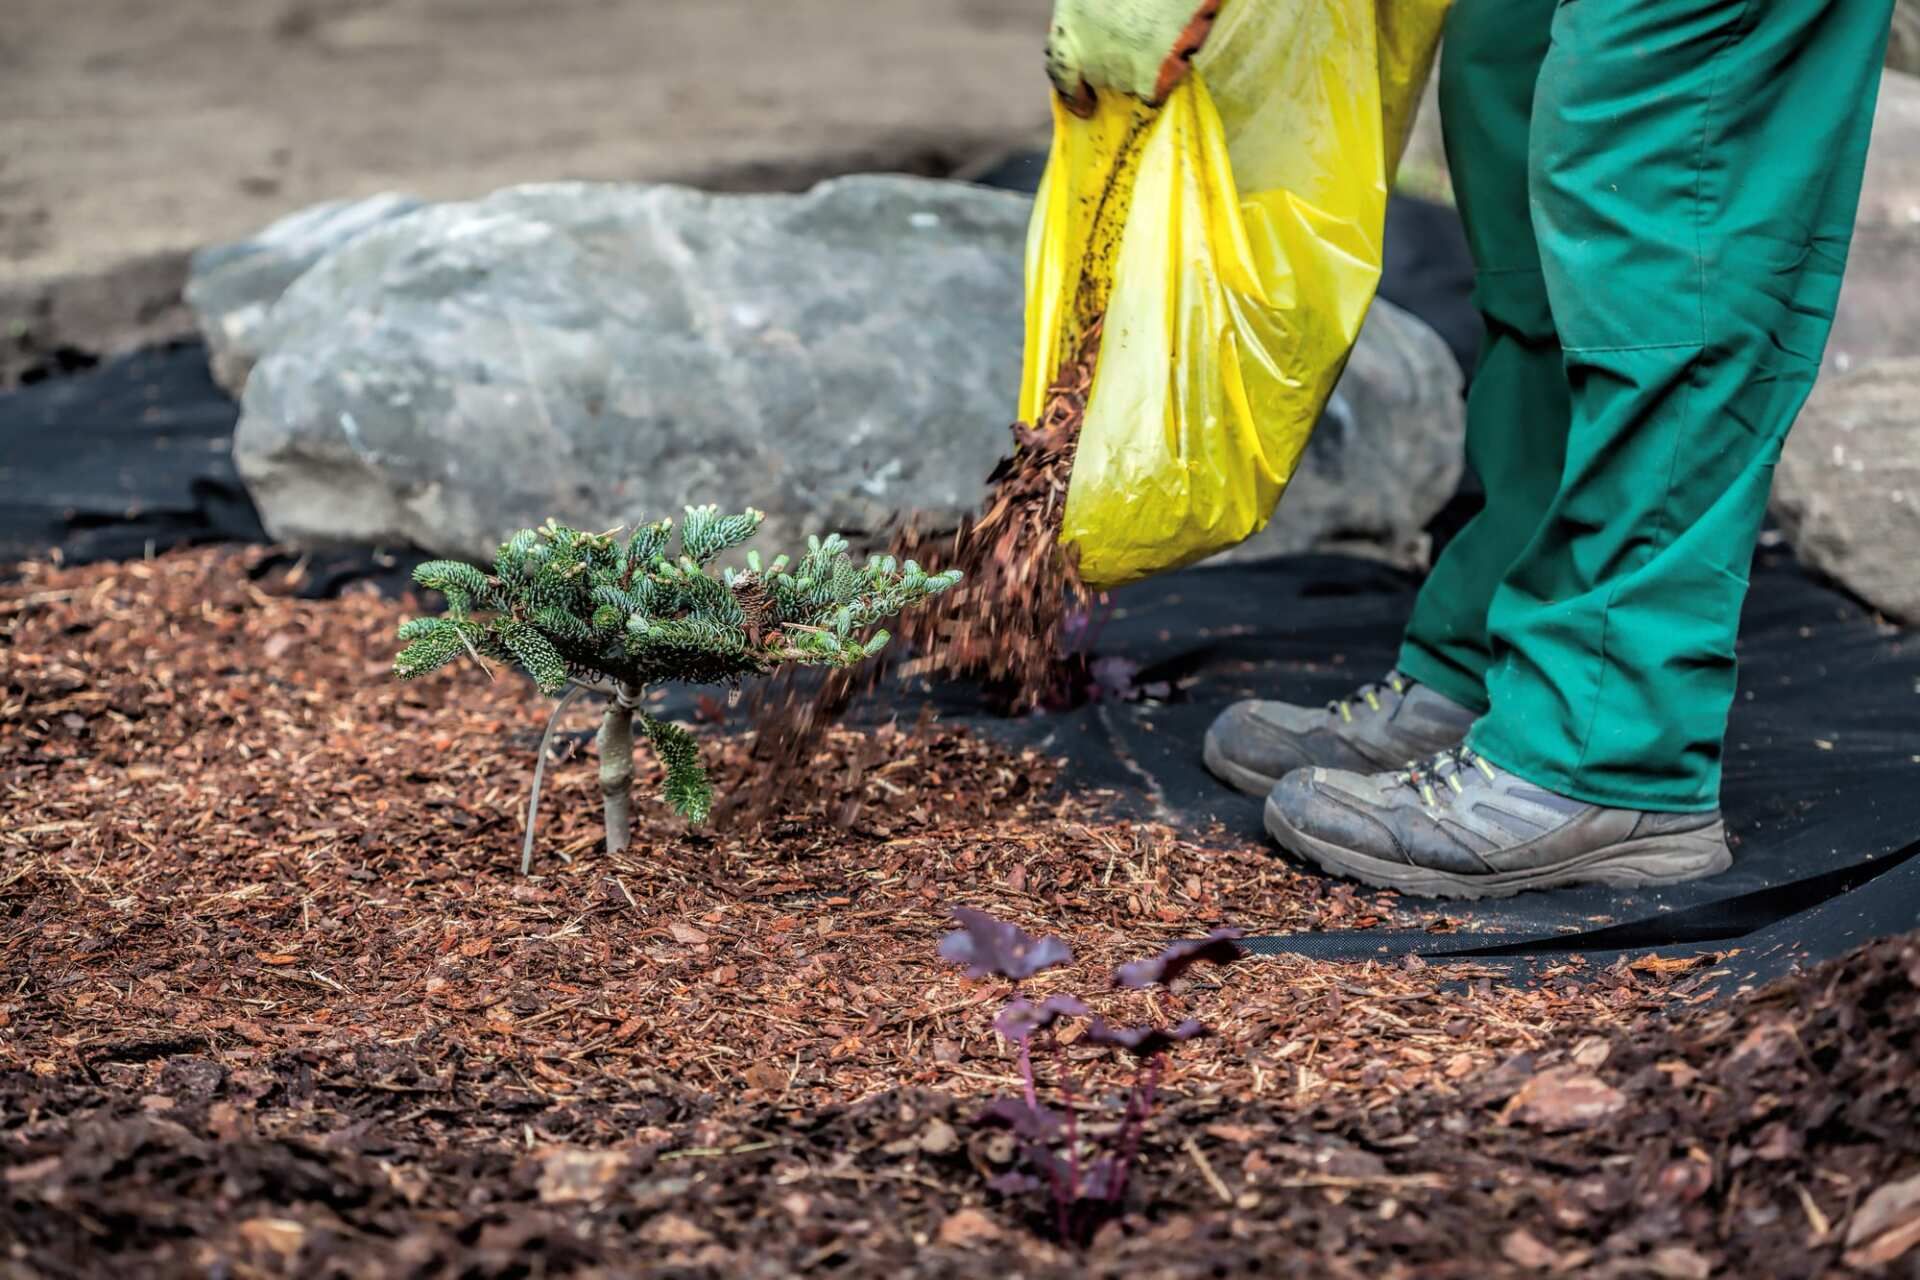
Mulch the Base of the Tree
Providing organic matter for the tree at the base not only helps retain the necessary moisture but also helps keep the roots that are on or close to the surface cooler allowing for better protection for new plants. Shredded leaves, ground bark, or wood mulch
can be utilized to create the mulch matter. About three inches of the mulch of your choice should be placed around the plant out to the drip line, but not touching the trunk.
Provide Follow-Up Care
Continuing proper care for the tree after it’s planted and watered is of utmost importance to ensure the successful life of the tree. Providing supplemental water in drought conditions is an essential factor to consider as new trees require high levels frequently. Below are a few more basic tree care items to keep in mind initially and for the duration of the tree’s life.
Prune
Upon acquiring and planting your tree, the removal of any dead or broken branches. Pruning is a process that is expected to take place periodically for the life of the tree
as shaping and thinning of the tree promotes further establishment, growth, and fruiting if your tree is a fruit-bearing tree. Many resources exist to teach you how to prune your tree
depending on the type, climate, and methodology of the tree.
Fertilize
Avoid fertilizer in the beginning unless it’s necessary as applying too much during the initial plant can burn and damage the roots. Organic supplement or slow-release fertilizer
is a good starting point, but the plant tag will have instructions and recommendations as well. 2nd year of growth is an excellent time to establish a regular fertilization schedule. After monitoring and recognizing that your tree is happy in its new environment, a fertilization routine can be developed to help in the feeding process.
Staking
While trees thrive best when they can settle naturally, if there are high winds in your location, staking may be beneficial as this will provide support for the tree but still allow it to move in the breeze, thus strengthening its roots and trunk. Special attention must be paid to the material used for the support lines as damage cannot happen to the trunk. If this is unavoidable, the trunk can be cushioned with various materials to prevent unnecessary disturbances to the life of the tree.
Water on a Regular Basis
Upon initial planting, it is imperative to pay attention to how your tree is responding. A newly planted tree needs water every day but be aware of extreme leaf loss, which can indicate over-watering. Many trees lose about half of their leaves due to stress from moving, but if you feel it’s a concerning amount there may be a different underlying issue. If leaves are turning brown, burning around the margins, drying up, or falling off your tree likely isn’t getting enough water.
Commonly, newly planted trees require a supplemental water source
for three years or longer as this provides the moisture needed to grow and establish their root systems. There are many different options for supplemental watering sources some of which are below.
The rate of frequency for these systems can vary by the amount of rainfall and soil type of the area in which you’re planting as different soil types either stay saturated or dry up relatively quickly. Make sure to check the moisture content of the soil regularly. An easy way to establish a schedule is by creating journals to track when and how you’re watering along with soil consistency and moisture levels. Determining your tree’s growing and dormant seasons is also very helpful in this process until you really begin understanding your tree.
Avoid Infection and Infestation
Monitoring your tree’s health in the first part of the year plays a significant role in the future life of your tree. Being aware of insects and diseases
that are common in your area as well as those that target your type of tree is a great starting point. Creating a journal of these subjects accompanied by any noticed strange changes is a wonderful opportunity to learn further and maintain tree health. A few common diseases and insects to bother trees are below.
Caterpillars can typically be removed by hand on smaller trees, and spraying a tree with a garden hose will help control aphids or spider mites. Overall, there are many different diseases and insects
that can potentially harm your tree, so frequent observation, and care will give your tree the proper care for a successful life.

Begin Your Research
Giving special attention to the factors listed above will play a significant factor in the overall success rate of your tree. Conducting research and ensuring that you have a solid baseline of knowledge before diving in is extremely important as many don’t want their investment to be wasted. Take time in the selection process and learn as much about the tree you’ve chosen before purchasing and planting.
Ready to Start on Your Next Project?
Call us at (763) 568-7251 or visit our quote page.

The legendary architect Louis Sullivan coined a phrase that has driven architecture and design ever since: "form follows function." While aesthetics are critical to buildings and landscapes alike, that physical beauty must always remain secondary to the fundamentals of good design. In Shoreview, Minnesota, just outside St. Paul , we encountered a landscape where, unfortunately, function followed form. Here, the realities and principles of effective drainage were downstream of their original builder's aesthetic choices. That meant water from snowmelt and rainfall was streaming into parts of the lawn where it wasn't meant to be. The standing water that had been allowed to collect in the back and side yards was putting a considerable amount of the property out of play. In order to reclaim usable space and rethink the way the land handled water, this Shoreview homeowner entrusted KG Landscape with identifying key issues, presenting potential solutions, and doing the necessary work the client decided upon to restore their lawn.

On the shores of Lake Minnetonka, perhaps the most famous of Minnesota's 10,000 lakes, an Orono, Minnesota homeowner was struggling with a back yard that was becoming more marsh than yard. The yard was a scenic one. The back porch opened up to the top of a small hill, which rolled down toward the lakefront and the boathouse. This flat space between the hill and the water would be ideal for backyard barbecues, some low-stakes games of bocce and badminton, or simply a spot to lay down a towel and get some summer reading done. Instead, this area was too waterlogged to enjoy. The runoff from the hilltop combined with unfavorable soil composition were limiting the use of the yard, closing off space while even diminishing the quality of the turf. How would this homeowner be able to reclaim this unusable land without disrupting the Lake Minnetonka shoreline that made the property so attractive? To find a solution, they turned to KG Landscape.

Can you use compost as lawn fertilizer in Minnesota? Learn how compost feeds turf, how to apply it, and where it fits. Get a free quote.

Organic weed control for Minnesota lawns: what works, what doesn't, and how to manage weeds without harsh chemicals. Get a quote.

Keep your lawn and your pets safe. Pet-safe lawn care tips for Minnesota yards, from products to timing. Get a free quote.

Looking for the best organic lawn fertilizer in Minnesota? See top options, how they feed your turf, and what KG uses. Get a quote.

Is compost a fertilizer? Learn what compost does for your Minnesota lawn, how it differs from fertilizer, and when to use it. Get a quote.

Compost feeds the soil, fertilizer feeds the grass. Learn which your Minnesota lawn needs, when to use each, and how to apply both. Get a quote.

Eco-friendly lawn care tips for Twin Cities yards: cut chemicals, save water, and build healthy soil naturally. Get a free quote.

Simple, proven lawn care tips for Minnesota yards: mowing, watering, feeding, and building healthy soil that lasts. Get a free quote.