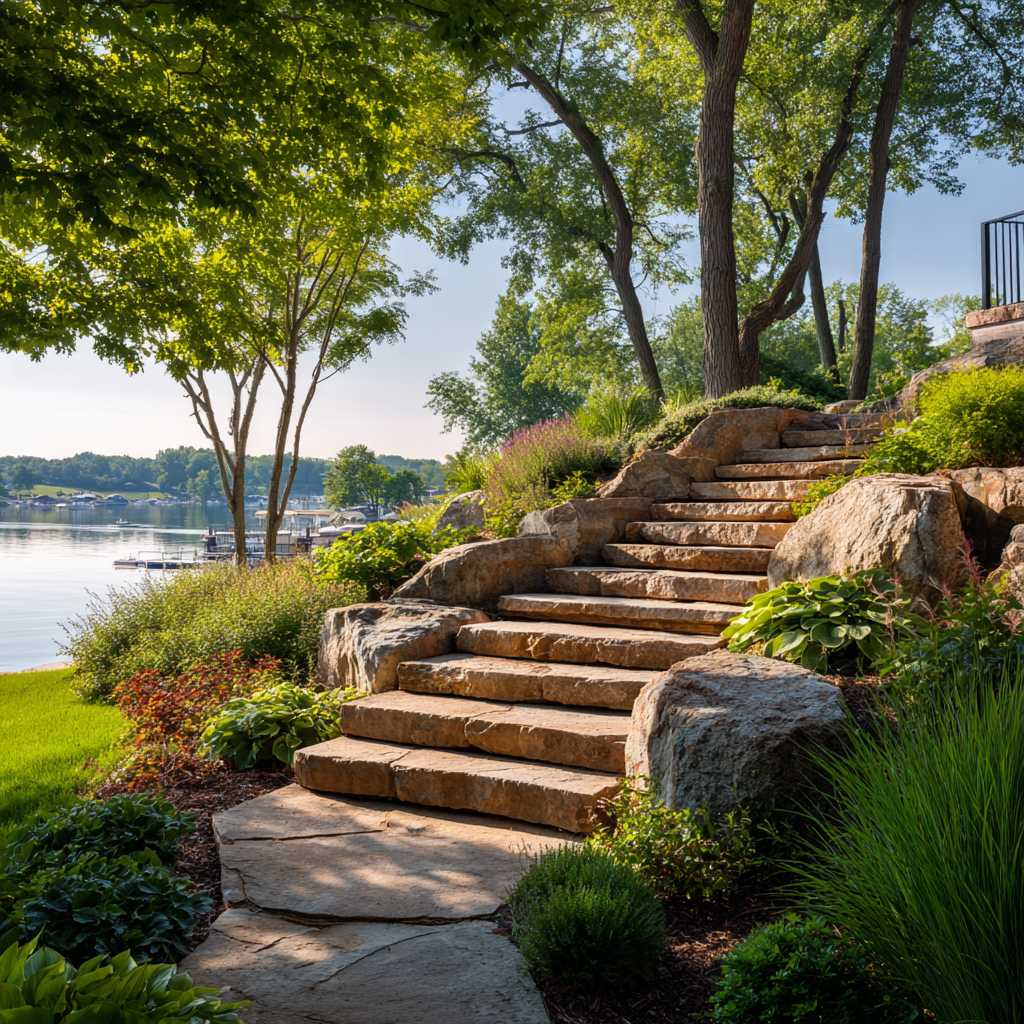
Terraced Landscape Beds for Steep Yards
Hilly property can be tough to deal with. Not only can it be hard (and dangerous) to mow, but erosion can be a real issue. The difficulties of steep slopes can be mitigated in a variety of ways. In this post we’re going to focus on building terraces into the hillside.
Why a Terraced Landscape?
Humans have created terraced landscapes for thousands of years. The Inca people in Peru terraced the mountainsides of the Andes
in order to grow maize, squash, and beans, the early Japanese
and Filipino
peoples built terraced rice fields, and medieval Celts built lynchets
to cultivate their fields.
Terraced rice fields in Genkai, Saga Prefecture, Japan. (Credit: Kit Takenaga)
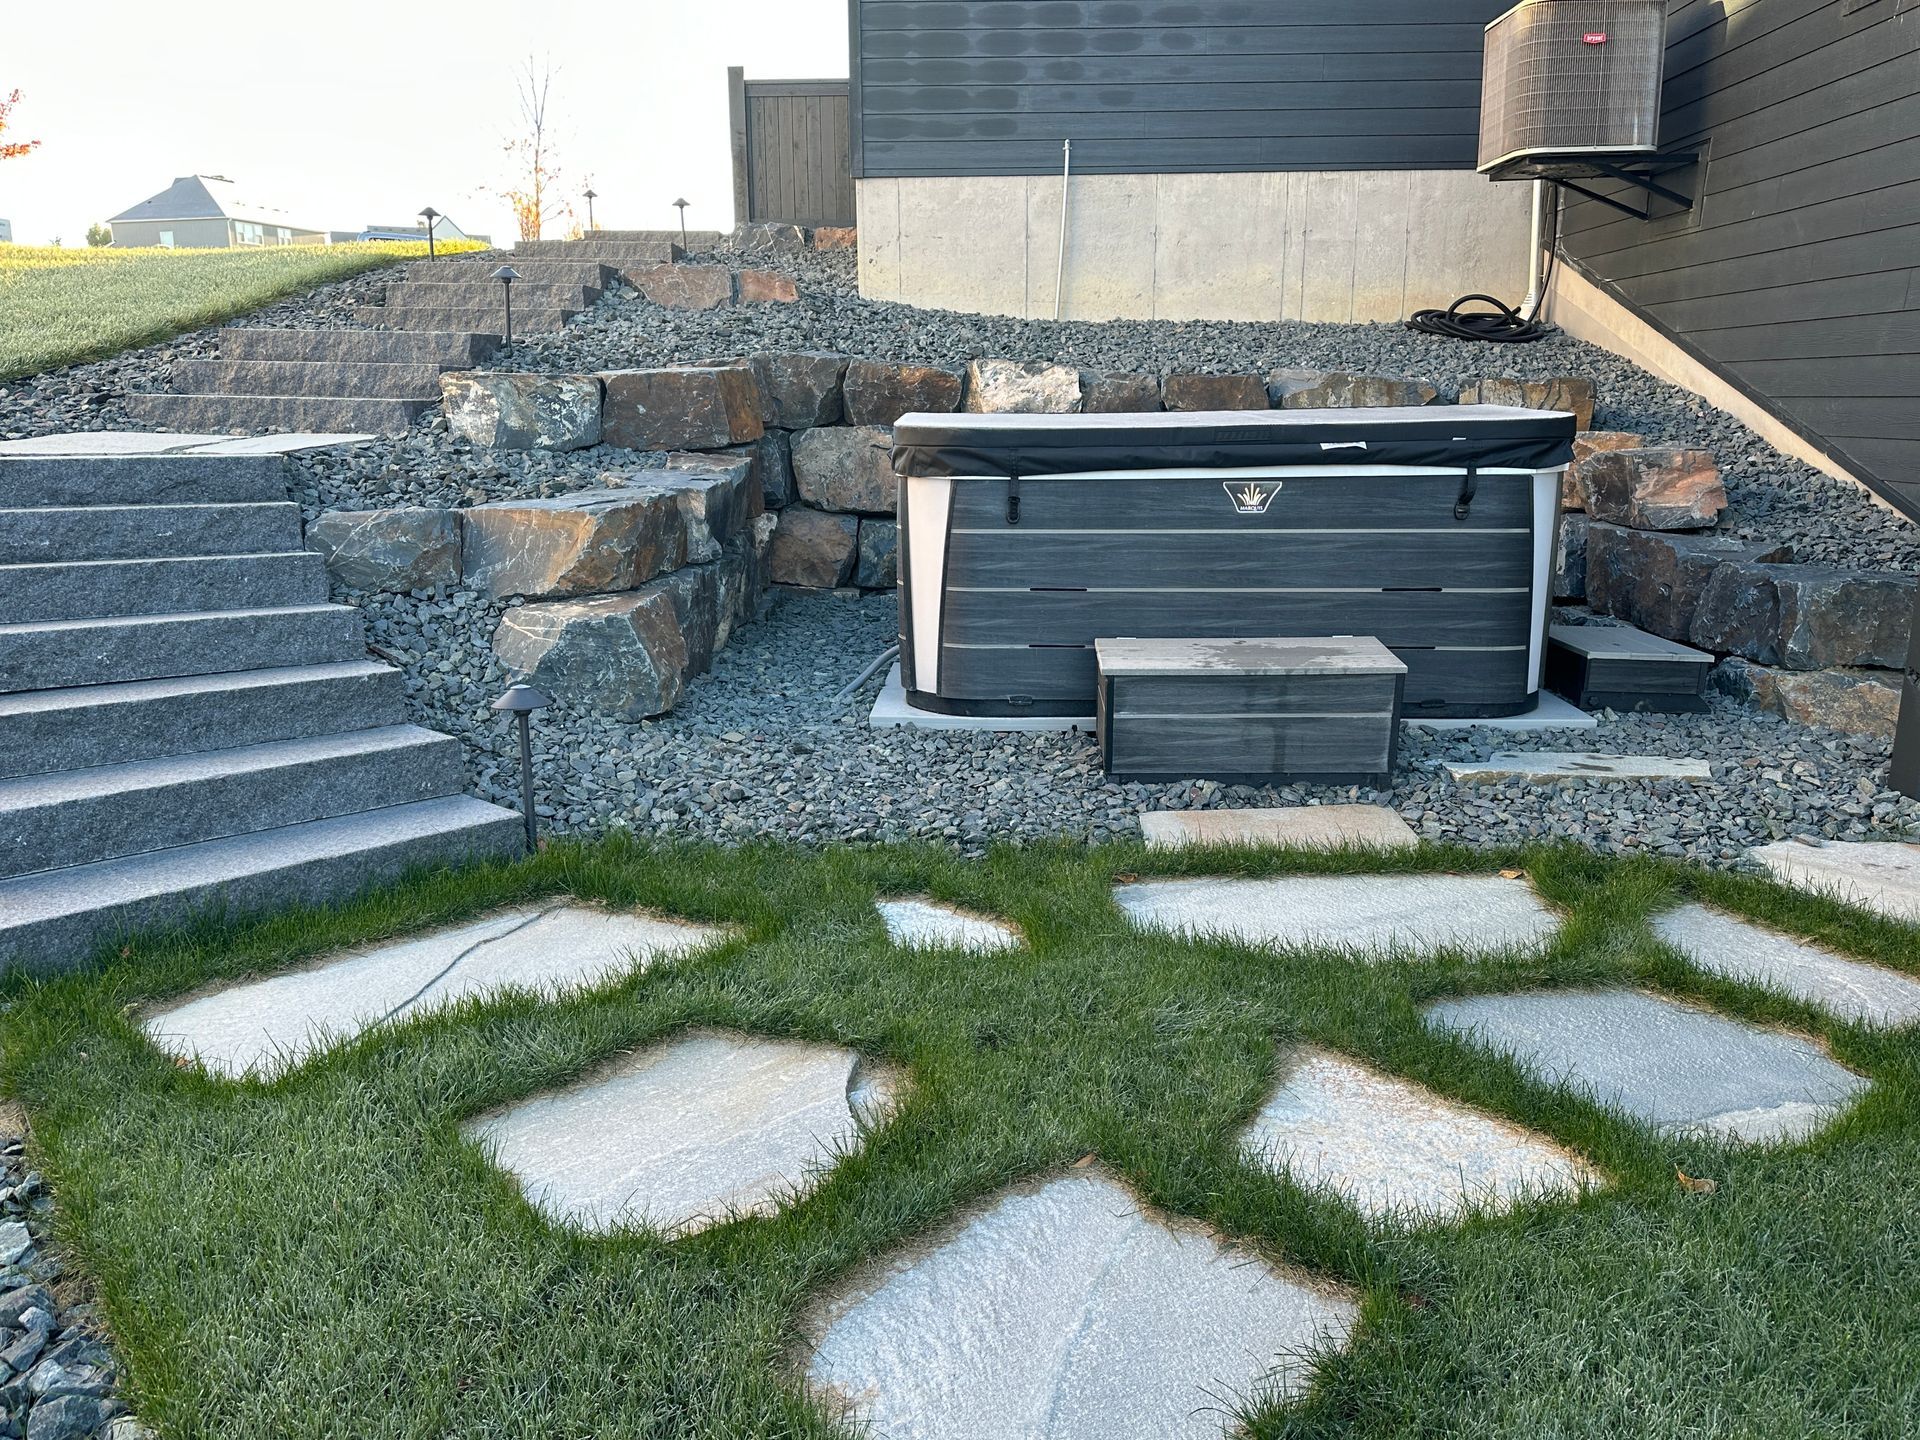
On a smaller scale, terraces can be used in modern lawns to help stop slopes from eroding, and to stop gullies from forming. In this iteration, they are essentially interchangeable with retaining walls
. These terraced beds also provide the modern gardener with more surface area for flowers, vegetables, or shrubs. If your lawn contains an unmanageable slope, perhaps a terrace could be the solution.
Planning
While creating terraced landscape beds can be a DIY project (and there are plenty of websites explaining how), it should always be carefully planned. When
our experts
draw up a design, they take many factors into account, including the slope of the hill, whether children will be playing near these terraces, the height of the hill, and the number of terraces desired.
A few tips:
The Process
Terraced landscape walls aren’t simply placed on top of the existing slope. They’re created by using a cut-and-fill method in which soil is removed to create a flat area. This soil is later used to fill a lower area. After the soil is removed, you’ll need ensure the walls sit on a good base. Regular old Minnesota dirt expands and contracts with the temperature, and anything built directly on it will be unstable. Instead, lay down a layer of something like class 5 fill. The variable sizes of rock and gravel will mesh together, forming an almost concrete-like layer. When your wall is built on this layer, it won’t be moving anytime soon.
Next, it’s time to pick the material the terraces will be made of. We generally work with natural stone or cement blocks
, but terraced landscapes can also be made of wooden beams or logs
. Whatever you choose, be sure the layers are level as you build.
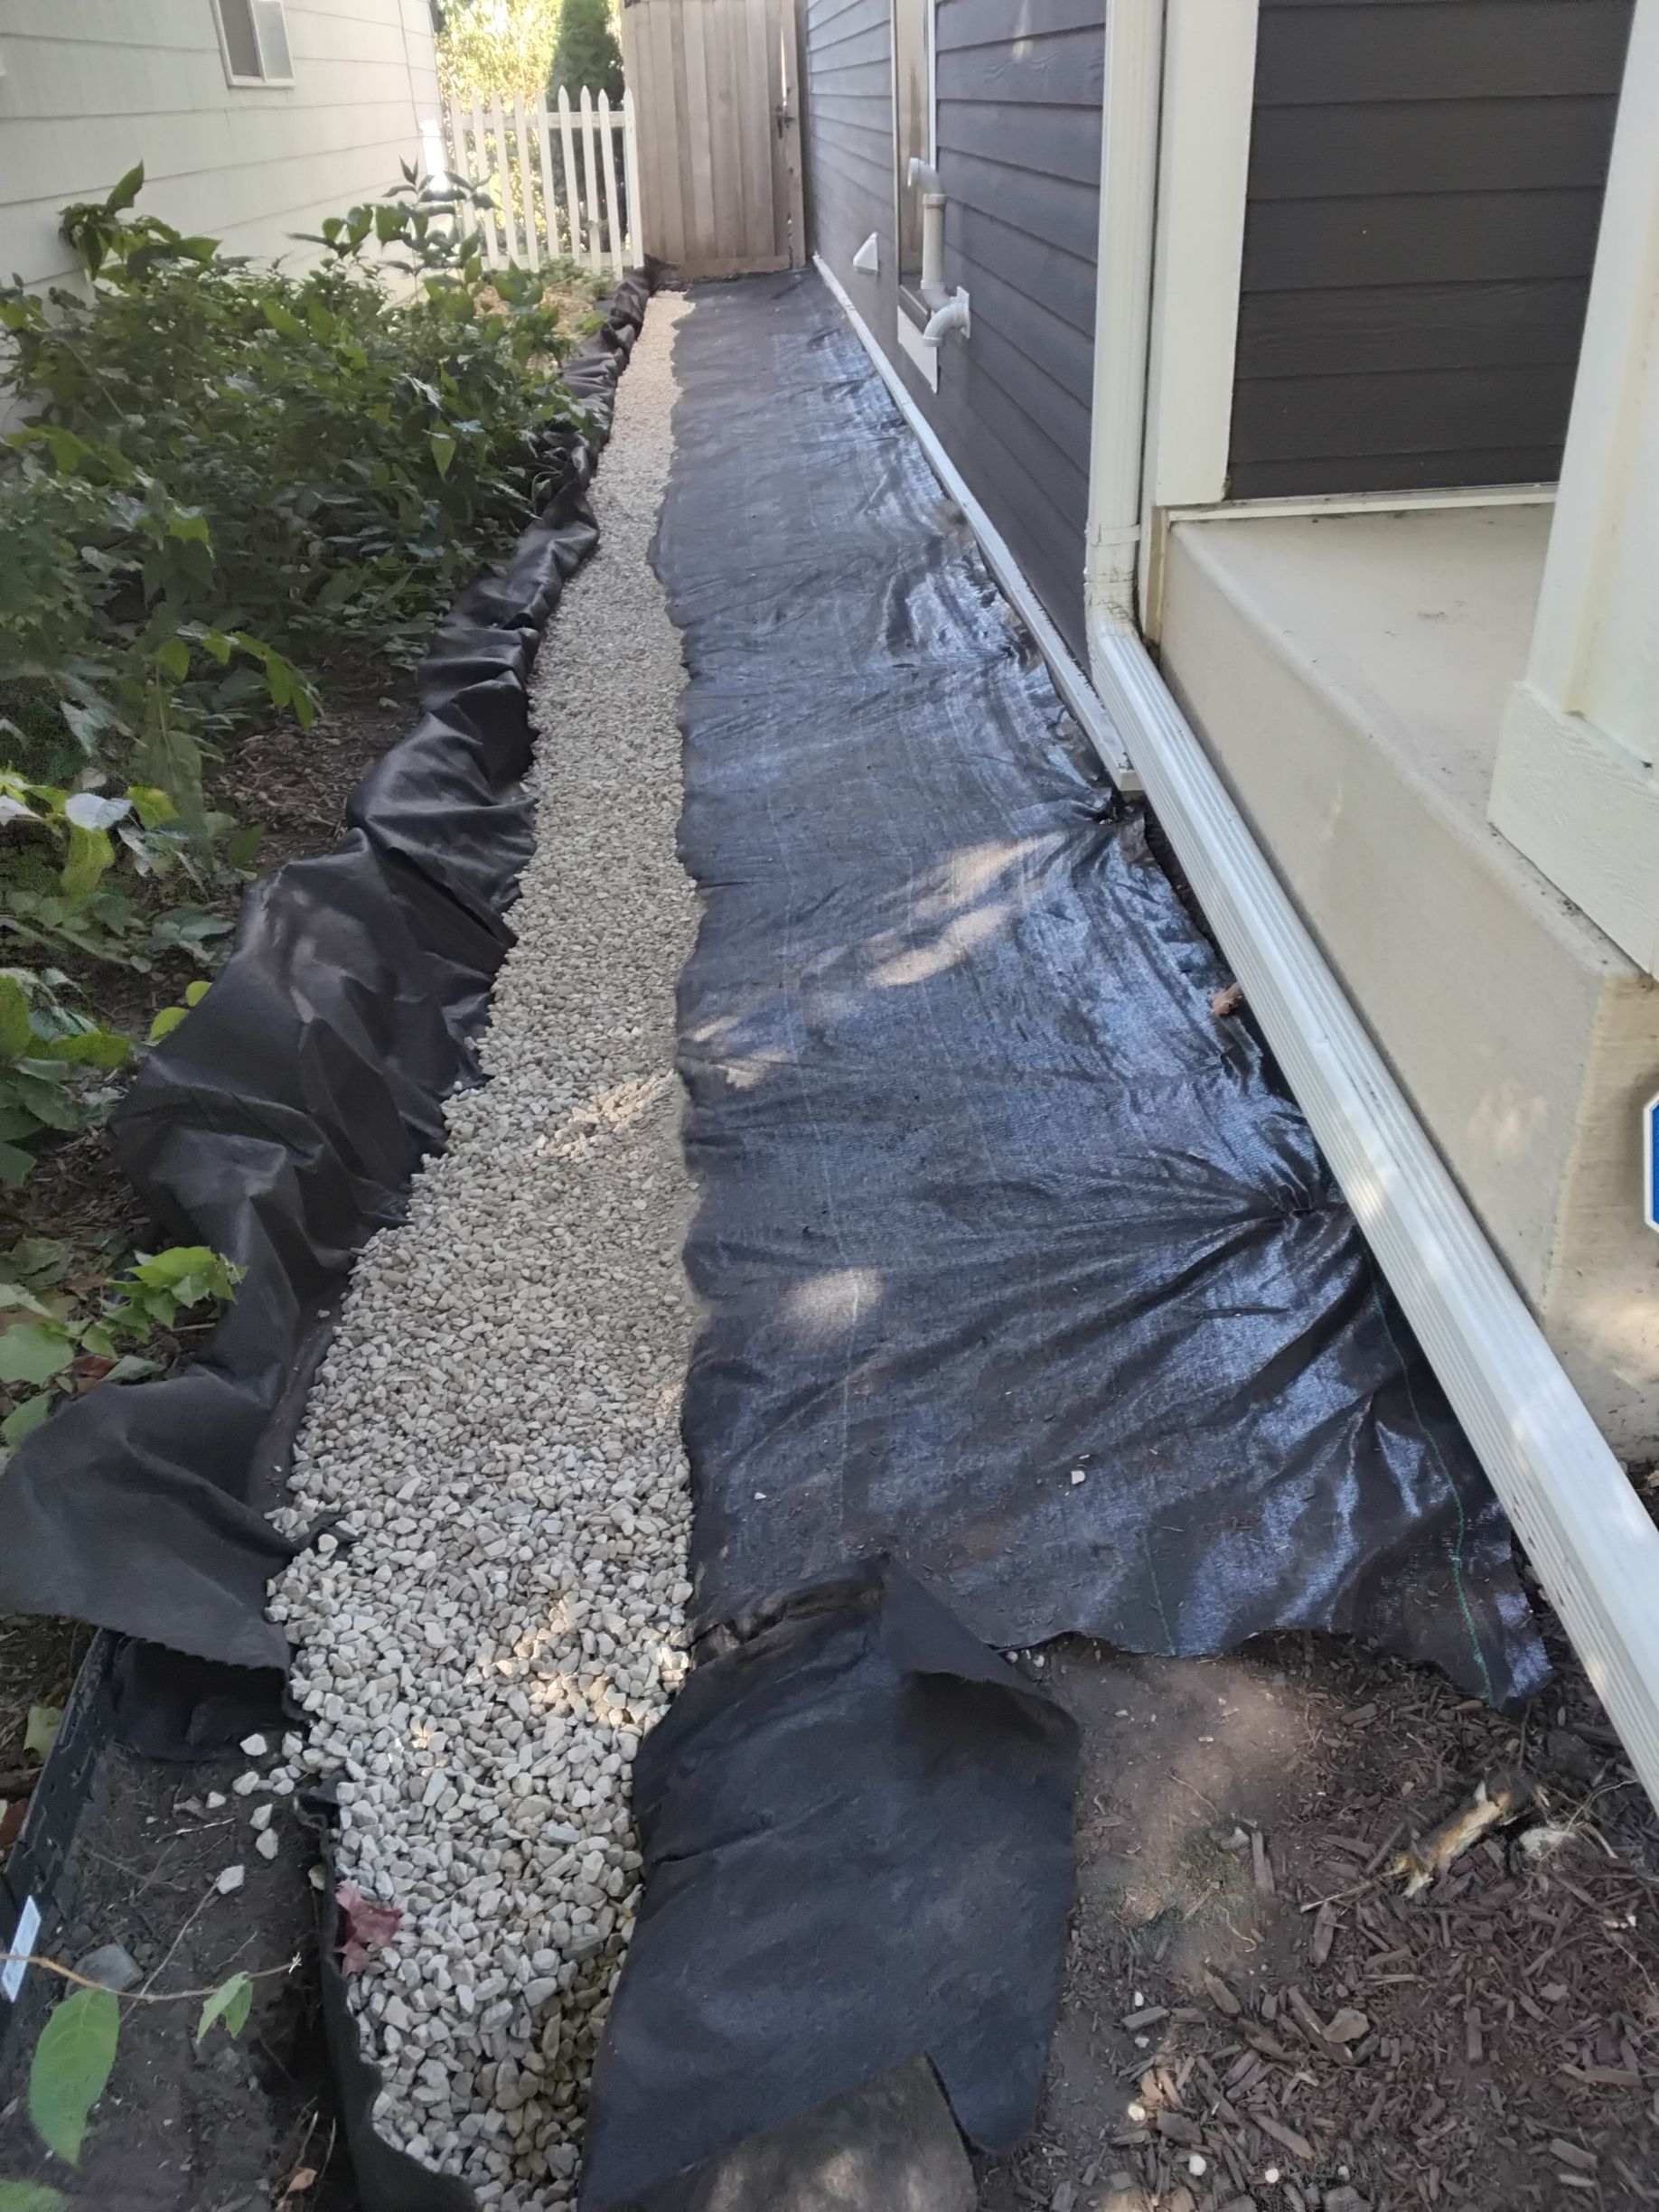
Finally, be sure the area has good drainage. Especially if water runoff is the reason you’re considering a terraced landscape, you’ll want to be sure you have a system in place to catch all that water. If the terraces are going to be more than 30 inches tall, place gravel down the entire back of the walls to ensure saturated soil doesn’t push against the walls and topple them. At the bottom of the walls, include a drainage tube so any water that reaches the bottom can simply drain away.
These wide terraces leave plenty of room to garden.
What to Plant
Anything you want! Well, mostly. While some larger trees may be out of the question for terraced landscapes, anything you would grow in other garden beds is fair game. In fact, thanks to these terraces, you may be able to start growing some plants earlier in the spring, and keep them alive later into the fall. This is because terraces made of stone or cement blocks will hold some heat during cool summer nights. This is ideal for spring or fall plantings, when Minnesota weather can still get quite warm during the day but cools drastically at night.
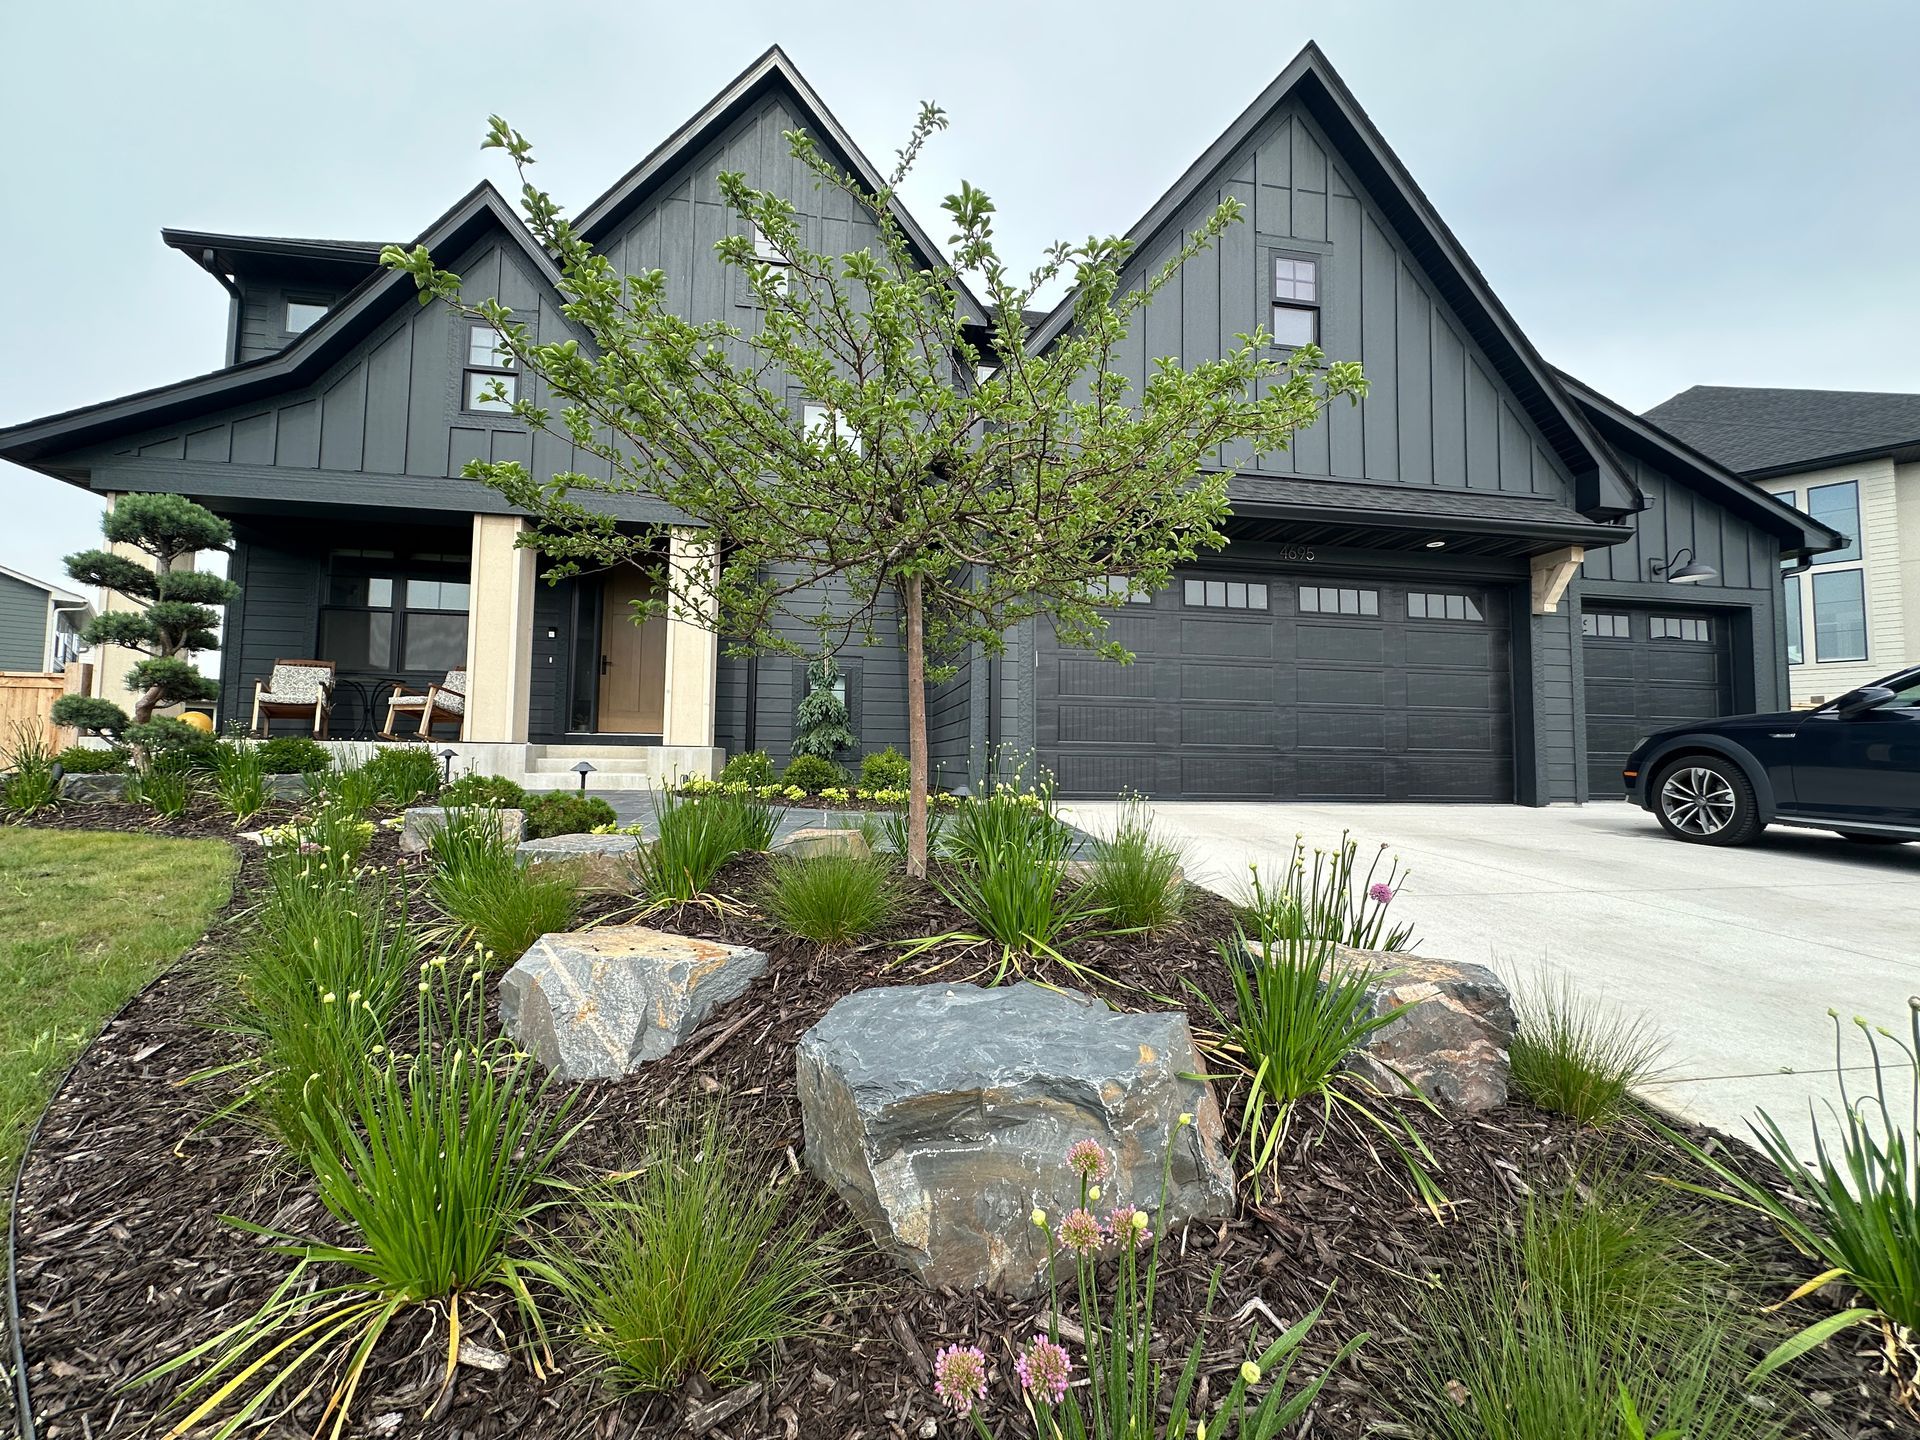
If your terraces are built with stone rather than wood, consider plants that will help soften the look. For example, ivies planted at the top of a wall will drape down over time, covering portions of the stone with greenery. Really though, any greenery will look wonderful on your new terraced gardens. We’re especially fond of hostas, shrubs such as dogwoods, and tall, wide evergreens such as boxwood. Let your imagination roam! If you like wild, natural looks, try native grasses, tall flowering plants such as salvia or lupine, and ivies. If you like a more refined designs, look to shrubs and flowering plants that don’t spread, such as tulips.
Edible gardens are also a popular decision for terraced landscapes. As mentioned above, stone will hold heat longer, which is great for growing your favorite veggies. The terrace gardens’ easy maintenance and limited space also makes this a fun option for little ones—just keep a close eye on them so they don’t take a tumble.
Ready to Build?
Terraced landscape beds can be an elegant solution to water problems, and can be customized in infinite ways. If you think terraces might be right for you, give us a call today at 763-568-7251 or use our quick quote system
to get in touch with an expert.
The post Terraced Landscape Beds for Steep Yards
appeared first on KG Landscape Management.
Ready to Start on Your Next Project?
Call us at (763) 568-7251 or visit our quote page.
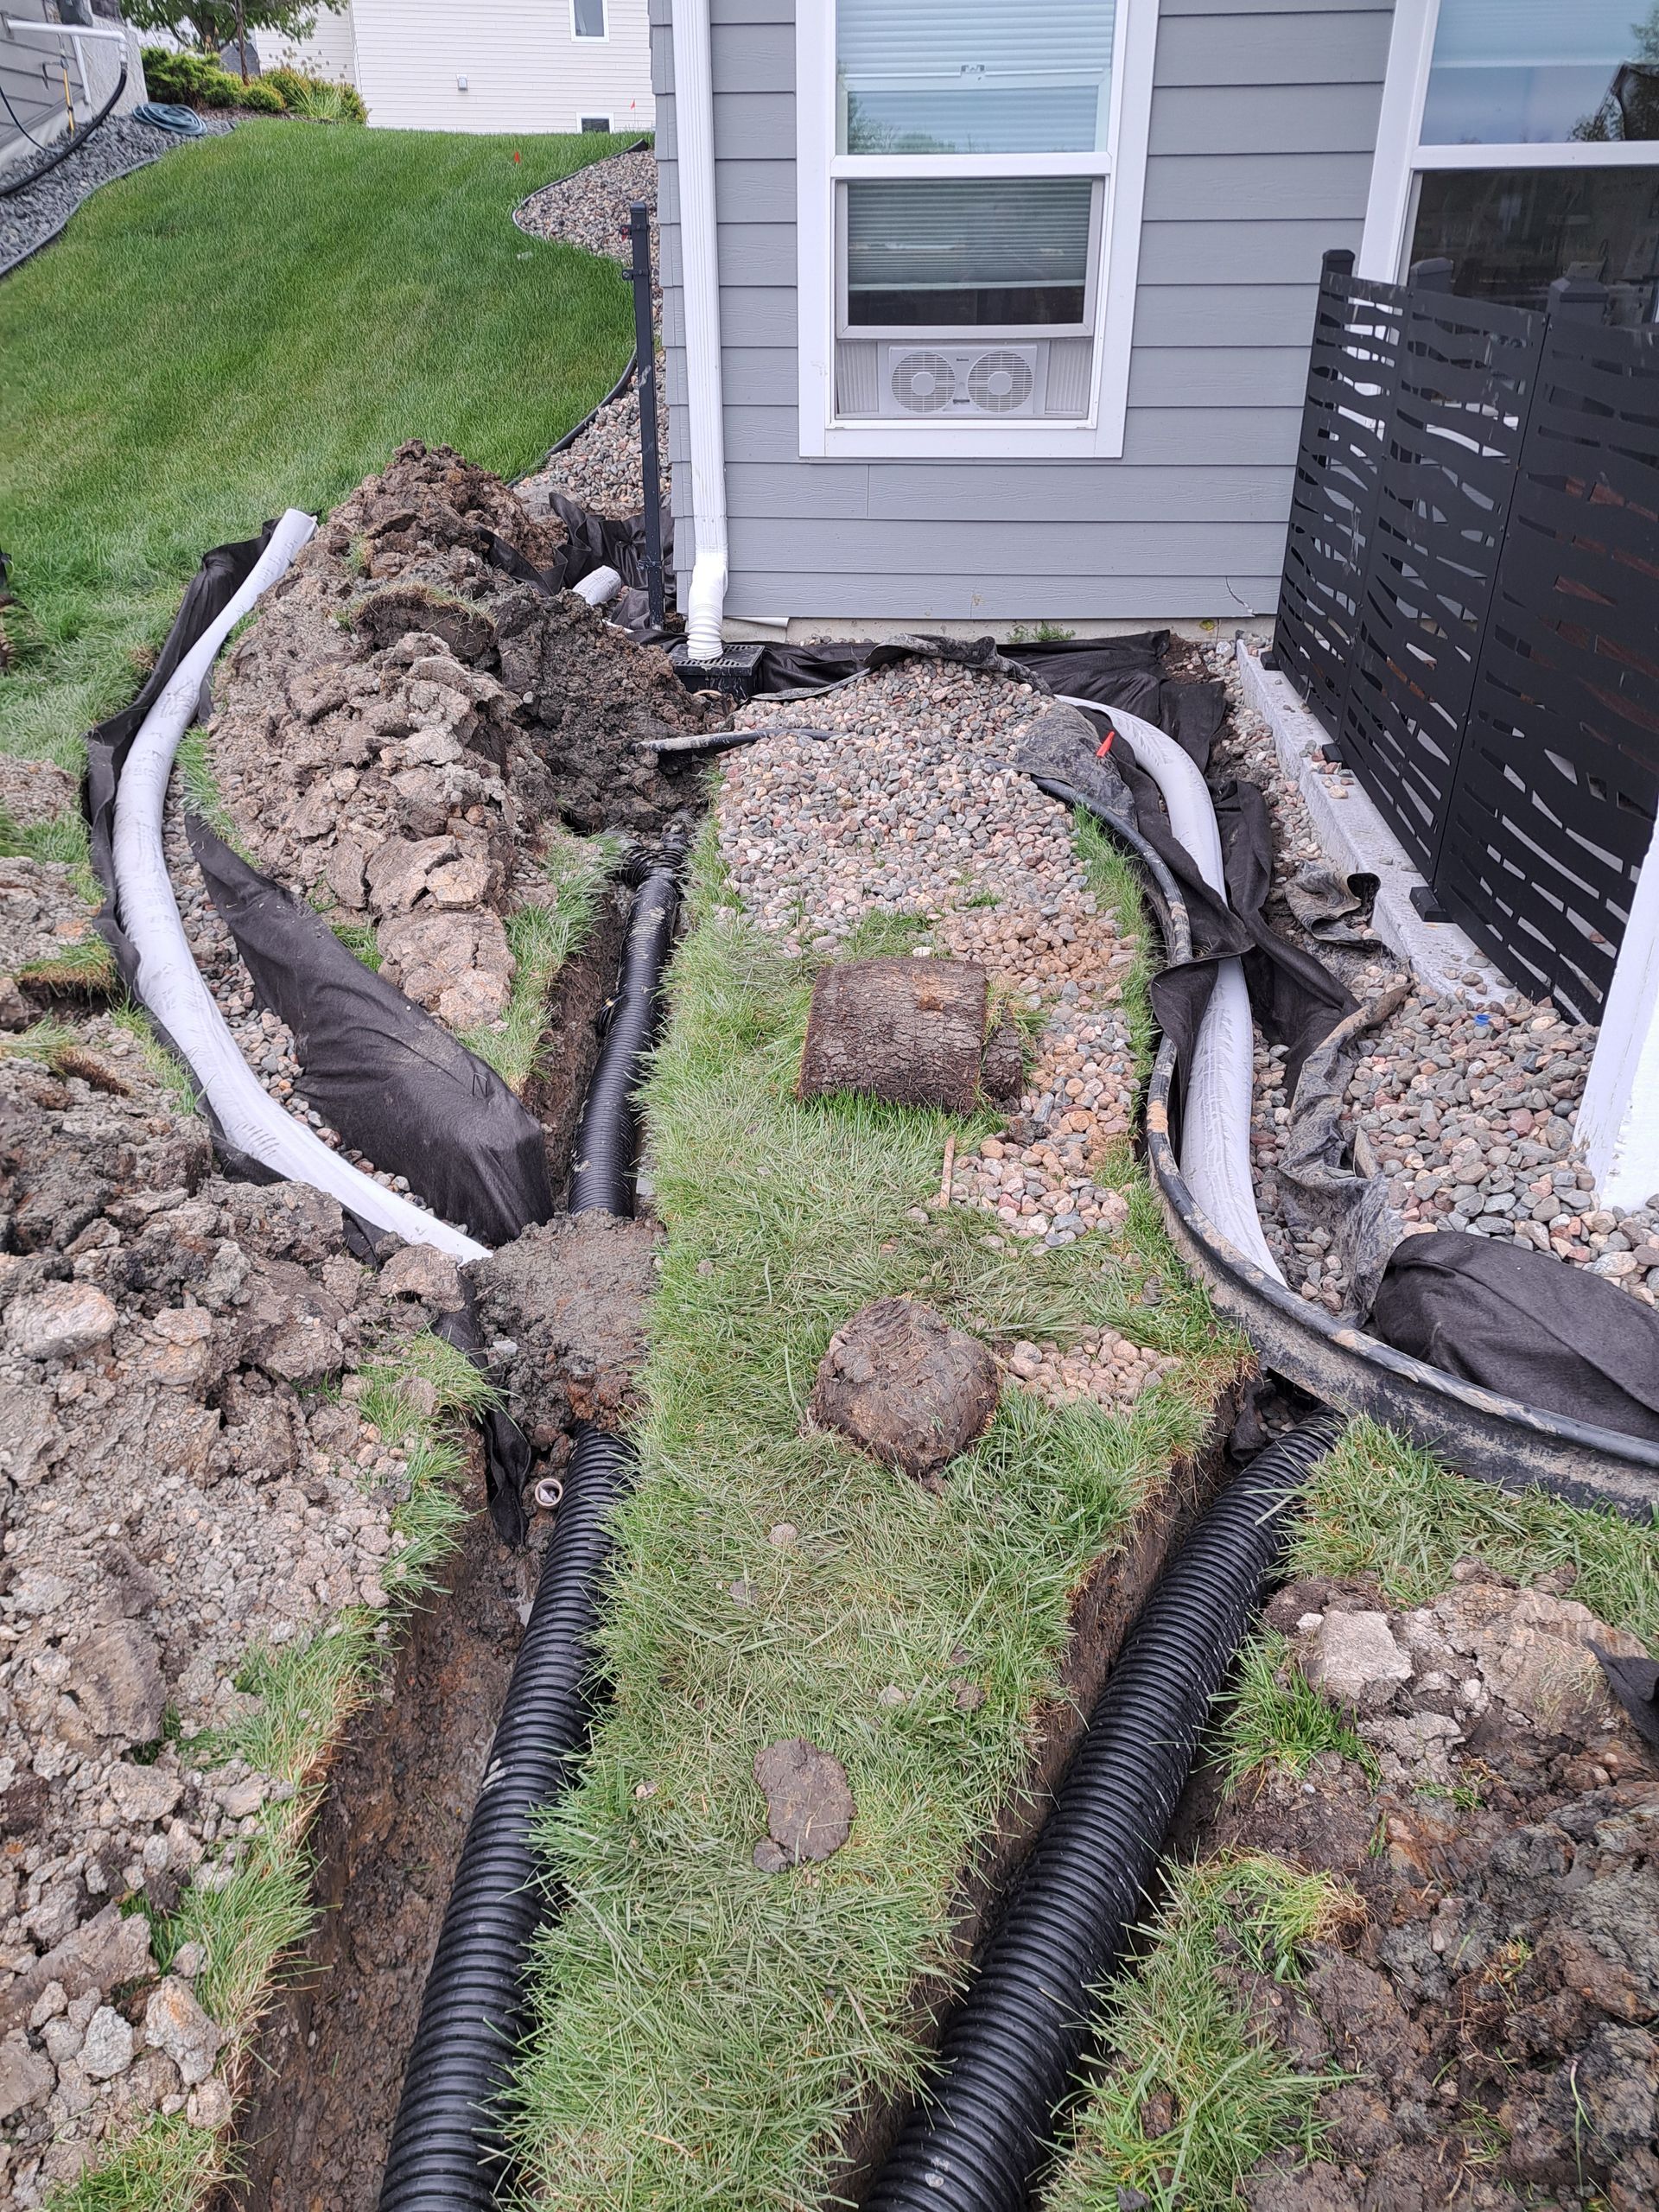
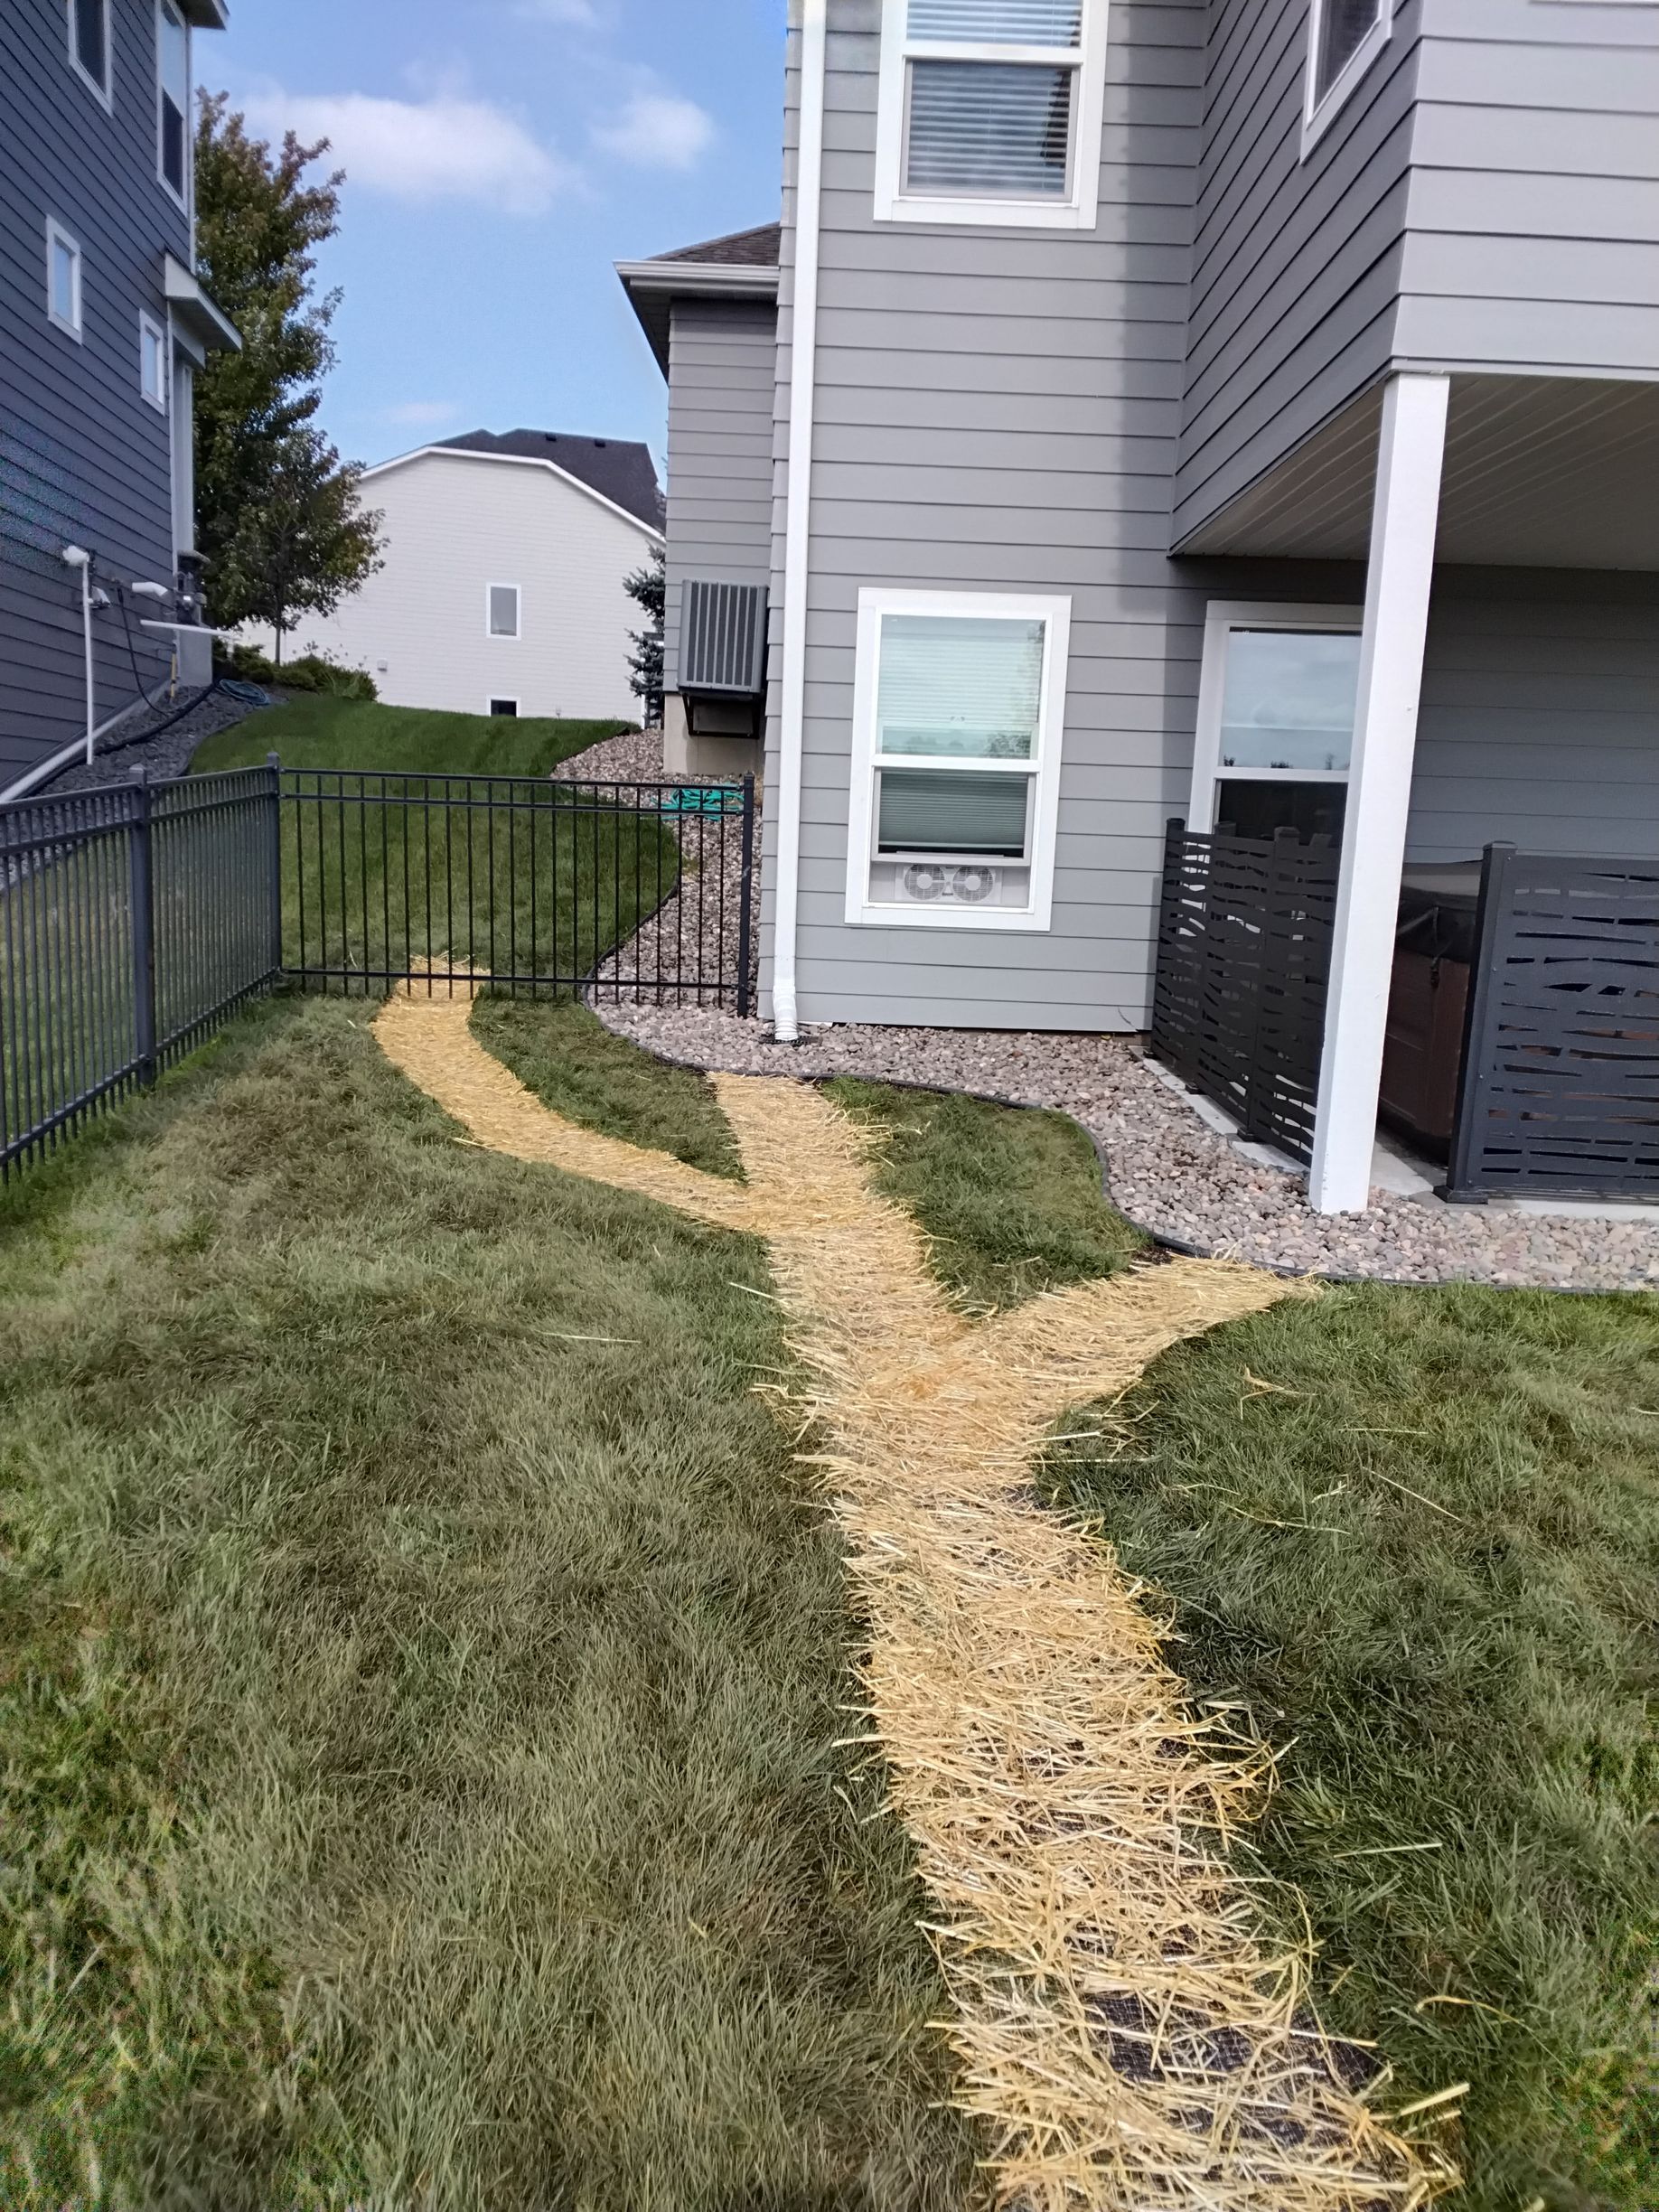
Where All That Water Is Actually Coming From Your backyard stays wet. You've noticed the soggy spots, the mud, maybe some frost heave damage to your patio or fence. You're thinking about French drains. But before you start digging trenches, look up. A huge amount of water hitting your yard isn't coming from rain falling on the lawn. It's coming from your roof. A moderate rainfall on a typical Plymouth home puts hundreds of gallons through your gutter system. Every bit of that water exits through your downspouts. Where it goes from there determines whether you have a drainage problem or not. Then there's your sump pump. Every time it kicks on, it's pushing water out of your basement and into your yard. On a wet property, that pump might run dozens of times a day. All that water has to go somewhere. If your downspouts dump water next to your foundation and your sump pump discharges into a side yard that drains toward your backyard, you're adding water to an already saturated situation. French drains alone might not be enough. You need to manage the sources. The Problem With Surface Discharge Most downspouts in Plymouth end with a splash block or a short extension that dumps water a few feet from the foundation. That's technically moving water away from the house, but not far enough.


