
How to Use Retaining Walls as Planting Beds
If you’re thinking of building a raised garden bed using a retaining wall, then you’ll be pleased to find out that the project is straightforward. This idea is one of the most popular front yard landscaping designs and is as easy as raising some soil and bordering it with retaining wall blocks of your choice. There are a few vital details to consider, however.
There are many retaining wall ideas
out there, and each design uses similar steps, which we will cover here. But first, let’s talk about why you might want to know how to build a retaining wall.
Why Build a Retaining Wall Garden?
There are plenty of reasons why you might want a retaining wall garden. Here are some of the most popular reasons for a retaining wall design:
Start by Choosing your Work Area
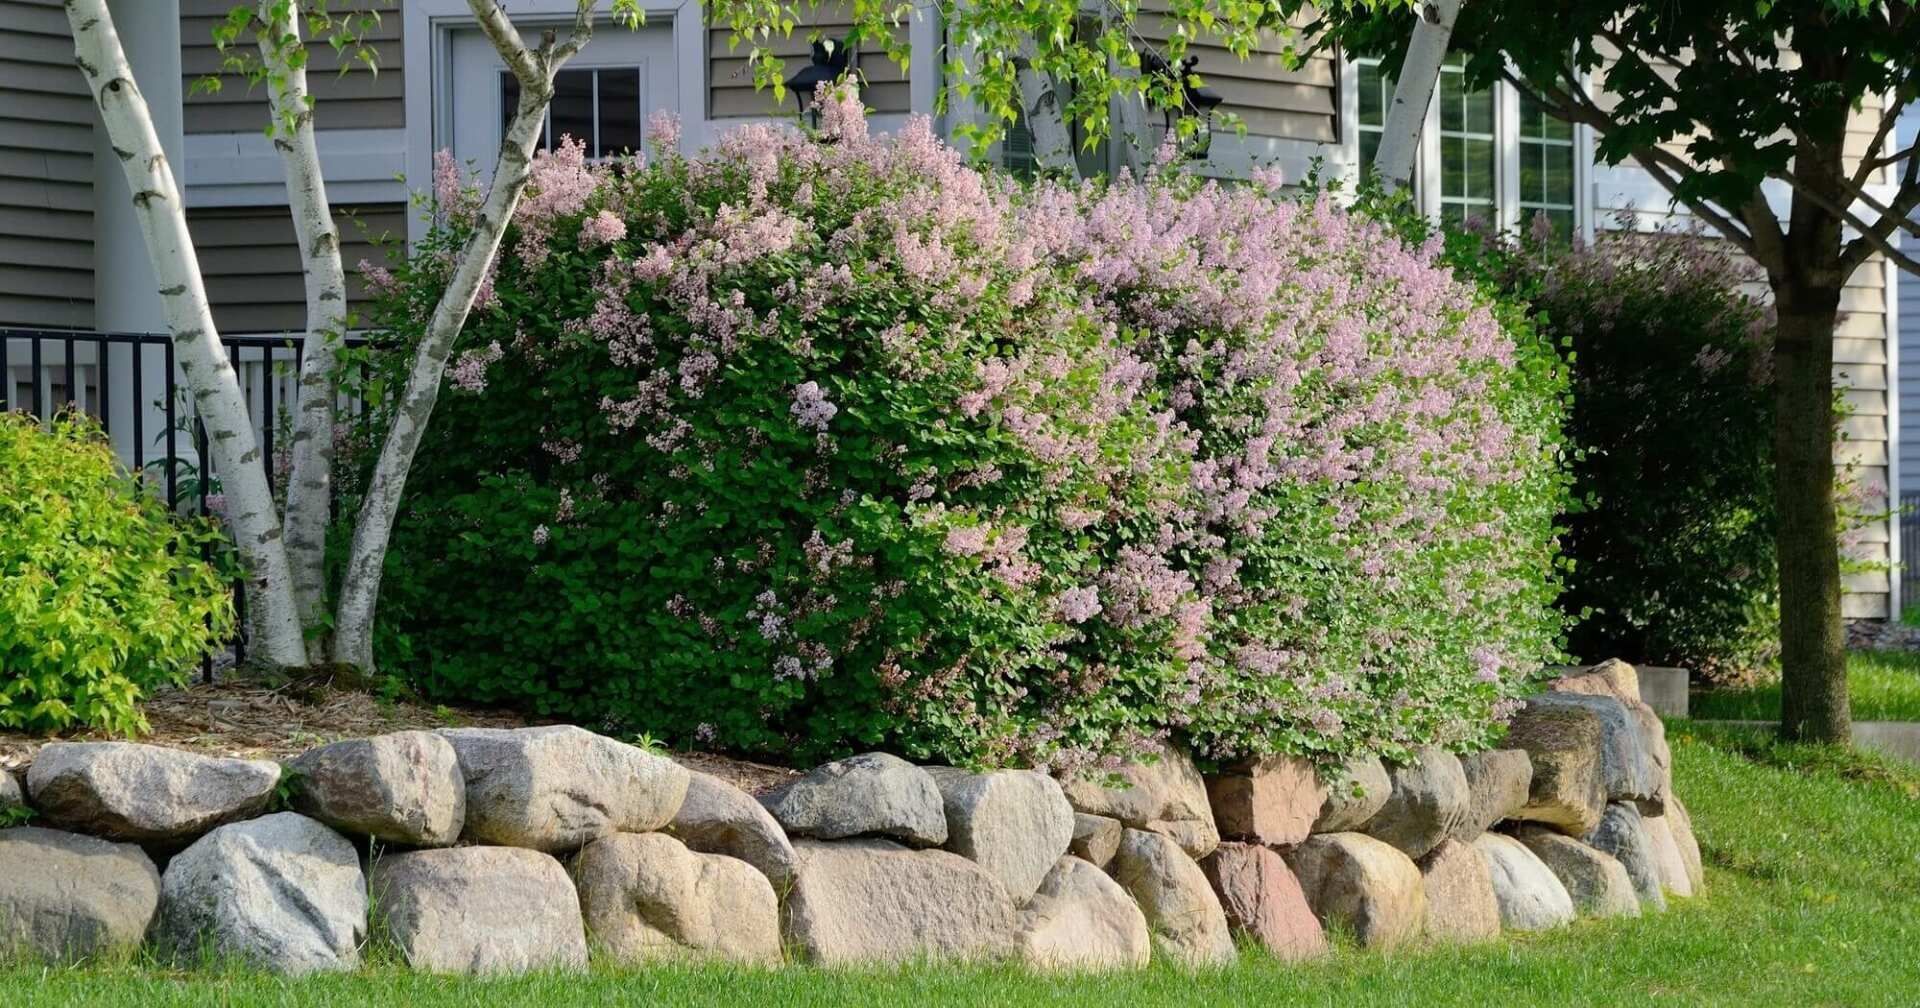
Before you build your retaining wall base plant bed, you need to choose a location for it in your yard. It should ideally be in a central location so it can provide a view from all angles.
Once you pick a spot, mark the shape of a bed with flour, spray paint, or a string. The exact shape is a matter of personal preference, so you can be as creative as you want with the design here. There are endless possibilities, so don’t limit yourself.
As a general rule, circular beds are charming, while rectangular or square beds give a more regular and orderly feel. You can also go for unforced, flowing shapes that blend into the overall environment.
A bed whose shape aligns with the garden’s natural contours will look like it’s always been there. Again, give your imagination free rein and see what comes up.
You also don’t need to worry too much about how airy the soil is. A raised plant bed provides natural drainage, so that will work itself out. You can place newspapers down the center of the outline you’ve made, however, to protect against the growth of grass and weeds when your plants begin to take root.
Prepare a Foundation
Choosing Bricks
You can build your retaining wall with bricks, concrete blocks, rough-hewn stones, or machine cut stones. If you buy a diamond-bit circular saw, you can cut the stones yourself and choose whichever shape you like.
What’s important is that you choose stones and bricks that will survive well in wet environments. Bricks may not be well-suited to wet conditions.
For information on stone sizes and makeup, visit your local landscape expert or supplier. They will help you find out your options before you choose the block material
or size. Generally speaking, the recommended height for retaining walls is two to three courses, depending on the stones’ height and the trench’s depth.
Laying the Blocks
Lay the first row of stones or blocks in the center of the trench. Drive each one into the sand with a rubber mallet as you lay it. Then, take the following steps.
Stabilize the Structure
To interlock the blocks, use metal pins. Use a hammer to drive the metal pins through slots in the block.
A Worthwhile Garden Project
As you can see, all the above can get done with a few simple tools and the willingness to put in the work. This project may take a couple of weekends, but it is well worth the time and effort. After the grunt work is over, you will gain a beautiful retaining wall garden for your lawn.
If you’re not confident in your ability to build your own retaining wall garden beds, contact the experts at KG Landscape
to get started on this worthwhile landscaping project today.
The post How to Use Retaining Walls as Planting Beds
appeared first on KG Landscape Management.
Ready to Start on Your Next Project?
Call us at (763) 568-7251 or visit our quote page.

The legendary architect Louis Sullivan coined a phrase that has driven architecture and design ever since: "form follows function." While aesthetics are critical to buildings and landscapes alike, that physical beauty must always remain secondary to the fundamentals of good design. In Shoreview, Minnesota, just outside St. Paul , we encountered a landscape where, unfortunately, function followed form. Here, the realities and principles of effective drainage were downstream of their original builder's aesthetic choices. That meant water from snowmelt and rainfall was streaming into parts of the lawn where it wasn't meant to be. The standing water that had been allowed to collect in the back and side yards was putting a considerable amount of the property out of play. In order to reclaim usable space and rethink the way the land handled water, this Shoreview homeowner entrusted KG Landscape with identifying key issues, presenting potential solutions, and doing the necessary work the client decided upon to restore their lawn.

On the shores of Lake Minnetonka, perhaps the most famous of Minnesota's 10,000 lakes, an Orono, Minnesota homeowner was struggling with a back yard that was becoming more marsh than yard. The yard was a scenic one. The back porch opened up to the top of a small hill, which rolled down toward the lakefront and the boathouse. This flat space between the hill and the water would be ideal for backyard barbecues, some low-stakes games of bocce and badminton, or simply a spot to lay down a towel and get some summer reading done. Instead, this area was too waterlogged to enjoy. The runoff from the hilltop combined with unfavorable soil composition were limiting the use of the yard, closing off space while even diminishing the quality of the turf. How would this homeowner be able to reclaim this unusable land without disrupting the Lake Minnetonka shoreline that made the property so attractive? To find a solution, they turned to KG Landscape.

Can you use compost as lawn fertilizer in Minnesota? Learn how compost feeds turf, how to apply it, and where it fits. Get a free quote.

Organic weed control for Minnesota lawns: what works, what doesn't, and how to manage weeds without harsh chemicals. Get a quote.

Keep your lawn and your pets safe. Pet-safe lawn care tips for Minnesota yards, from products to timing. Get a free quote.

Looking for the best organic lawn fertilizer in Minnesota? See top options, how they feed your turf, and what KG uses. Get a quote.

Is compost a fertilizer? Learn what compost does for your Minnesota lawn, how it differs from fertilizer, and when to use it. Get a quote.

Compost feeds the soil, fertilizer feeds the grass. Learn which your Minnesota lawn needs, when to use each, and how to apply both. Get a quote.

Eco-friendly lawn care tips for Twin Cities yards: cut chemicals, save water, and build healthy soil naturally. Get a free quote.

Simple, proven lawn care tips for Minnesota yards: mowing, watering, feeding, and building healthy soil that lasts. Get a free quote.