Channel Drains - Options, Ideas and Information
Channel Drains
A channel drain, also commonly called a trench or strip drain, is surface water collection drainage solution. They are designed to catch flow coming into the top grate and down into a long linear drain channel (trench) which then diverts water into a piped drainage system and to an outlet area or into storage location. The channel can be premanufactured or constructed out of any number of materials such as concrete. Grates can be HDPE or Brass depending on usage and how decorative it needs to be. For information on other outdoor drain options, visit our
catch basin drainage page
Best Uses for Trench / Channel Drains
Channel drains are typically used as a part of hardscape applications where water is moving across large surface planes, rather than be funneled to one small area. Channel drains work well to prevent water from reaching an unwanted location, such as running into a garage and preventing the runoff from pool-decks from draining into a pool. Generally speaking, we do not recommend using channel drains in lawn areas. Because of their long length, channel drains are prone to popping up or sinking too low on one end or another due to freeze thaw cycles, when installed directly in soil. Here are some of appropriate application spaces for channel drains in MN:
- Driveways
- Pool Decks
- Patios
- Walkways
- Parking lots
- Doorways
- Landings / aprons
Types of channel Drain - Options
Light Duty - Pedestrian Foot Traffic
- Slot Channel : A slot drain has a very slim channel that does not have a grate on top. Its slim profile has a less noticeable appearance on the landscape. However, this also limits how much water it can intake. Best used in high traffic pedestrian areas where water may otherwise pool up.
- Micro Channel : Also has a low-capacity narrow slim profile channel drain of about 1” to 1.5” wide but has a grating on top to prevent objects from falling into the channel. Best for light foot traffic and pool areas. Very affordable for residential applications.

- Slim Channe l: A small capacity option with 2” wide removable grate foot traffic areas of pool and paver spaces.
- Mini Channel : A small capacity of option about 3” wide for pedestrian use around pools, patios, tennis courts, etc.
Medium Duty Traffic
- 4”-6" wide channel for light vehicular traffic areas in applications such as driveways, parking areas, and terraces.
Heavy Duty Traffic
- Vehicular traffic load rated options with heavy duty channel, 4”–12” in width. Decorative grate options in HDPE, steel, or cast iron. Options for slope at the bottom of the drain
- Pre-cast Concrete
: Large capacity, heavy duty options from 4”-12” for residential and commercial applications such as parking lots, driveways, and roads. Wide variety of decorative grate options.
How to Choose the Right Channel Drain for Best Results
Choosing the right channel drain material for the application, and correctly sizing is the key to whether a channel drain will fail or succeed.
Some questions to determine the right size and type of channel drain are:
- How much water will be going into the channel drain? You will need to determine the peak discharge going into the channel drain and size it properly using the rational method. The Rational Method of Q=CiA is calculated by taking by runoff coefficient of the surface type (C) and multiplying inch per hour rainfall intensity (i) it by the sub-catchment surface area (A). (Q) is the max surface runoff volume. Refer to this page for more info https://www.lmnoeng.com/Hydrology/rational.php
- What is the slope of the installation surface? Larger slopes = faster moving water, which generally means a wider channel drain is needed to prevent water from washing over and past the drain during heavy rain events.
- Will cars or heavy equipment be driven over it? If being applied in a driveway application the channel drain must first meet the specific load requirements. You’ll need to determine the specific load capacity for your application based on what will be driven over it. For example, you wouldn’t want to use a pedestrian load grate where vehicles will be going over top of it or it will fail under the weight of a car. If using a manufactured product, you can to refer to the manufacturer’s specifications for information. If constructing a channel drain you will need to consult a qualified professional or civil engineer for proper sizing.
- How will water be discharged from the channel drain? Since this outlet of this system is underground, you need to determine where that is running to. Is it connected to the piping of a larger system, like a city storm sewer? Does it have a surface outlet such as a pond where it could run to? Do you need to empty into a dry well where water can slowly soak into the ground below the frost line?
How to Install a Channel Drain
- Dig a linear channel with enough depth to fit the trench drain and 4” of class 5 base gravel and 1” setting sand. Follow manufacturers specifications if using their product.
- Install and compact class 5 base gravel and use long level or string level to ensure a level base or to match adjacent slop if needed, then add 1" setting sand
- Insert channel drain starting from furthest inlet point and working toward outlet. Fit as required.
- Install and seal endcaps of the channel drain.
- Connect the outlet drain pipe and seal completely to prevent and leakage.
- Install grates
- Pour concrete, place pavers once the channel drain is fully in place. Make sure to include a slope with at least ¼” per foot slope running toward the drain. Allow time to cure before removing grates
Channel Drain Maintenance
Channel drains are fairly easy to maintain. The grates are easily removeable allowing for simple cleanout. Because the grates are open it allows debris, dirt and leaves to filter in. The design of the grate does have some influence to the size and amount of the debris it allows through to collect in the bottom of the trench. Removing the grates annually and cleaning out the trench prevents debris buildup and keeps the outlet from clogging.
Ready to Start on Your Next Project?
Call us at (763) 568-7251 or visit our quote page.
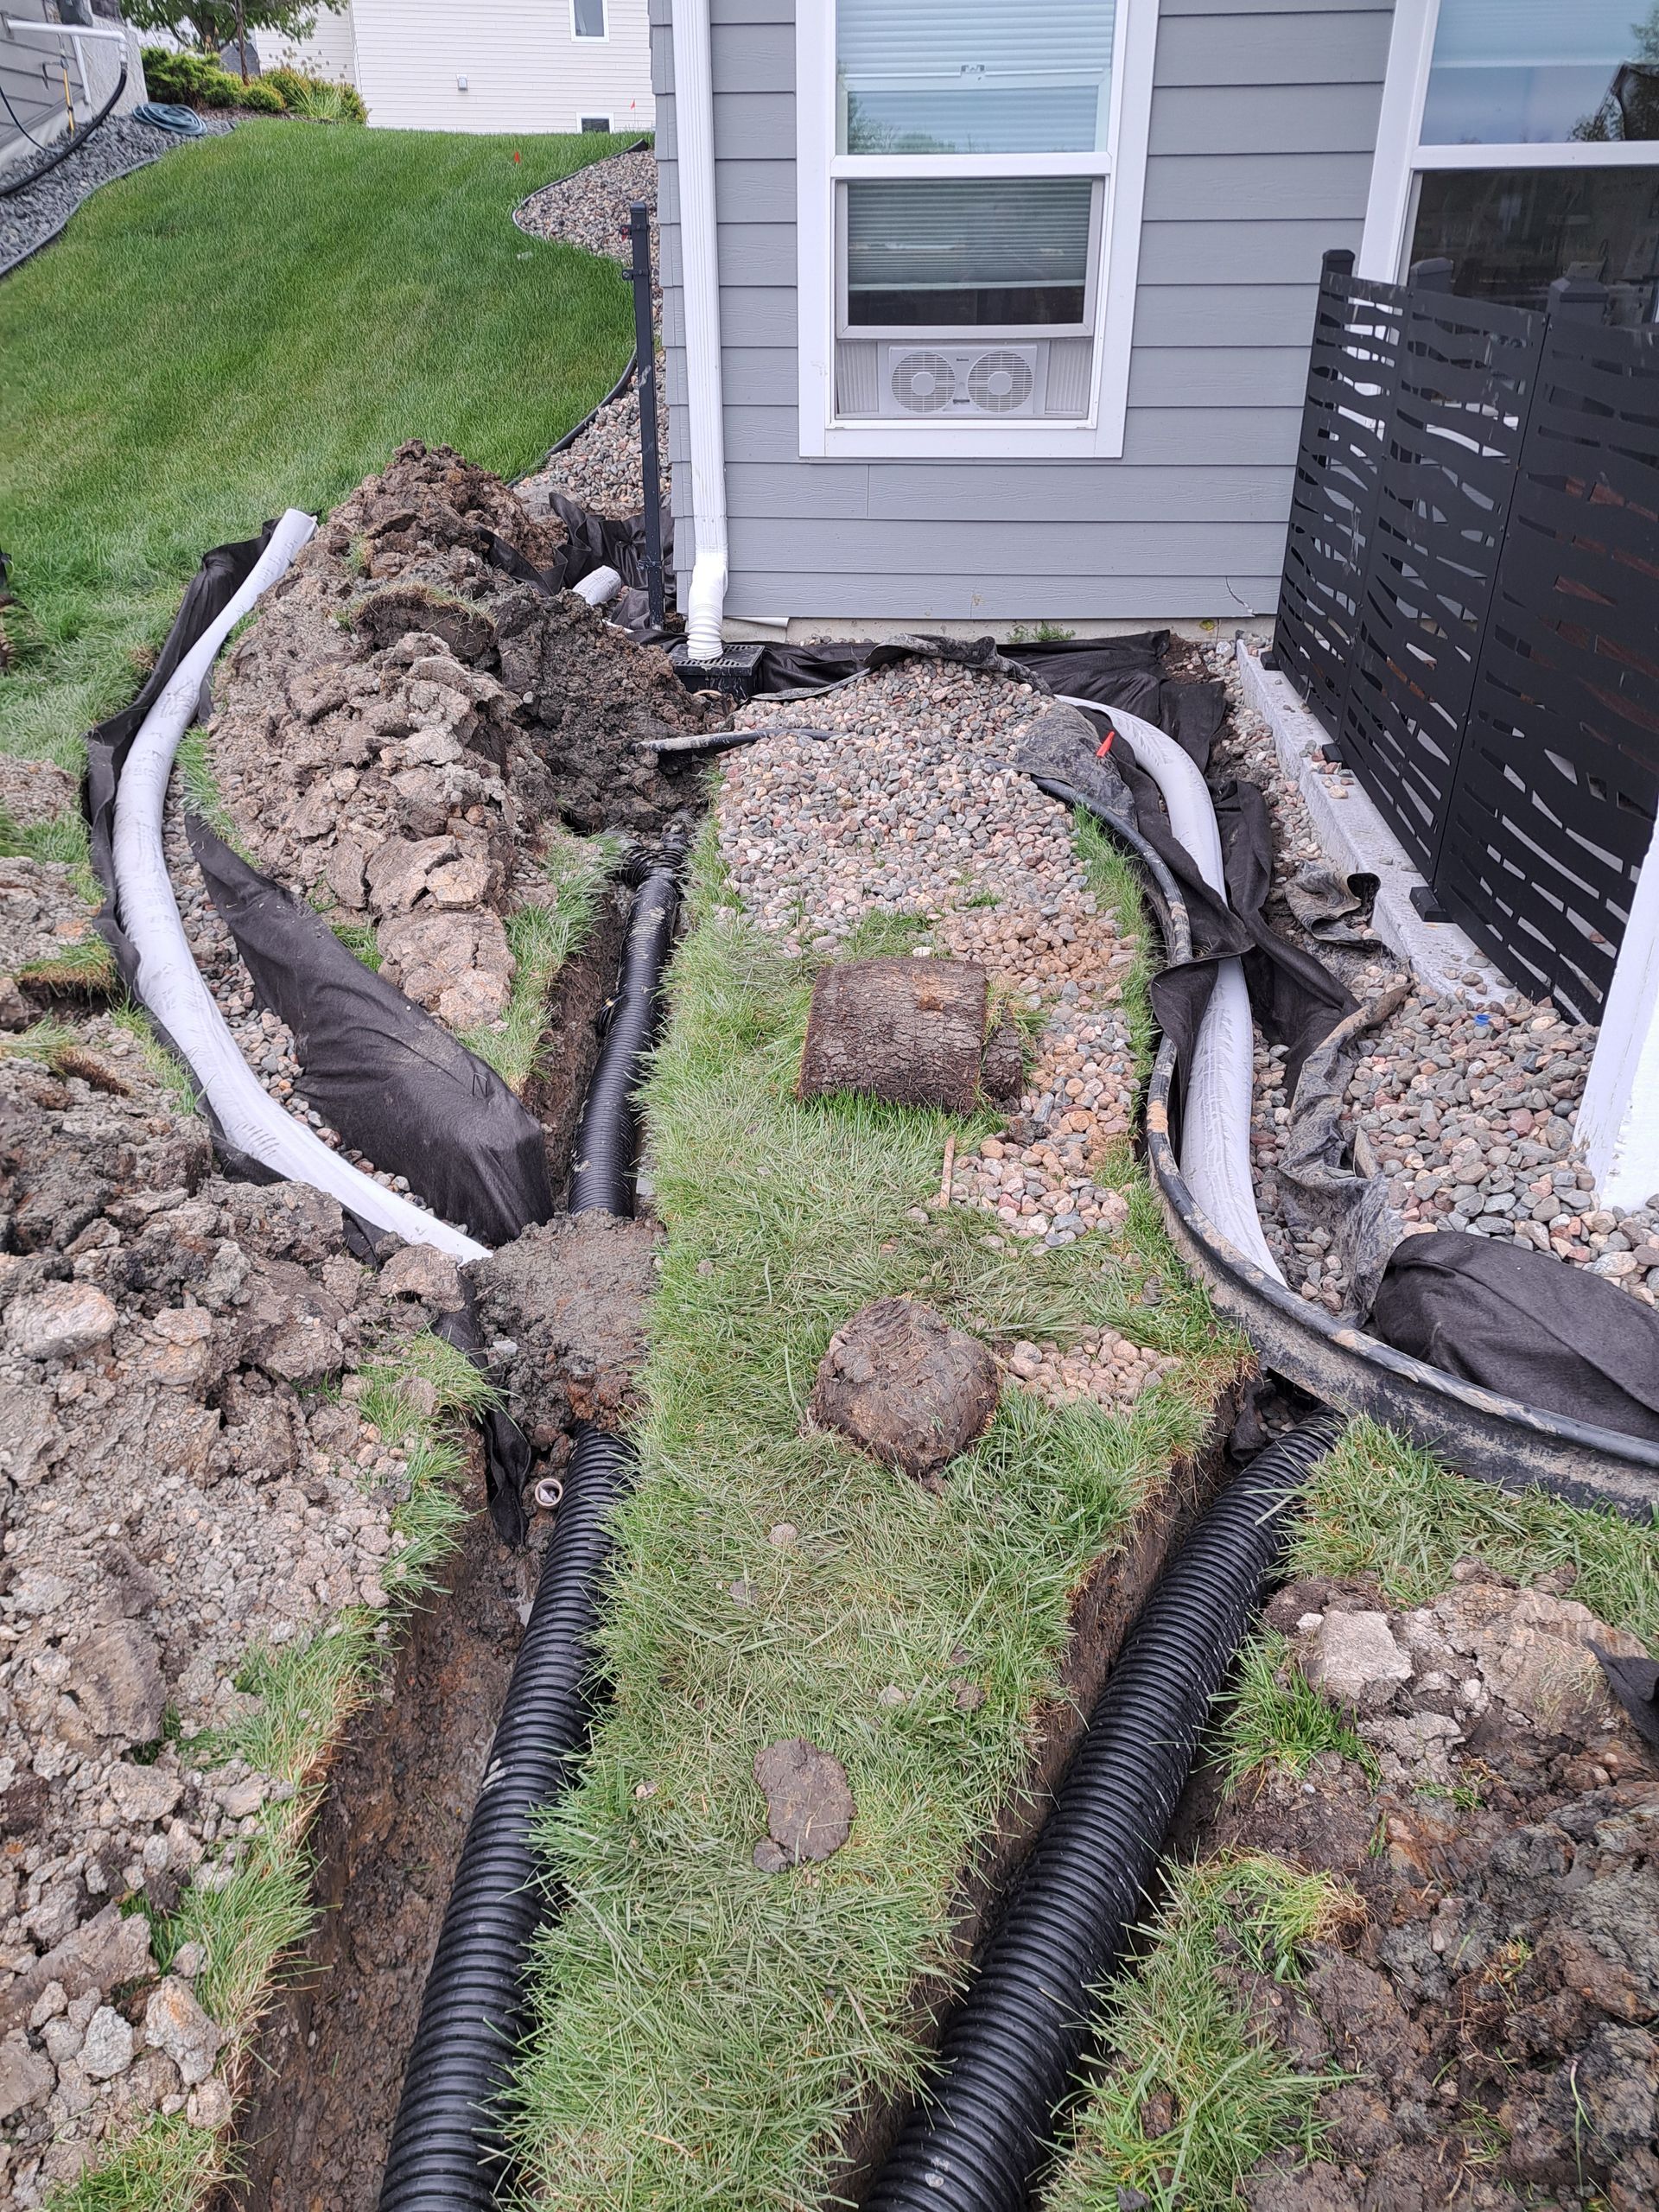
Where All That Water Is Actually Coming From Your backyard stays wet. You've noticed the soggy spots, the mud, maybe some frost heave damage to your patio or fence. You're thinking about French drains. But before you start digging trenches, look up. A huge amount of water hitting your yard isn't coming from rain falling on the lawn. It's coming from your roof. A moderate rainfall on a typical Plymouth home puts hundreds of gallons through your gutter system. Every bit of that water exits through your downspouts. Where it goes from there determines whether you have a drainage problem or not. Then there's your sump pump. Every time it kicks on, it's pushing water out of your basement and into your yard. On a wet property, that pump might run dozens of times a day. All that water has to go somewhere. If your downspouts dump water next to your foundation and your sump pump discharges into a side yard that drains toward your backyard, you're adding water to an already saturated situation. French drains alone might not be enough. You need to manage the sources. The Problem With Surface Discharge Most downspouts in Plymouth end with a splash block or a short extension that dumps water a few feet from the foundation. That's technically moving water away from the house, but not far enough.

