
How to Winterize Your Paver Driveway
To winterize paver driveway areas, you’ll need to follow a few simple steps. However, the most significant benefit is preserving your beautiful flat paver driveway for several years. Our tips for keeping your driveway looking its best are easy to follow, and the process takes around a day or less.
Why Should I Winterize my Paver Driveway?
When you winterize driveway areas covered with pavers, you are working to ensure that the surface stays flat, and the pavers stay locked close together
to create an even surface. Paver driveway winter preparation is relatively simple, but keeping water away from the pavers during the winter is a more significant challenge.
The more water that makes it onto your pavers, the more likely it is that they will shift around, and the surface of them will become mismatched. Paver joint sand helps to hold the pavers in place, but the freezing and thawing of water in and around the pavers is a powerful force that can cause visible damage in a single season.
When your paver driveway is properly winterized each season and cared for throughout the year, you can expect it to last 25 to 50 years before it will need to be torn out and re-laid. This lifespan is much longer than concrete, but the tradeoff is that there is more maintenance.
Should I Wait to Do Repairs in The Spring?
It’s very common for people to want to wait for spring to make repairs to their paver driveway, and this is almost always a mistake. Damage to the paver driveway surface will only intensify after the frequent freeze and thaw cycles associated with winter, and this means that repairs are more extensive and more costly in the spring.
Paver driveways are essentially a somewhat porous surface that needs to be maintained to keep their flat and even surface intact. When there’s damage to this surface and water gets in and freezes, it disrupts the alignment of the pavers and causes damage that frequently requires lifting and resetting pavers to fix.
Removing and resetting pavers can be a costly repair if the damage is allowed to expand over the winter months unchecked. It’s not uncommon for a fix that involves two or three pavers to expand to a dozen pavers in a few months.
Keep in mind that repairs to a paver driveway surface are often relatively quick to complete, and then you have the peace of mind that the pavers are in good condition, and your driveway is preserved and ready for severe weather. Uneven pavers are also a tripping hazard for anyone that walks on the driveway, and this risk increases in winter when there’s ice involved.
How to Winterize Your Paver Driveway
Remove Items from the Surface
The first step to winterize paver driveway areas is to clear any items that are currently resting on the surface. You’ll want to remove any patio furniture, cars, wood, flower pots, and any other things that now rest on the pavers.
Removing these items from the surface prevents them from causing sunken looking spots during the winter months when conditions cause water to freeze and thaw. Pay special attention to details such as umbrella stands that are quite heavy, and if you can’t remove these items entirely, consider placing them on sheets of plywood.
Redirect Water Flow
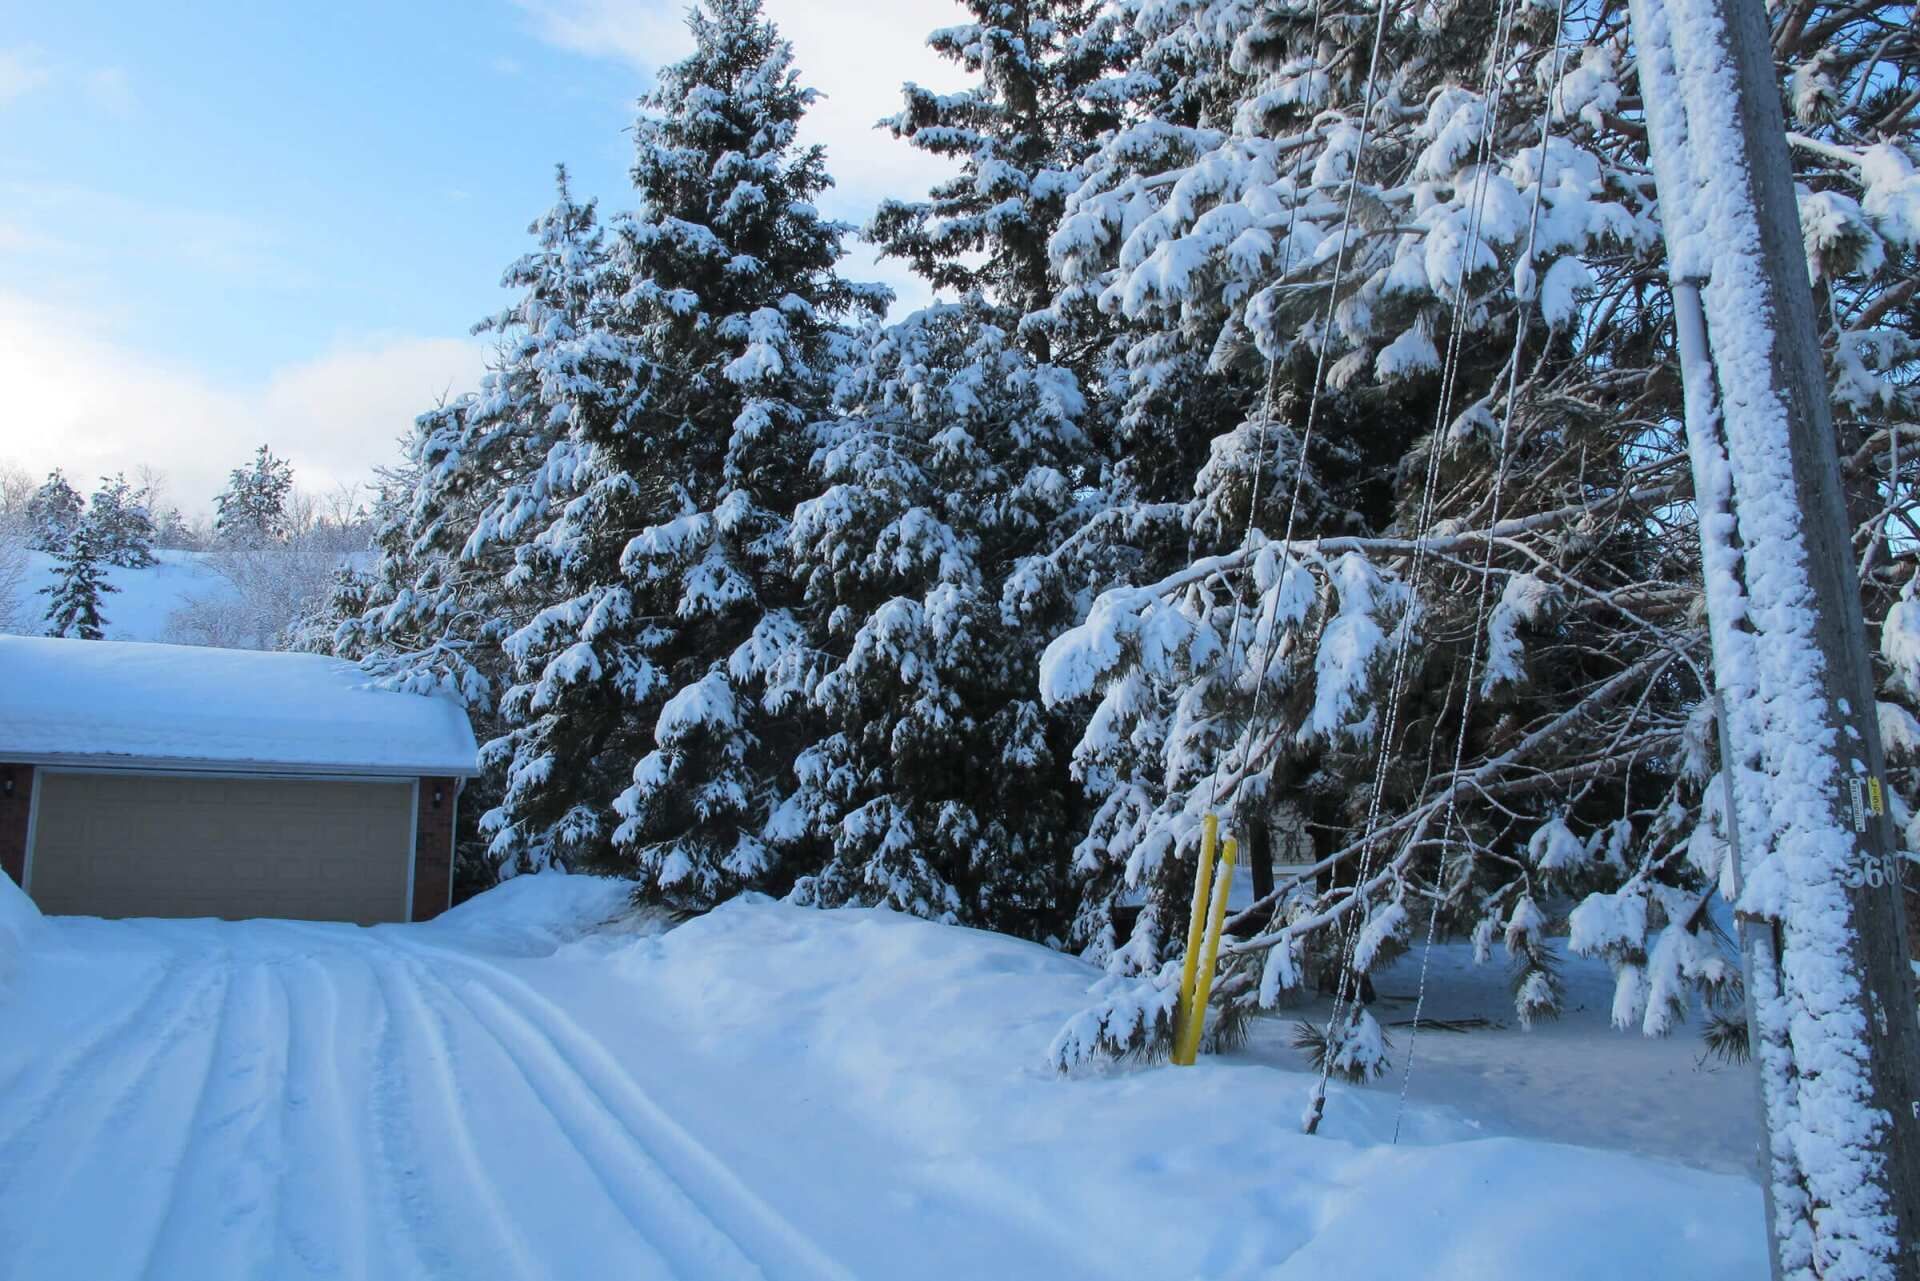
Water flowing around or over your pavers is one of the quickest ways to get an uneven driveway as the water will push around the pavers. In winter, when that water is freezing and thawing, it can visibly raise pavers and cause significant damage if not addressed promptly.
Look for ways that water is making it onto your pavers, and redirect those sources whenever possible. Redirect things like gutters, and find places where water drips onto the pavers. These places include the overhangs around your home, near steps, and from overlapping decks.
You’ll also want to disconnect any pipes that run under the pavers for drainage and redirect this water into a landscaped bed designed for this purpose. This bed can be a simple ditch shaped area that collects water and allows it to settle into the ground away from your paved driveway.
Clean Paver Surface
Once your paver driveway is free from items resting on it, and the water redirected to another area, you’re ready to clean up the surface of the pavers and get them ready for winter conditions. The first step is to remove loose debris on the surface, such as leaves and sticks.
By removing these items, you can prevent them from staining your pavers as they degrade over the winter. Some debris like layers of wet leaves can also hold onto moisture and create a slick surface.
During this paver cleaning is also the best time to add some paver joint sand wherever it might be needed or sweep in existing sand to ensure solid joints. Paver joint sand is a semi-permeable material that goes between the pavers and works to allow some water to move through it while also holding the pavers in place.
Most of the water should flow over this sand and find its way off of the paver surface. This water drainage technique prevents ice from forming that can damage the paver surface.
If there are holes in the joints between your pavers, it’s likely ice will form there and slowly start to work the pavers away from each other, which results in uneven pavers and more significant gaps between pavers.
Avoid Parking Heavy Vehicles
Bulky items like boats and cars often sit for long periods on paver driveways, and the results can be sunken spots under each tire and an overall uneven driveway that can be very costly to repair. It’s best to remove any of these heavy items during the winter months when the pavers will be subjected to freeze and thaw cycles that make them especially susceptible to damage.
If you can’t remove these bulky items, you can quickly try to mitigate the damage by putting sheets of plywood under each wheel or the base of the massive object.
Two-foot square sheets of plywood are large enough for a single wheel and can help disperse the overall weight of the object across a more substantial area while preventing the pavers from shifting as much as they would without the plywood.
If you start to notice a sinking spot beneath the tire or base of a heavy object, it’s best to move it as soon as you see the change. If you can’t put the object on a surface other than the paver surface, consider placing this object on plywood and moving it each week to a different area to prevent damage.
Parking cars on your paver driveway during the winter temporarily is fine and won’t result in long term damage. However, parking your car in the same spot every day and leaving it parked there for hours may start to cause sinking spots. If you have a garage or another surface to park your daily driving car, that’s the best option.
Practice Careful Snow Removal
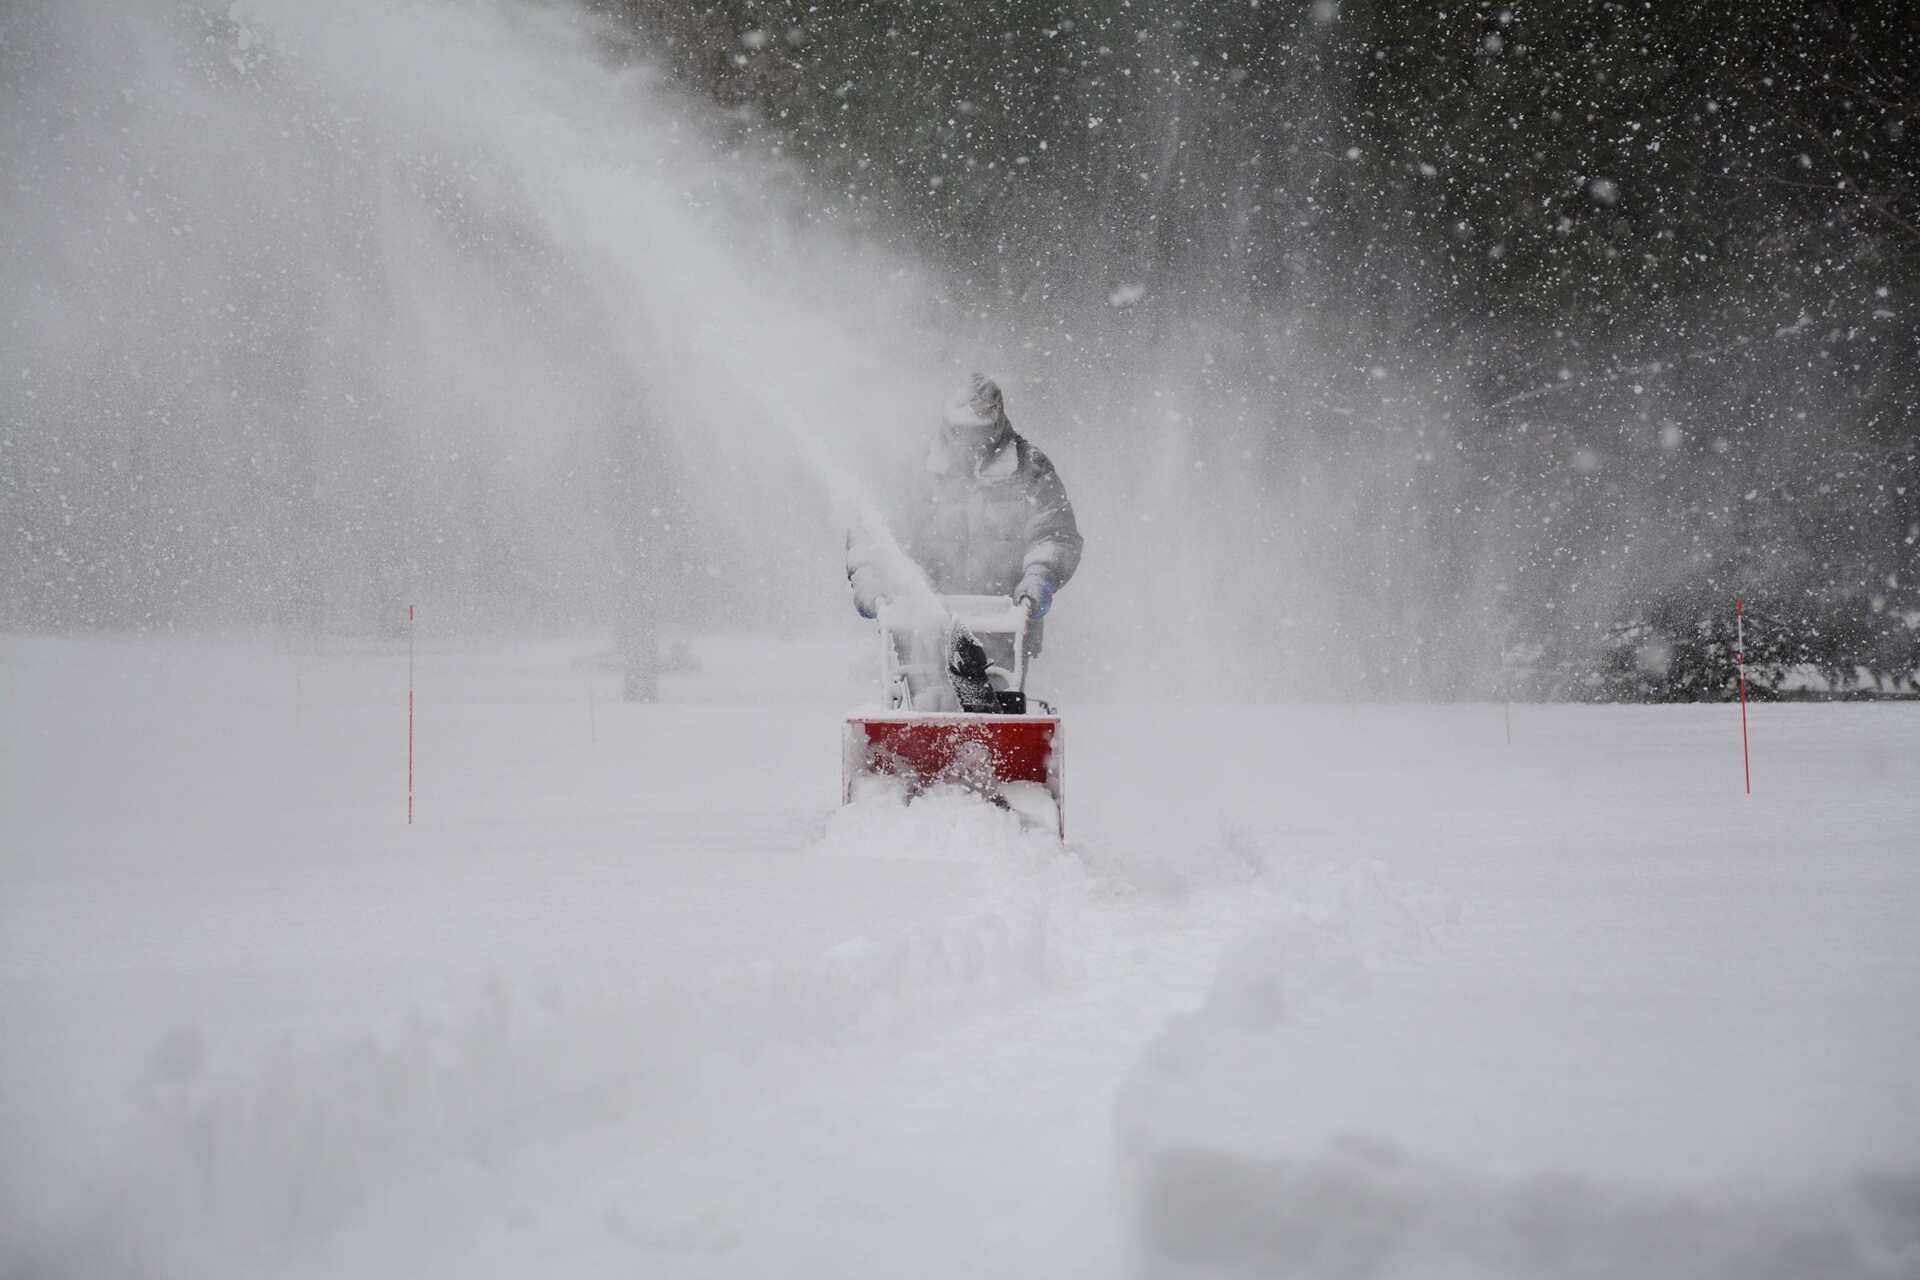
When you winterize a paver driveway, it’s important to remember that
snow removal
is another activity that can potentially damage pavers if not done correctly. Here are our for carefully removing snow without causing damage to the paver surface.
There are usually areas where you will have to remove snow from the pavers such as walkways and driveways, but you must do so carefully and with non-metal tools. For example, conventional snowplows used on commercial trucks are made from metal and could potentially lift several pavers if they catch on the edge of one in your driveway.
Rock salt will also kill nearby plants that you have in landscape beds around your paver driveway. There are several different alternatives widely available at the stores, and a chloride salt is a safe option
that is only slightly more costly.
Keep in mind that you’ll want to apply de-icing pellets regularly, but sparingly as you wish to prevent the formation of ice but not fill up the joints with de-icing pellets. Freeze and thaw cycles might damage your pavers, but these pellets can reduce that risk significantly when used appropriately.
Ready to Start on Your Next Project?
Call us at (763) 568-7251 or visit our quote page.

The legendary architect Louis Sullivan coined a phrase that has driven architecture and design ever since: "form follows function." While aesthetics are critical to buildings and landscapes alike, that physical beauty must always remain secondary to the fundamentals of good design. In Shoreview, Minnesota, just outside St. Paul , we encountered a landscape where, unfortunately, function followed form. Here, the realities and principles of effective drainage were downstream of their original builder's aesthetic choices. That meant water from snowmelt and rainfall was streaming into parts of the lawn where it wasn't meant to be. The standing water that had been allowed to collect in the back and side yards was putting a considerable amount of the property out of play. In order to reclaim usable space and rethink the way the land handled water, this Shoreview homeowner entrusted KG Landscape with identifying key issues, presenting potential solutions, and doing the necessary work the client decided upon to restore their lawn.

On the shores of Lake Minnetonka, perhaps the most famous of Minnesota's 10,000 lakes, an Orono, Minnesota homeowner was struggling with a back yard that was becoming more marsh than yard. The yard was a scenic one. The back porch opened up to the top of a small hill, which rolled down toward the lakefront and the boathouse. This flat space between the hill and the water would be ideal for backyard barbecues, some low-stakes games of bocce and badminton, or simply a spot to lay down a towel and get some summer reading done. Instead, this area was too waterlogged to enjoy. The runoff from the hilltop combined with unfavorable soil composition were limiting the use of the yard, closing off space while even diminishing the quality of the turf. How would this homeowner be able to reclaim this unusable land without disrupting the Lake Minnetonka shoreline that made the property so attractive? To find a solution, they turned to KG Landscape.

Can you use compost as lawn fertilizer in Minnesota? Learn how compost feeds turf, how to apply it, and where it fits. Get a free quote.

Organic weed control for Minnesota lawns: what works, what doesn't, and how to manage weeds without harsh chemicals. Get a quote.

Keep your lawn and your pets safe. Pet-safe lawn care tips for Minnesota yards, from products to timing. Get a free quote.

Looking for the best organic lawn fertilizer in Minnesota? See top options, how they feed your turf, and what KG uses. Get a quote.

Is compost a fertilizer? Learn what compost does for your Minnesota lawn, how it differs from fertilizer, and when to use it. Get a quote.

Compost feeds the soil, fertilizer feeds the grass. Learn which your Minnesota lawn needs, when to use each, and how to apply both. Get a quote.

Eco-friendly lawn care tips for Twin Cities yards: cut chemicals, save water, and build healthy soil naturally. Get a free quote.

Simple, proven lawn care tips for Minnesota yards: mowing, watering, feeding, and building healthy soil that lasts. Get a free quote.