
Say Hello to Your Dream Outdoor Space with This Handy Paver Patio Installation Guide
Ready to transform your outdoor space into a haven for relaxation and entertainment? This comprehensive patio installation guide will help you navigate through the process seamlessly, whether you're a seasoned DIY enthusiast or just starting. From selecting the right materials and tools to laying the foundation and adding finishing touches, we've got you covered. Get ready to bid farewell to mundane outdoor spaces as we dive into the world of creating your dream patio oasis.
The purpose of this article is to help give you the tools information and tools to select the right bedding / leveling aggregate material when installing your patio. This “leveling” layer will be the final step before installing your stone patio material and will have a large impact on the ease of installation and longevity of your patio.
We recommend using either a chipped / crushed rock or course / washed sand. Both materials will provide a solid leveling base for your hardscape with several differences between the two that we will discuss below.
Installing a Paver or Flagstone Patio
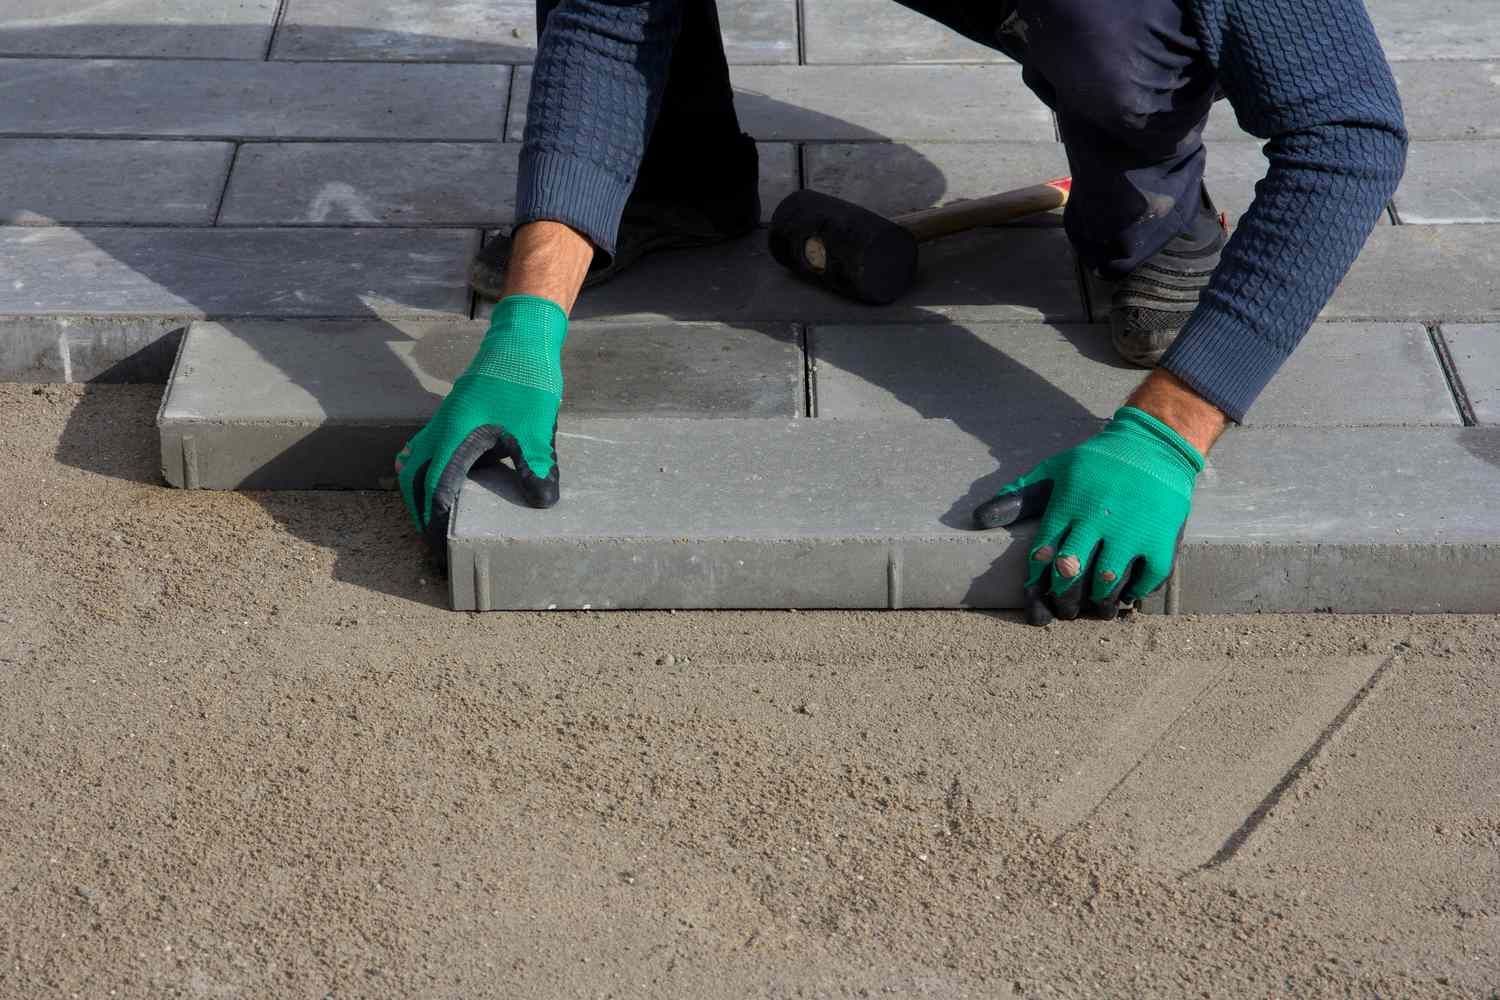
Installing leveling material is very simple process that will be done right before you begin laying your chosen paver/stone material. Our standard installation depth is 1”.

- Excavate Work Area
- Establish Heights and compact subsoil
- Install Geotextile
- Install Base Gravel (typically class 5 or class 2 aggregate
- Compact and slope aggregate for drainage
- Install a bedding Material
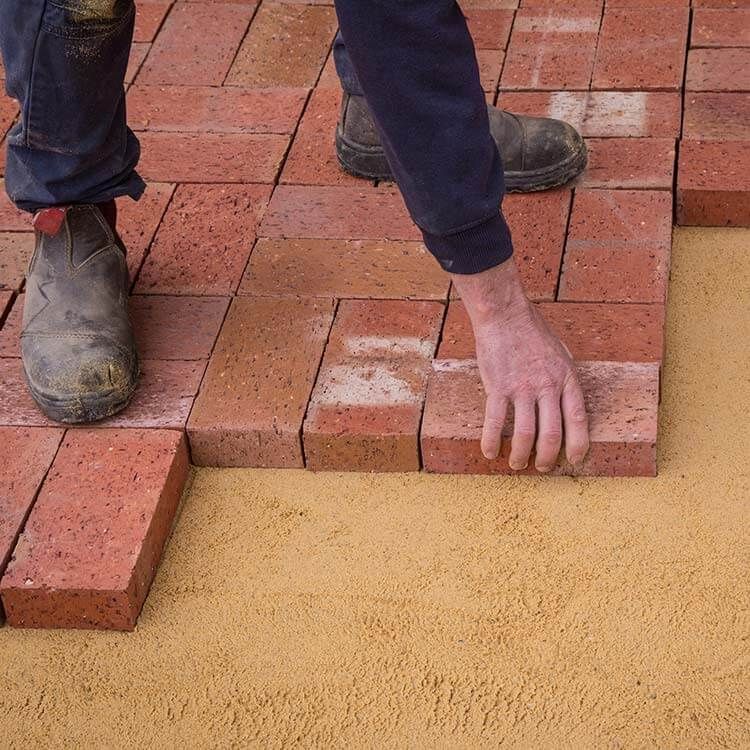
- Install Patio pavers, brick or flagstone Material
- Finish with compaction/paver sand/edging
- Install polymeric sand between paver seams
Selecting the Right Bedding Material for a Patio
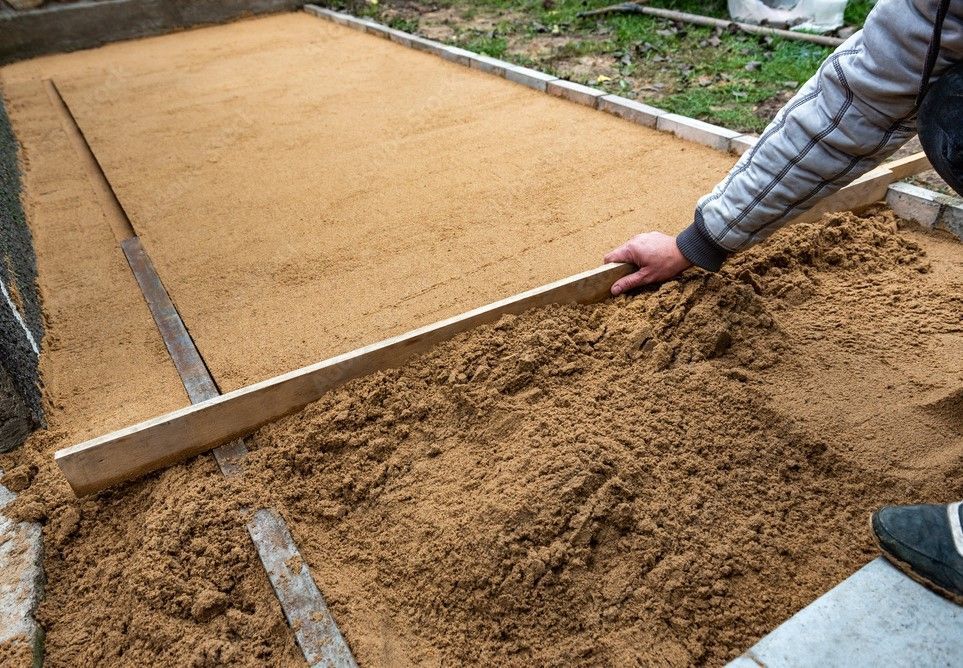
Leveling Sand
The most common material we will use for leveling purposes is sand, commonly called coarse sand or construction sand. The benefits of using this are many and are listed out below:
Pros:
- Sand is easy to work with and packs down well
- Provides solid drainage
- Sand is widely available, almost all landscape supplies will carry it
- Is forgiving and allows for slight adjustments to help level pavers when setting them in place
- Provides good shock absorption for areas that experience heavy traffic (both foot and vehicular)
- Good thermal properties (it absorbs and retains heat)
- Last but not least, sand has a low cost when compared to other similar materials
Cons:
- If the edges of your hardscape are not secure, the sand can migrate over time and could spill out
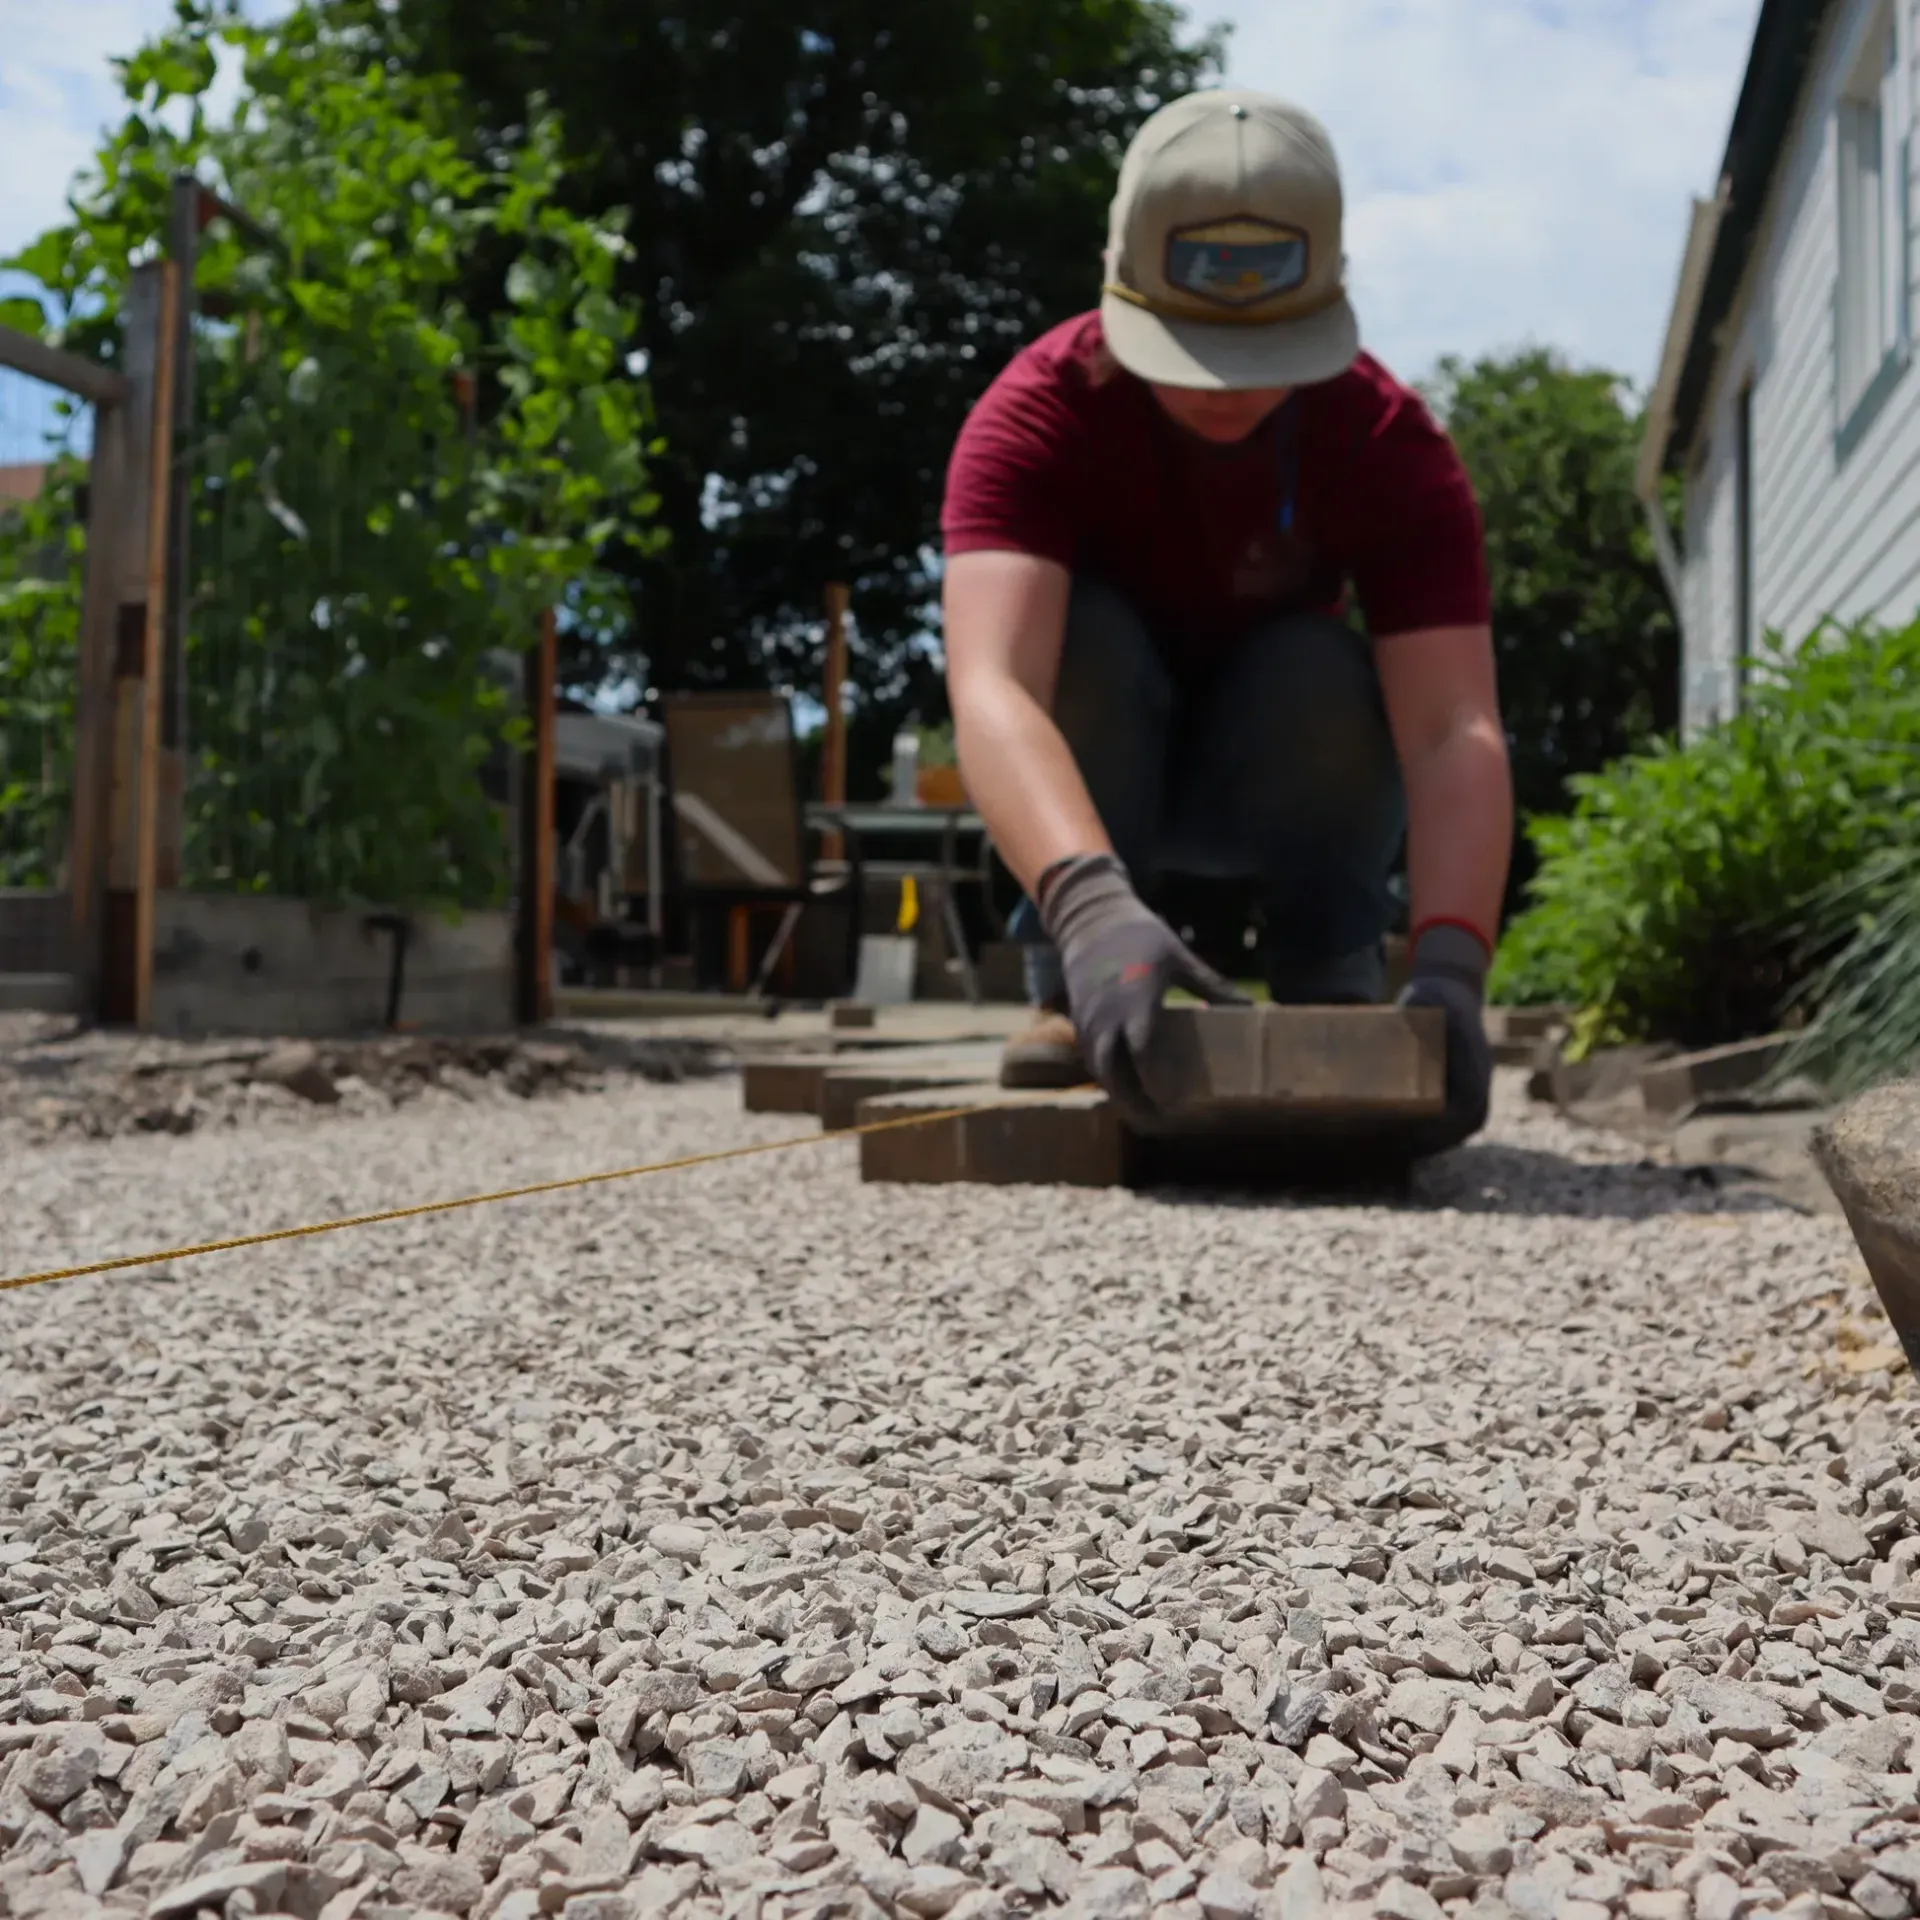
Crushed Rock
Chipped rock offers many of the same benefits that we will list out below. The key difference between the two materials will come down to price. We will typically use a 3/8” crushed trap or granite chips for this purpose. The big thing to look for when using a rock product is to ensure that the pieces are irregular/angular in shape. Round rock such as pea gravel does not “lock” into place like irregular/angular pieces do and should never be used for this purpose.
Pros:
- Excellent drainage properties
- The ability to hold and support heavy material
- Provides an additional barrier of weed control
- Does not require as much compaction when installing
Cons:
- The installation is more labor and time intensive, the material does not allow for compaction so it must be installed perfectly prior top setting your stone/pavers in place
Other Concepts to Consider When Installing Bedding Material
When it comes to installing bedding material, consider factors like drainage, soil type, and plant selection. At KG Landscape, we understand the importance of these additional concepts to ensure your outdoor spaces are not only beautiful but also sustainable and functional. Let's work together to create the perfect landscape for you.
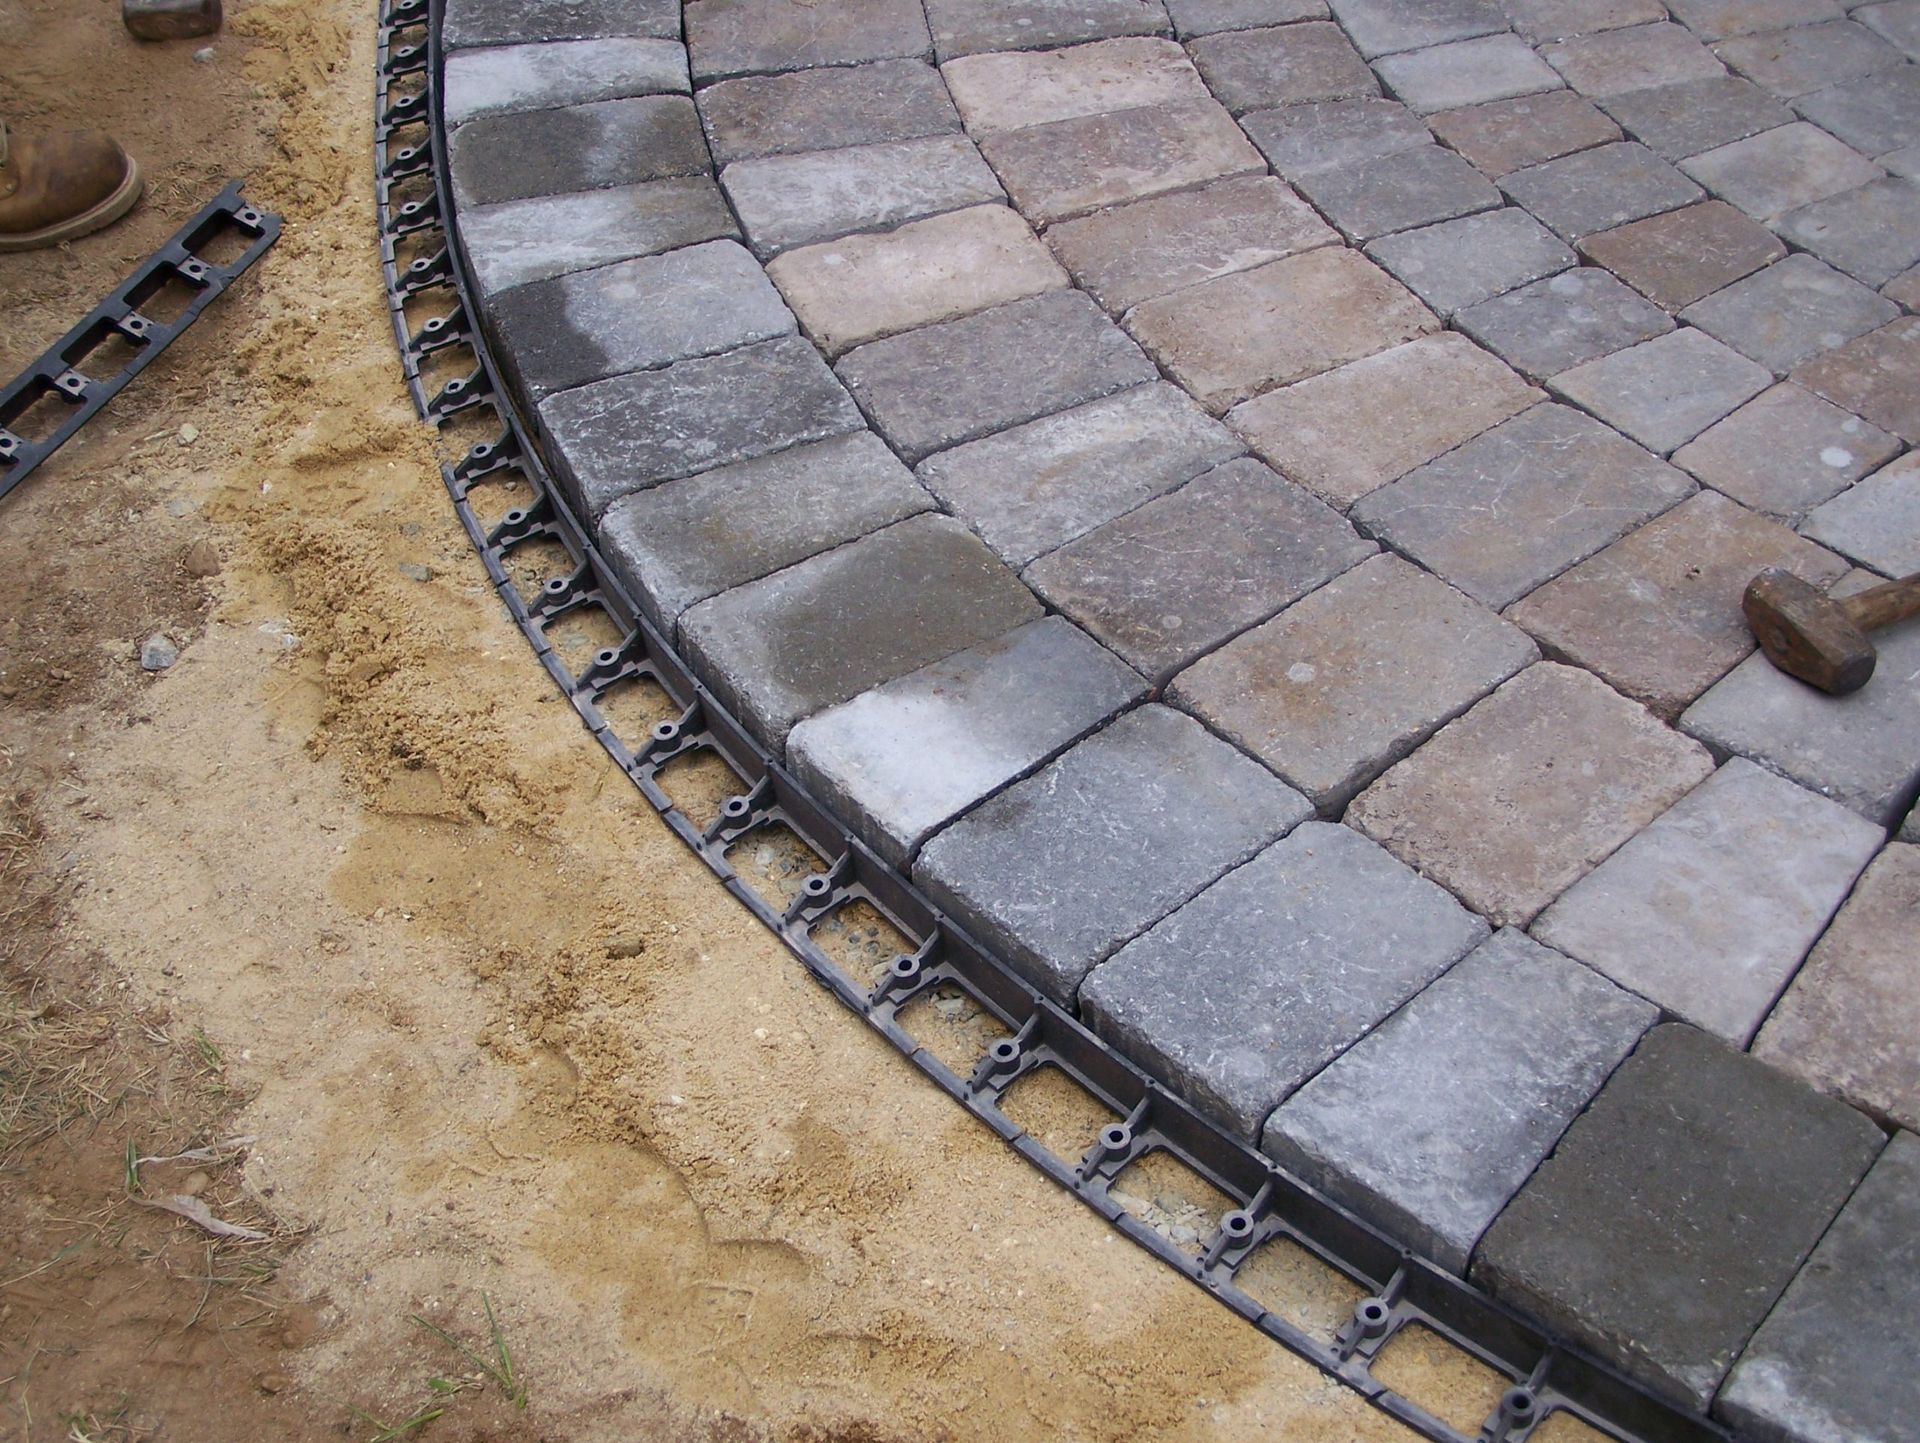
Securing the Edges / Preventing Washout of Base and Bedding Material
With all stone patios you will need to have a plan to secure your edges. This is done to not only fix your hardscape pavers/stone in place, but to keep your base material and leveling layer from spilling out from under your pavers/stone. The standard material that KG Landscape uses for this is a poly snap edging product that can be found at all landscape supply options. To go a step further you can install a concrete edging that completely prevent any movement of your base material and hardscape installation.
Cost
Depending on your location, leveling sand is typically a cheaper option.
Climate
Our climate in Minnesota will factor into what materials we use on our patios. We have to account for the freeze-thaw cycle and will therefore need to use materials that have drainage properties. Both sand and chipped rock feature good drainage properties.
Soil Type
Follow this
Link
to see a detailed map of the soil type found in Minnesota.
- Loam – Mixture of sand silt and clay, which requires less emphasis on drainage, we would typically use sand for this soil type
- Clay – Retains water and has poor drainage properties. We will use either sand or chipped rock depending on the paver/stone that we are installing.
- Sandy Soil
- Drains quickly, once again less of an emphasis on drainage properties and more on support. As long as your base has been stalled correctly, sand would be the typical option for this type of soil condition.
Aesthetic
You will also want to keep in mind the finished look of your hardscape installation. If you are creating a pathway that would have large gaps between the pieces, we would recommend using a chipped rock for a finished look.
Types of Stone Patio Materials
The material you are using for your patio will factor into what type of leveling material you should use. For more info about patio design and material options,
visit our patio construction page
.
- Concrete Pavers and Brick – we will typically use sand for leveling a brick or paver feature when stone sizes are less than 1.5 square feet per piece
- Natural Stone/Flagstone/Bluestone – for larger pieces of stone such as flagstone or a bluestone we will start looking at using chipped rock when stone pieces exceed 2 square feet per piece or 24”x24”

- Porcelain Pavers – either sand or chipped rock can be used for this material. Once the pieces start getting larger than 24”x24” we would recommend using chipped rock for its better supportive properties.

In conclusion
installing a complete patio involves careful planning, precise measurements, and patience. From selecting the right materials to preparing the base and laying the pavers, each step is crucial for a successful installation.
KG Landscape recommends using either sand or 3/8” chipped rock for your patio/paver leveling needs. Both provide a solid option for your leveling layer with several differences. Be sure to check if there are any local building codes or regulations that you would need to consider when choosing a material. Contact us today If you would like to have one our experts, come out and offer further advise on installing hardscape at your location.
KG Landscape recommends using either sand or 3/8” chipped rock for your patio/paver leveling needs. Both provide a solid option for your leveling layer with several differences. Be sure to check if there are any local building codes or regulations that you would need to consider when choosing a material. Contact us today If you would like to have one our experts, come out and offer further advise on installing hardscape at your location.
Ready to Start on Your Next Project?
Call us at (763) 568-7251 or visit our quote page.

The legendary architect Louis Sullivan coined a phrase that has driven architecture and design ever since: "form follows function." While aesthetics are critical to buildings and landscapes alike, that physical beauty must always remain secondary to the fundamentals of good design. In Shoreview, Minnesota, just outside St. Paul , we encountered a landscape where, unfortunately, function followed form. Here, the realities and principles of effective drainage were downstream of their original builder's aesthetic choices. That meant water from snowmelt and rainfall was streaming into parts of the lawn where it wasn't meant to be. The standing water that had been allowed to collect in the back and side yards was putting a considerable amount of the property out of play. In order to reclaim usable space and rethink the way the land handled water, this Shoreview homeowner entrusted KG Landscape with identifying key issues, presenting potential solutions, and doing the necessary work the client decided upon to restore their lawn.

On the shores of Lake Minnetonka, perhaps the most famous of Minnesota's 10,000 lakes, an Orono, Minnesota homeowner was struggling with a back yard that was becoming more marsh than yard. The yard was a scenic one. The back porch opened up to the top of a small hill, which rolled down toward the lakefront and the boathouse. This flat space between the hill and the water would be ideal for backyard barbecues, some low-stakes games of bocce and badminton, or simply a spot to lay down a towel and get some summer reading done. Instead, this area was too waterlogged to enjoy. The runoff from the hilltop combined with unfavorable soil composition were limiting the use of the yard, closing off space while even diminishing the quality of the turf. How would this homeowner be able to reclaim this unusable land without disrupting the Lake Minnetonka shoreline that made the property so attractive? To find a solution, they turned to KG Landscape.

Can you use compost as lawn fertilizer in Minnesota? Learn how compost feeds turf, how to apply it, and where it fits. Get a free quote.

Organic weed control for Minnesota lawns: what works, what doesn't, and how to manage weeds without harsh chemicals. Get a quote.

Keep your lawn and your pets safe. Pet-safe lawn care tips for Minnesota yards, from products to timing. Get a free quote.

Looking for the best organic lawn fertilizer in Minnesota? See top options, how they feed your turf, and what KG uses. Get a quote.

Is compost a fertilizer? Learn what compost does for your Minnesota lawn, how it differs from fertilizer, and when to use it. Get a quote.

Compost feeds the soil, fertilizer feeds the grass. Learn which your Minnesota lawn needs, when to use each, and how to apply both. Get a quote.

Eco-friendly lawn care tips for Twin Cities yards: cut chemicals, save water, and build healthy soil naturally. Get a free quote.

Simple, proven lawn care tips for Minnesota yards: mowing, watering, feeding, and building healthy soil that lasts. Get a free quote.