Landscape Design to Highlight a Flagpole

Installing a flagpole in your yard can be as simple as putting it up and flying a flag. Some people, however, like to incorporate it a bit more into their landscaping. The most important thing to keep in mind is that you want to keep the flag as the focal point, and not do anything to detract from that. In this post, we’ll explore a few options to highlight a flagpole.

Garden Bed

A popular option is to install a round or half-moon garden bed around your flagpole. The design somewhat depends on the existing greenspace and where you’d like to place the pole. If you opt for a non-circular bed, just be sure the flagpole is centrally located within it. As for the size, one source recommends making the diameter of the garden bed at least one third the height of the flagpole. In other words, if your flagpole is 20 feet high, you would want a bed that is about 7 feet wide or larger. This will keep everything looking to scale—a tiny flower garden next to a tall pole can look silly.

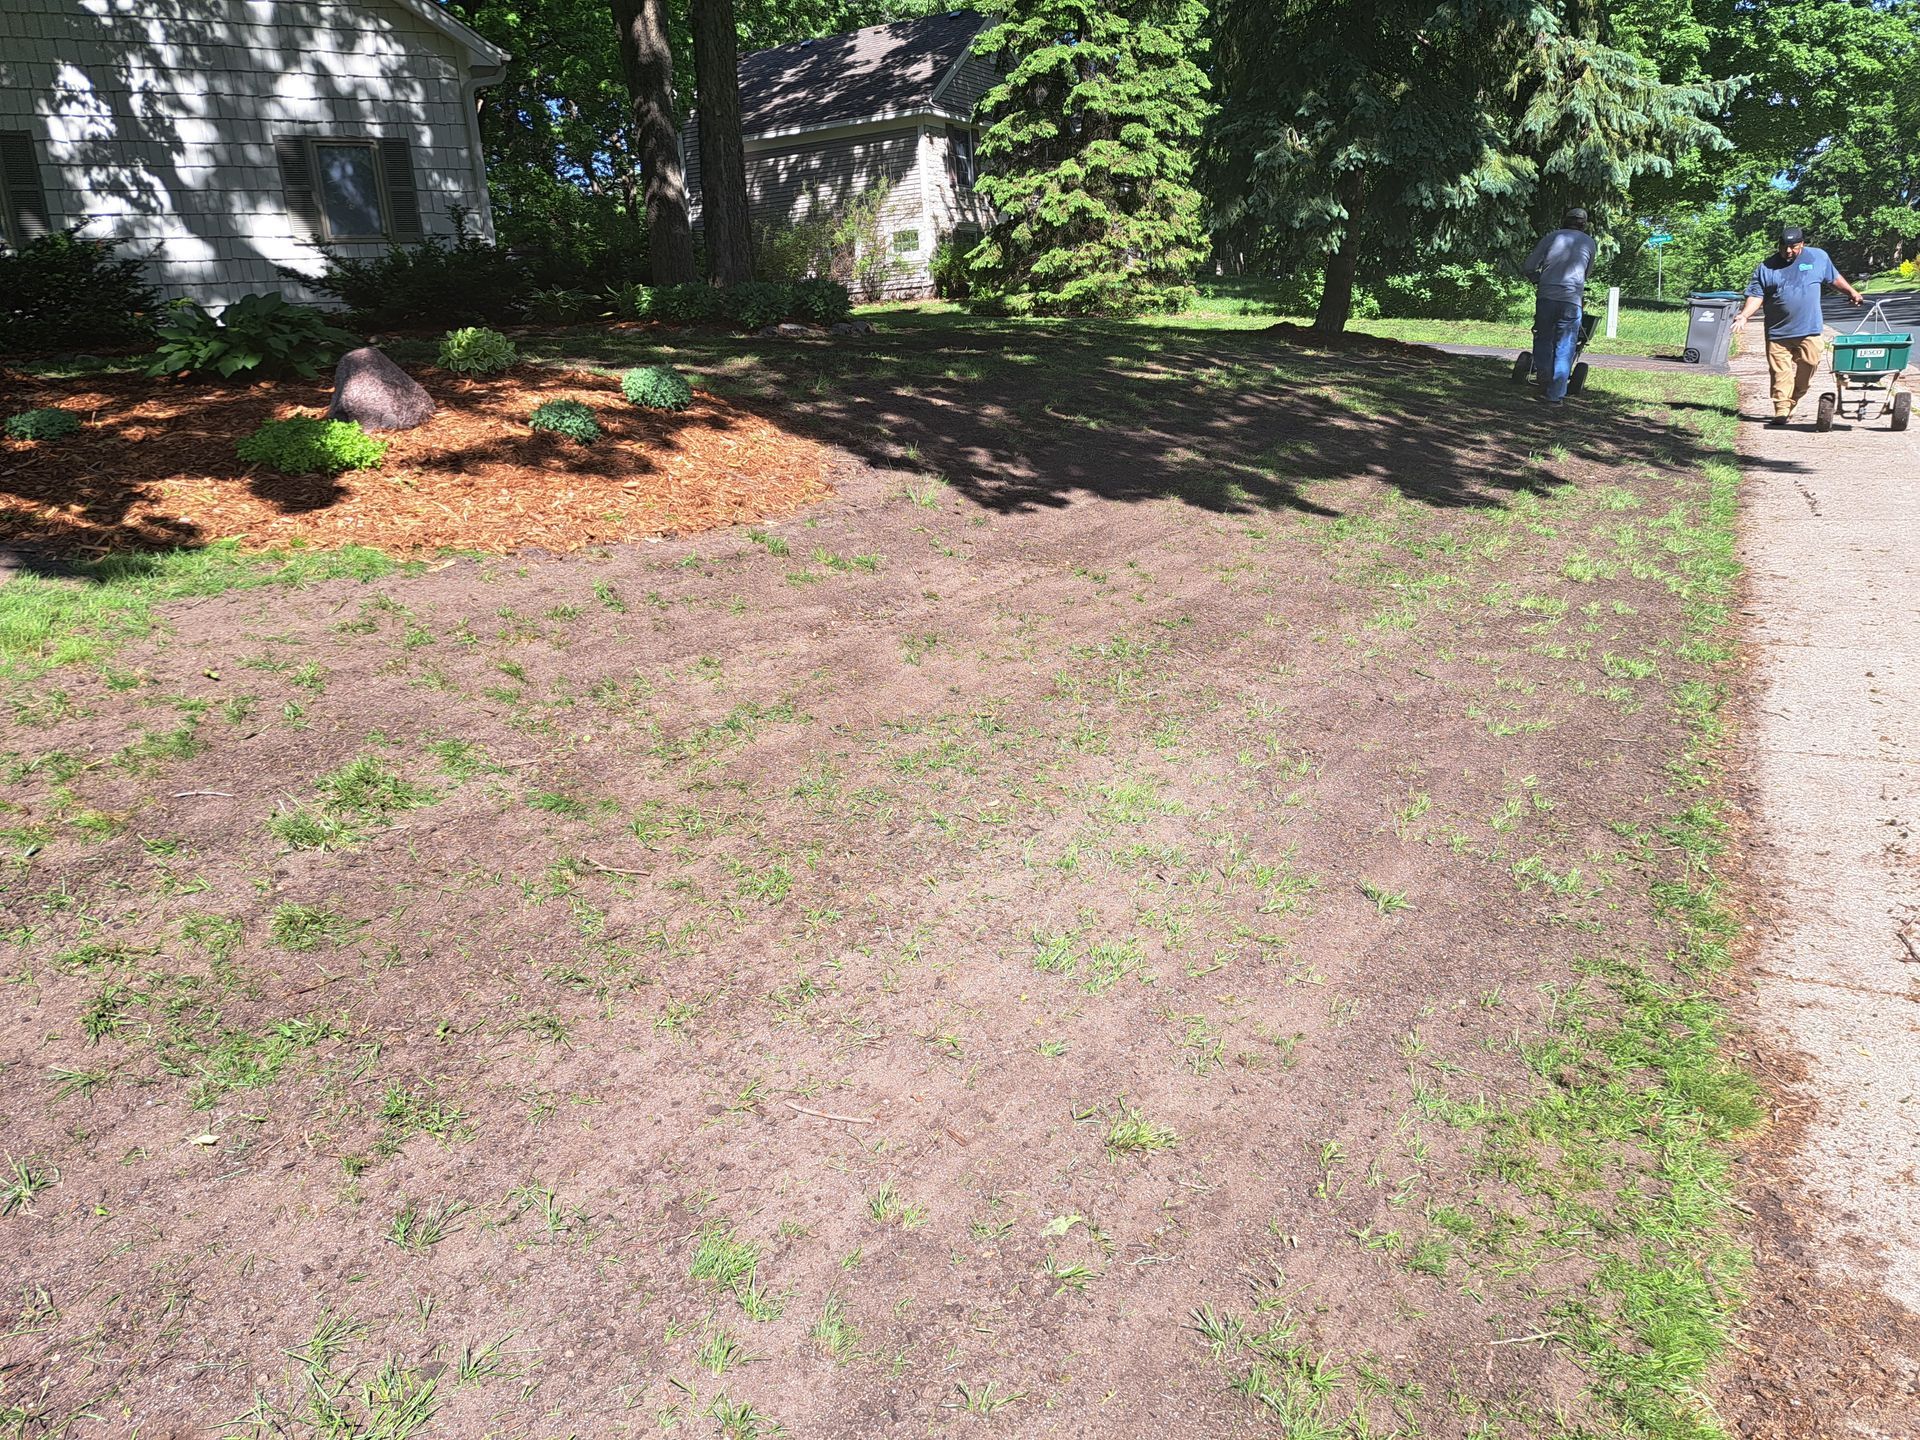
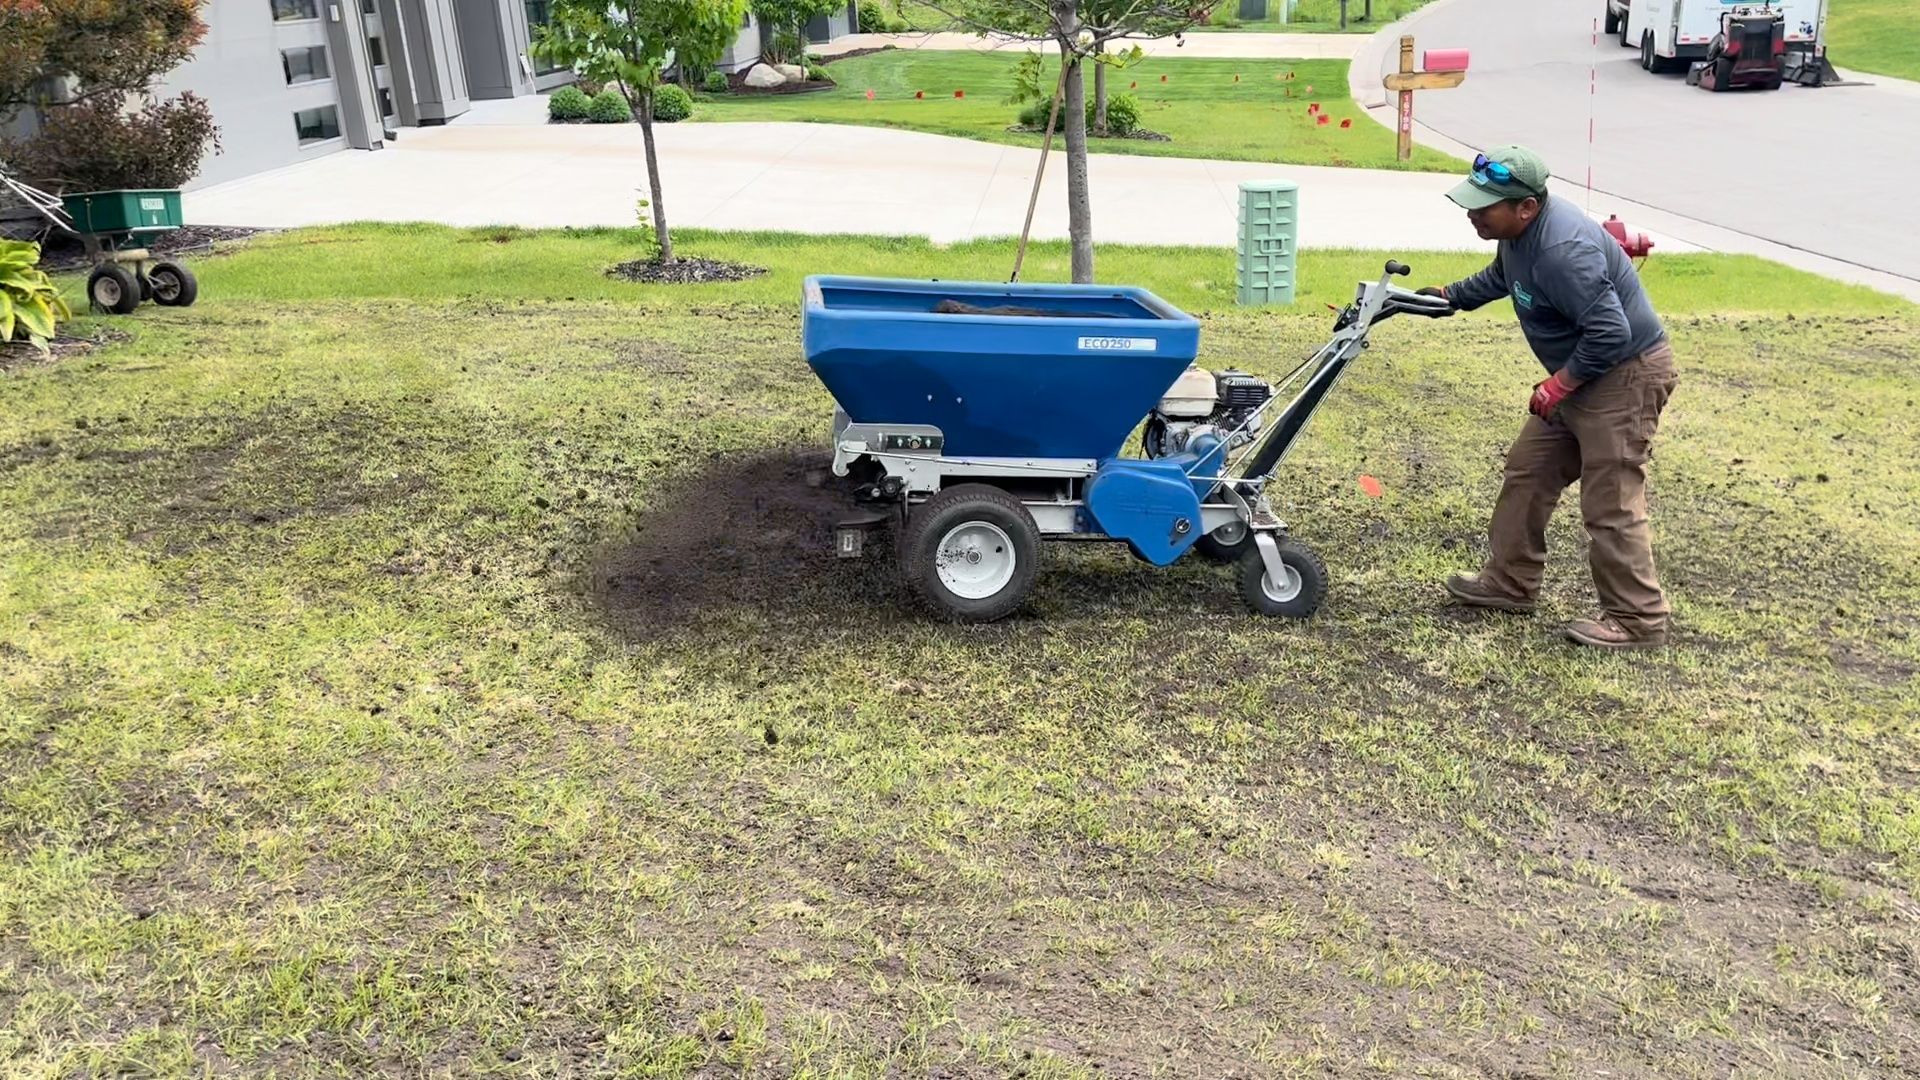
If the ground is already pretty flat where you plan to put your flagpole, you don’t much prep before planting flowers and shrubs—just a cleared spot and some edging . If the location is on a slope, or if you want the flagpole to seem like it’s on a platform, you could build a small retaining wall around it. Besides providing level ground for your plantings, the wall will keep weeds and grasses from invading the garden space.

When it comes time to plant, there are formal and informal designs. A formal design will have “layers” of plants, with taller shrubs or ornamental grasses closest to the pole, then mid-height shrubs or flowers, followed by flowers that are closer to the ground on the outside. For varied looks throughout the season, plant this outer layer with annuals and replace them as desired. Plant with one color to keep the eye moving toward the flagpole. A more informal design is usually made up of perennial shrubs or ornamental grasses scattered throughout the bed. Whichever design you choose, we recommend mulching the bed. Mulch will help retain moisture, cut down on weeds, and looks nice.

A larger flower bed with a more formal design surrounds a flagpole.

Hardscape Options

Don’t feel like having one more garden bed to maintain, or looking to incorporate the flagpole into existing hardscaping? No problem! One attractive option is to arrange paving stones in a circle around the flagpole. If you still want some greenery, plant flowers or shrubs around the outside of the circle.

Another option is to fill the circle around the flagpole with landscaping rock. It requires minimal maintenance and gives a classic, clean look around your flagpole.

This design combines rock with pavers around the edge for a clean look.

Finally, some people incorporate stepping stones into their flagpole landscape design. These provide an easy path to the flagpole to raise or take down the flag, or to provide any maintenance. Stepping stones come in a variety of colors and designs, so you’re sure to find something that fits your landscaping.

Outdoor Lighting

Installing outdoor lighting on or near the flagpole is a great idea if you don’t want to take the flag down every night. The lights can also show off the landscaping you’ve worked so hard to maintain, though of course the main emphasis should be on the flag. As with other aspects of design, there are many options, and you’re bound to find something that works perfectly with your landscaping.

Not sure how to incorporate a flagpole into your landscape design project? Our experts are happy to help you come up with a design. Give us a call at 763-568-7251 or send us a message using our quote  page  today.

Ready to Start on Your Next Project?

Call us at (763) 568-7251 or visit our quote page.

By Kent . October 16, 2025
Plymouth’s clay soil causes soggy lawns, sinking patios, and constant sump pump issues. Learn how smart drainage design fixes it for good.
By Kent . October 14, 2025
Minnetonka snow removal done right means safety, efficiency, and property protection—not just plowing. Learn how true winter care works.
By Kent . October 11, 2025
Plymouth drainage problems? Fix soggy clay soil and prevent foundation and patio damage with smart drain tile, grading, and discharge solutions.
By Kent . October 5, 2025
Edina lawn fertilization: seasonal strategies for lasting color and health. Expert insights on timing, topdressing, and soil care.
By Kent . October 2, 2025
Design a Minnetonka outdoor kitchen built for all seasons — cedar, stone, and smart drainage make year-round living effortless.
By Kent . October 1, 2025
Medina lawn experts explain how healthy soil—not chemicals—creates lasting weed control through aeration, overseeding, and topdressing.
By Kent . October 20, 2025
Medina drainage experts explain how French drains and drain tile systems fix clay soil water issues and prevent muddy lawns and shifting patios.
By Kent . September 29, 2025
Edina patio and pool drainage: protect your investment with smart design and precision installation that keeps surfaces beautiful, safe, and stable year-round.
By Kent . September 28, 2025
When Pergolas Don’t Last, There’s Always a Reason After nearly two decades of building outdoor spaces across Medina, I’ve seen what happens when pergolas aren’t designed for Minnesota’s conditions. You can spot them a mile away—posts that lean, beams that twist, and concrete pads that have heaved out of level after just a couple of winters. It’s not because homeowners cut corners intentionally. It’s usually because whoever built it didn’t account for what our climate really does to structures that aren’t anchored right. Medina’s heavy clay soil doesn’t drain well. It holds moisture, freezes solid, and then expands like a hydraulic press pushing on everything above it. When pergolas are set on surface-level post bases, that pressure has nowhere to go but up—and the whole thing moves. Even small shifts can cause joints to separate, wood to crack, and hardware to loosen. That’s how a $15,000 structure starts looking tired after a few years instead of standing straight for decades. The truth is, pergolas here aren’t just about shade or looks. They’re about structure, drainage, and how every piece ties into the patio beneath it. A pergola that stands tall through Minnesota winters is built on the same principles as a good foundation—it’s only as strong as what’s underneath it. If you live in Medina and want to enjoy your backyard without worrying about your investment warping or sagging, start with design that respects the environment it’s built in. That means thinking beyond lumber and stain colors. It means understanding soil movement, water management, and the importance of integrating your pergola with the patio below it.
By Kent . September 27, 2025
Solutions for Properties in Minnetonka You can always tell a Minnetonka yard that’s fighting its slope. Water doesn’t lie, it finds the weak spots every time. I’ve walked plenty of properties where a backyard starts beautiful in June, but by September, the patio is heaving, the grass near the pool looks like a marsh, and the homeowner is wondering how it got so bad so fast. The truth is, when you’re dealing with rolling terrain and heavy clay soils like we have around Minnetonka, you can’t just move dirt and hope gravity behaves. You need a plan that manages water from the surface all the way down through the subsoil. This is what I’ll walk you through here. You’ll see what actually causes drainage issues on sloped properties, how poor planning leads to cracked patios and shifting pool decks, and the smart drainage systems that can stop those problems for good. Whether you live near Lake Minnetonka or up in the higher ridges closer to Deephaven or Woodland, understanding how your yard sheds water is the difference between a property that lasts and one that’s constantly under repair. The Real Challenge of Sloped Minnetonka Yards Minnetonka is known for its hills, lakefront properties, and mature trees, but all that beauty comes with a set of challenges below the surface. Most of the soil here is dense clay. It holds water like a sponge and drains slowly, which means after every heavy rain, that water looks for a way downhill. If it doesn’t have a proper outlet, it ends up collecting right where you don’t want it, like along your patio, at the base of a retaining wall, or near your pool deck. I see this every season: homeowners trying to solve slope problems with a quick regrade, a layer of rock, or a simple surface drain. Those things might help for a while, but they don’t address what’s really happening underground. Clay soil doesn’t just get wet—it becomes saturated, expanding and contracting with every freeze-thaw cycle. When that happens under a patio or wall, it doesn’t matter how well-built the surface looks. The ground will move, and that movement cracks stone, shifts pavers, and slowly tears apart everything on top. The other challenge with sloped lots is how water interacts with gravity. It accelerates downhill, gaining momentum as it goes. When it hits a flat area like a patio, the water loses speed but not volume, pooling instead of flowing. That’s why I tell clients that “flat spots” on a sloped property are both an opportunity and a responsibility. They’re the best spaces to create usable outdoor areas, but they have to be engineered to handle water movement. I’ve worked on plenty of Minnetonka yards where the backyard has a beautiful view but terrible grading. You can have a perfect slope on paper, but if it directs water toward your house or creates a bowl effect between structures, you’ll end up with soggy soil and standing puddles that never dry. The goal is to move water off and away while keeping the surface level enough for comfort and usability. It’s a fine balance, but when it’s done right, it completely transforms how a property functions.