
Rain Garden: Everything You Need To Know
What is a rain garden?
A rain garden is a garden of native shrubs, perennials, and flowers planted in a small depression . It is designed to temporarily hold and soak in rain water runoff that flows from impermeable surfaces like roofs, driveways, patios or lawns. A rain garden is not a pond, wetland, or water garden. Actually, they are dry most of the time. It typically holds water only during and directly following a rainfall event. If built correctly, rain gardens will drain within 12-48 hours and will not breed mosquitoes.
Why do people build them?
For the environmentally friendly person, rain gardens are an essential part of just about any yard. They are effective at removing up to 90% of nutrients and chemicals and up to 80% of sediments from the rainwater runoff. Compared to a conventional lawn, rain gardens allow for 30% more water to soak into the ground. Stopping all those chemicals, foreign debris, and materials from getting into the sewer drain helps keep our lakes and streams clean.
In Minnesota, rain gardens are commonly used for new build houses where the new house is adding to the impermeable surface area on the lot. You add to the impermeable surface by making a bigger roof and driveway than was on the property previously. So homeowners buy an old home and lot, build a new, larger house, and then have to solve the issue of having less lawn space and more impermeable space. Most cities in the Twin Cities want to keep all the water that was on the lot originally on the lot after the new house. Thus, engineers design rain gardens as a holding area for the extra water that is created. With a rain garden, the neighbors are happy because then they aren’t getting more water on their property, the city is happy because all the water is staying on the property, and the new homeowners are happy because they have a bigger, nicer house.
What can go wrong with a rain garden?
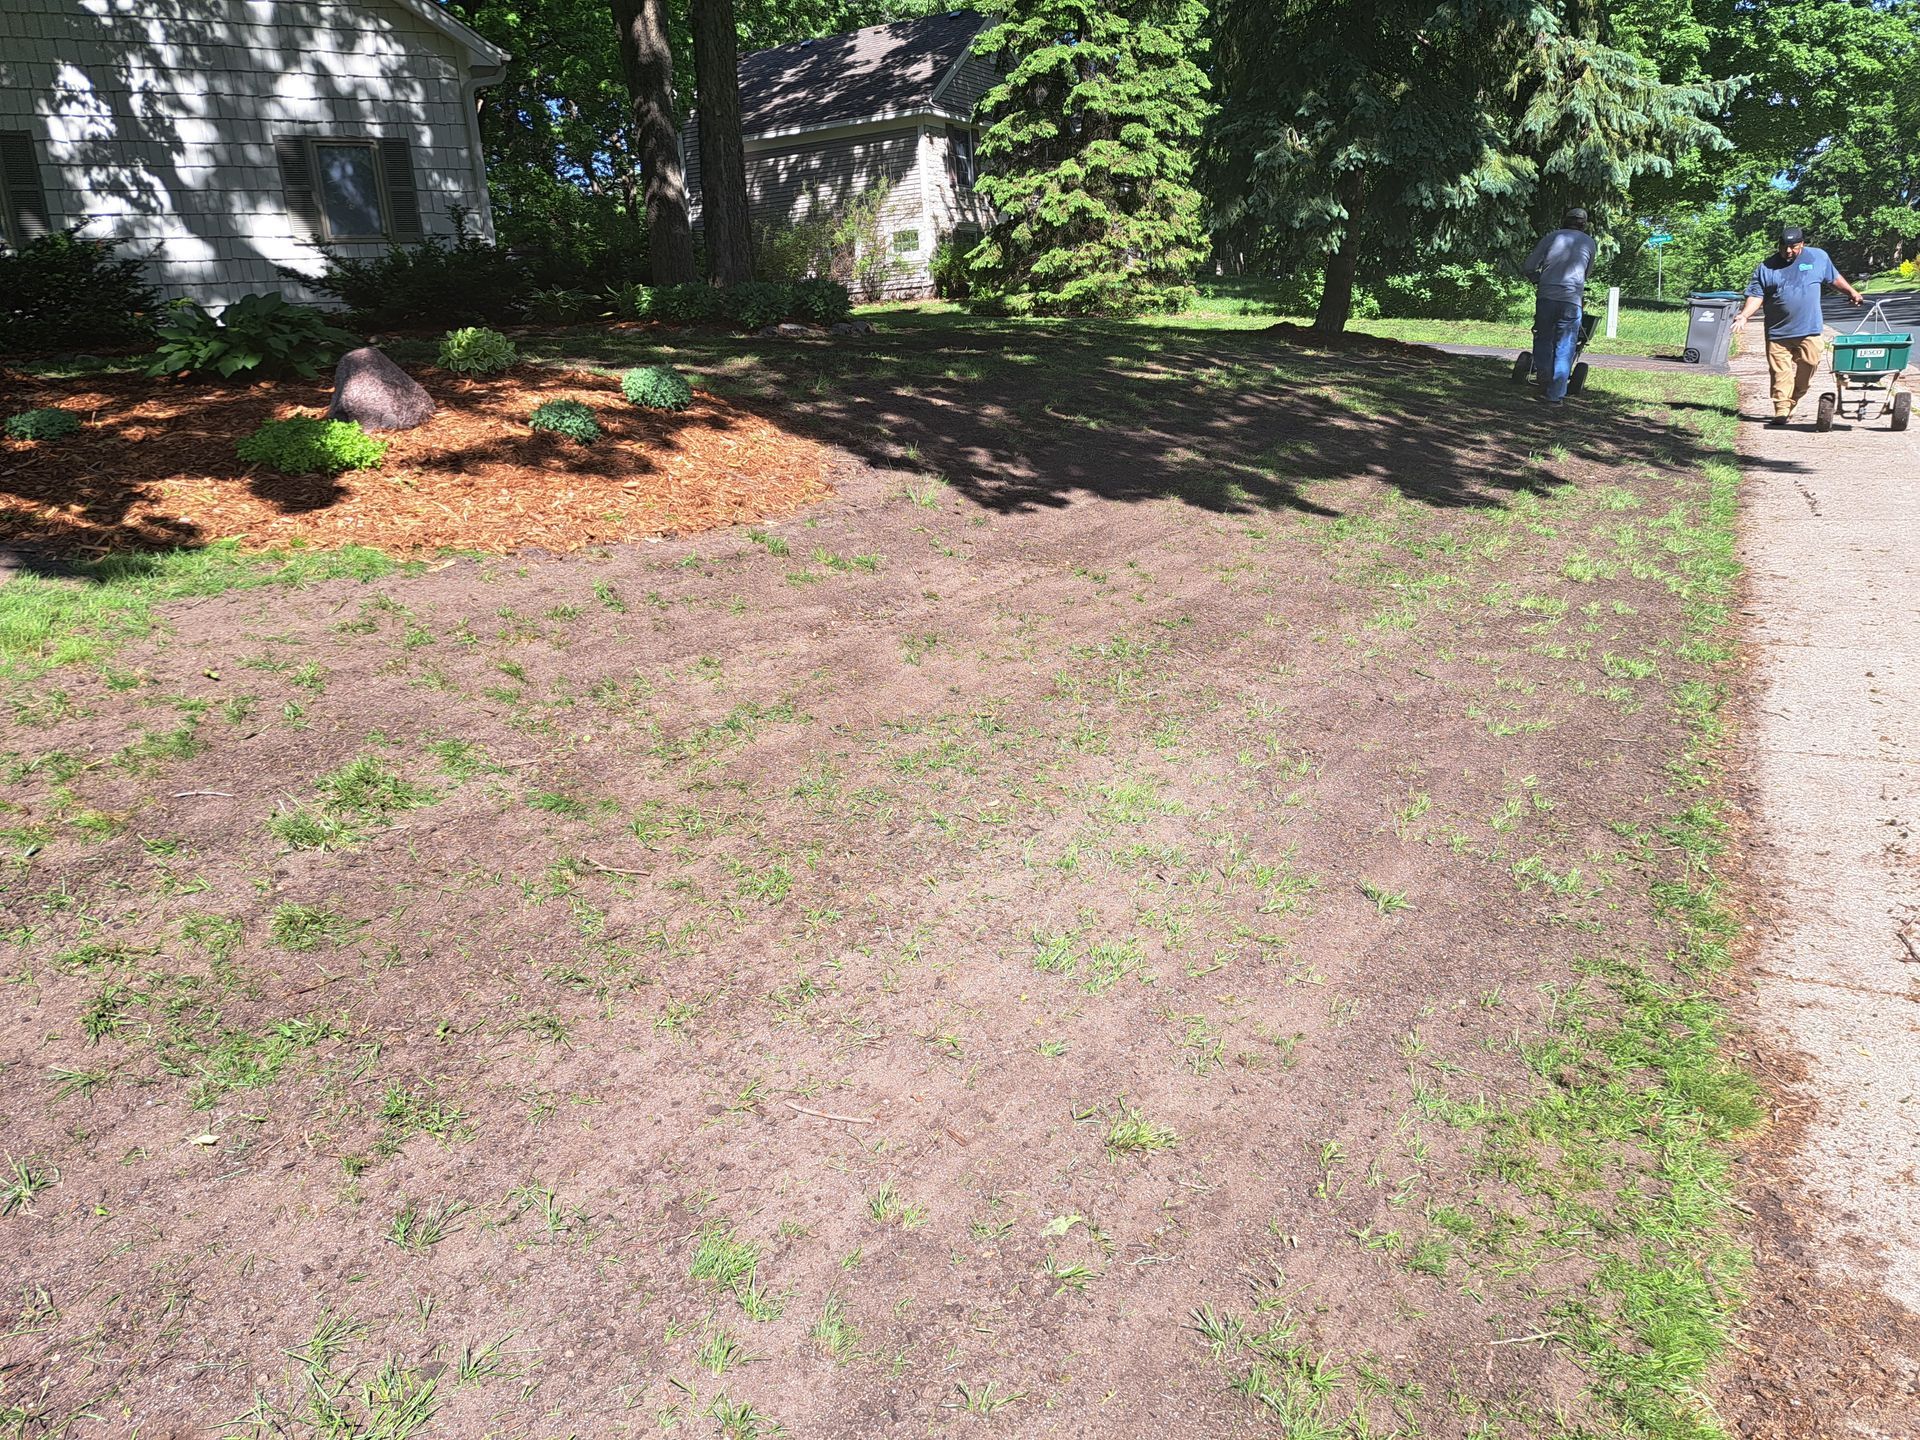
There are two factors that typically lead to bad rain garden designs, the size of the garden and the soil used in the garden. Engineers do a great job designing rain gardens that fit the specific size requirements for the new home so the home gets approved by the city. They usually do not take into account existing drainage issues or grading issues from before the new home. Designing for the requirements of the new home or landscape and not the overall landscape needs can be disastrous later on. There is a cost analysis that comes into play when talking about the size of the rain garden, however. The bigger the garden, the bigger the cost of course.
Also, home builders like to use soil that holds more water like organic soil but that kind of soil is super mushy when it’s wet. The mushy soil compounds any existing drainage issues by not allowing water to permeate into the ground. Sandy soil like the sand on a beach, stays more firm when it’s wet. The kind of soil on the lot originally drastically effects the rain garden considerations. Clay-y soil needs a bigger rain garden while sandy soil does not need a large one. Typically rain gardens are smaller than they should be because of these short sighted design considerations.
Rain Garden vs. Dry Well:
If a rain garden is not possible on a property or the cost analysis doesn’t work out, there are a few different ideas. You can install and increase the size of a french drain
which has a similar purpose. Alternatively, you can install a dry well
with or without a pump. Long story short, there’s a lot that goes into building a rain garden and there are options if the rain garden is not available.
Rain gardens are an aesthetic choice for plants and a landscape feature that is visible to everyone. Rain gardens will be full of water after a rain so seeing that is a personal choice. They can also take up quite a big area of a lawn. Dry wells are more hidden and take up a smaller area. Dry wells allow for more freedom to do other things in the yard like grass or different landscape choices than a mulched plant bed. But dry wells tend to be more expensive.
Example of a dry well
Tips and Tricks Before Installing a Rain Garden
Soil Tests Before Installing a Rain Garden
Water Table
– This goes without saying but don’t install a rain garden within 2 feet of a water table. Installing one that close to the water table can cause contamination and other issues. The rain garden also wouldn’t drain fast enough.
Soil Type
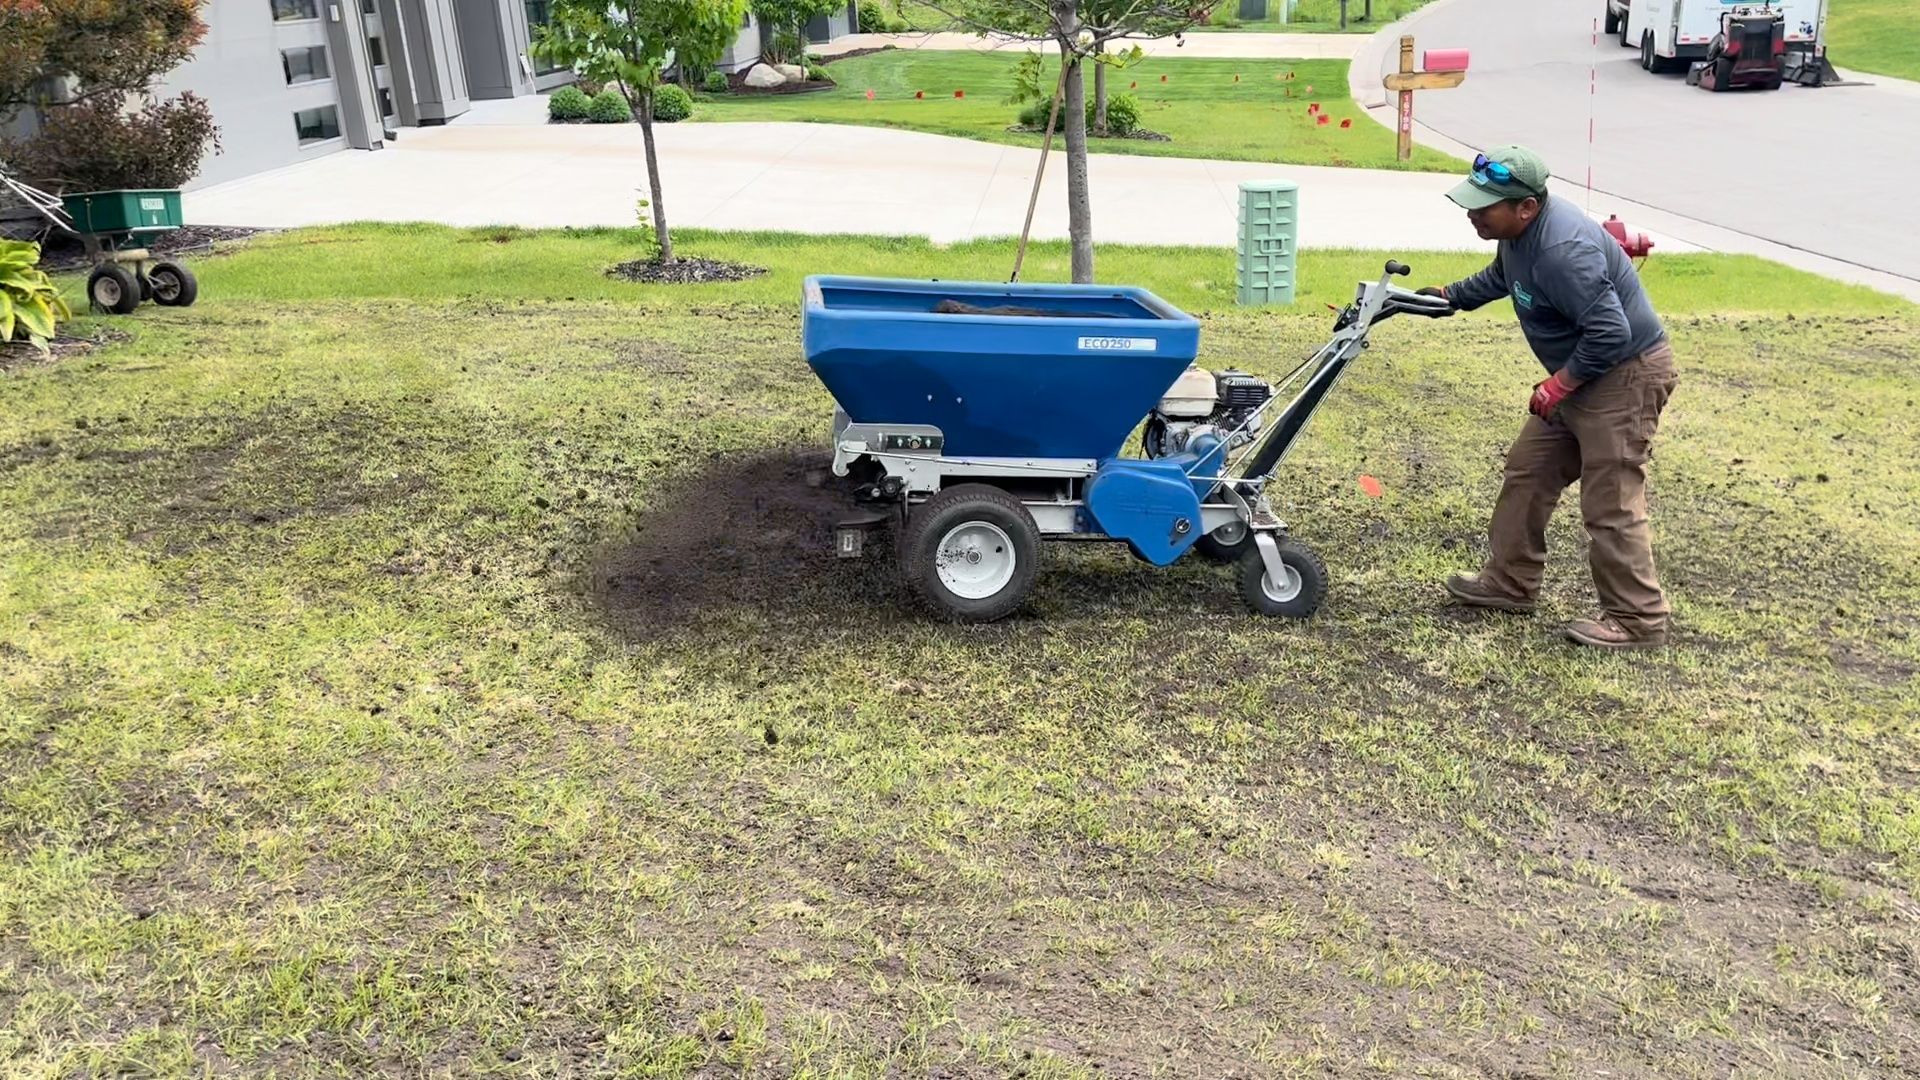
– Collect a ball of soil from about 4-6 inches below the surface of the soil and do a ribbon test. If the soil ribbon is less than 1-2 inches long, you have okay soil. If it’s longer than 1-2 inches, you will absolutely need soil amendments to correct the rain garden soil. Most properties need soil amendments.
Soil Compaction
– Stick a wire flag in the ground. If the wire can go down into the soil 6-8 inches easily, you’re good. If it doesn’t, there would need to be some work done before installing.
Infiltration Rate
– As discussed above, sandy soils allow more water to penetrate and soak into the ground. Clayey soils stop water from filtrating and are very, very bad for a rain garden. You can do a filtration test for a rain garden site but very, very few areas are ready for a rain garden without soil changes. Also, when you’re designing a rain garden for a new build site there are certain soil percolation rates that have to be met. You can see the chart below for those percolation rates. The higher the rate, the faster water will filter through (you want soil near the top).
Plants and Materials
Before building the rain garden, it’s important to get a list of all the materials and plants to use in it. The chart above helps determine what kind of soil amendments need to be added to the bottom of the rain garden. There are certain quotas that cities require to be compliant so be sure to check with a city engineer before building a rain garden.
We use drainage fabric around the outside of the rain garden. This fabric allows water to flow through easily but prevents mixing of sediments layers and clogging of any tubing. Be sure to use natural/native plants that can resist drought in the rain garden. It’s counter intuitive but the rain garden, if built correctly, will only have water in it just after a rainfall. The vast majority of the time, the garden will be without water. Use a variety of plants that promote strong root growth. Use more drought resistant plants along the outside of the garden and more water friendly plants in the middle.
The last thing to consider before building a rain garden is the actual size of the garden itself. To calculate the size of the garden, you need to know the area of the impermeable surfaces that will be feeding into the garden. This means measuring the roof area (approximately) of any gutters that empty into it. You would also want to measure the lawn, sidewalk, or driveway area if those empty in. Take that area and divide it by the depth of the rain garden and you have the surface area. Ideally, you can get the rain garden deep enough so part of it is below the frost line. Doing that helps with late fall and early spring water where the ground closer to the surface is semi frozen.
As you can see, there is A LOT that goes into designing and building a rain garden. For all your landscape drainage and landscape design needs, we strongly suggest you consult with a trusted, experienced landscape and outdoor drainage designer
who can help you get the most value for your money now and in the future.
Links to More Rain Garden Information
This Old House – Rain Gardens
Incredible Rain Garden Information from Iowa
The post Rain Garden: Everything You Need To Know
appeared first on KG Landscape Management.
Ready to Start on Your Next Project?
Call us at (763) 568-7251 or visit our quote page.

Can you use compost as lawn fertilizer in Minnesota? Learn how compost feeds turf, how to apply it, and where it fits. Get a free quote.

Organic weed control for Minnesota lawns: what works, what doesn't, and how to manage weeds without harsh chemicals. Get a quote.
This is a subtitle for your new post

Looking for the best organic lawn fertilizer in Minnesota? See top options, how they feed your turf, and what KG uses. Get a quote.

Is compost a fertilizer? Learn what compost does for your Minnesota lawn, how it differs from fertilizer, and when to use it. Get a quote.

Compost feeds the soil, fertilizer feeds the grass. Learn which your Minnesota lawn needs, when to use each, and how to apply both. Get a quote.

Eco-friendly lawn care tips for Twin Cities yards: cut chemicals, save water, and build healthy soil naturally. Get a free quote.

Simple, proven lawn care tips for Minnesota yards: mowing, watering, feeding, and building healthy soil that lasts. Get a free quote.
Learn how to increase microbes in your Minnesota lawn soil with compost, aeration, and organic matter for healthier turf. Get a quote.
Your Arden Hills office park needs to be clear before the morning commute. Here's how overnight commercial snow removal works.