From Start to Finish: Mastering Paver Installation
How to install pavers is a question many homeowners ask when they want to transform their outdoor space into something more beautiful and functional. With a bit of elbow grease and planning, installing pavers can be a rewarding DIY project that adds elegance and durability to any landscape. Here’s a quick rundown of the steps involved:
- Prepare the Area: Clear the ground, and ensure proper drainage.
- Add Paver Base: Lay and compact gravel as the foundation.
- Level with Sand: Smooth a layer of sand to form a base for your pavers.
- Lay Pavers: Arrange your stones in the desired pattern.
- Finishing Touches: Add joint sand and secure the edges.
Starting on a DIY project like this can offer a significant landscape change, enhancing your exterior spaces. Whether you dream of a sleek patio, a whimsical walkway, or a sturdy pool deck, the versatility and longevity of pavers make them an excellent choice. Plus, by installing pavers yourself, you can save money and add your personal touch to your outdoor space.
While this task can be completed by a determined DIY enthusiast, many Minneapolis homeowners turn to professionals to ensure a flawless finish, allowing them to enjoy their revitalized outdoor areas without the sweat and effort. At KG Landscape, we are passionate about helping you achieve paver perfection.
Preparing the Ground
Before you can lay your pavers, you need to prepare the ground properly. This ensures a stable foundation and a long-lasting installation. Here’s how to get started:
Tools and Materials
To prepare the ground, you'll need a few essential tools and materials:
- Shovel : For digging and removing soil.
- Tamper or Plate Compactor : To compact the soil and gravel base.
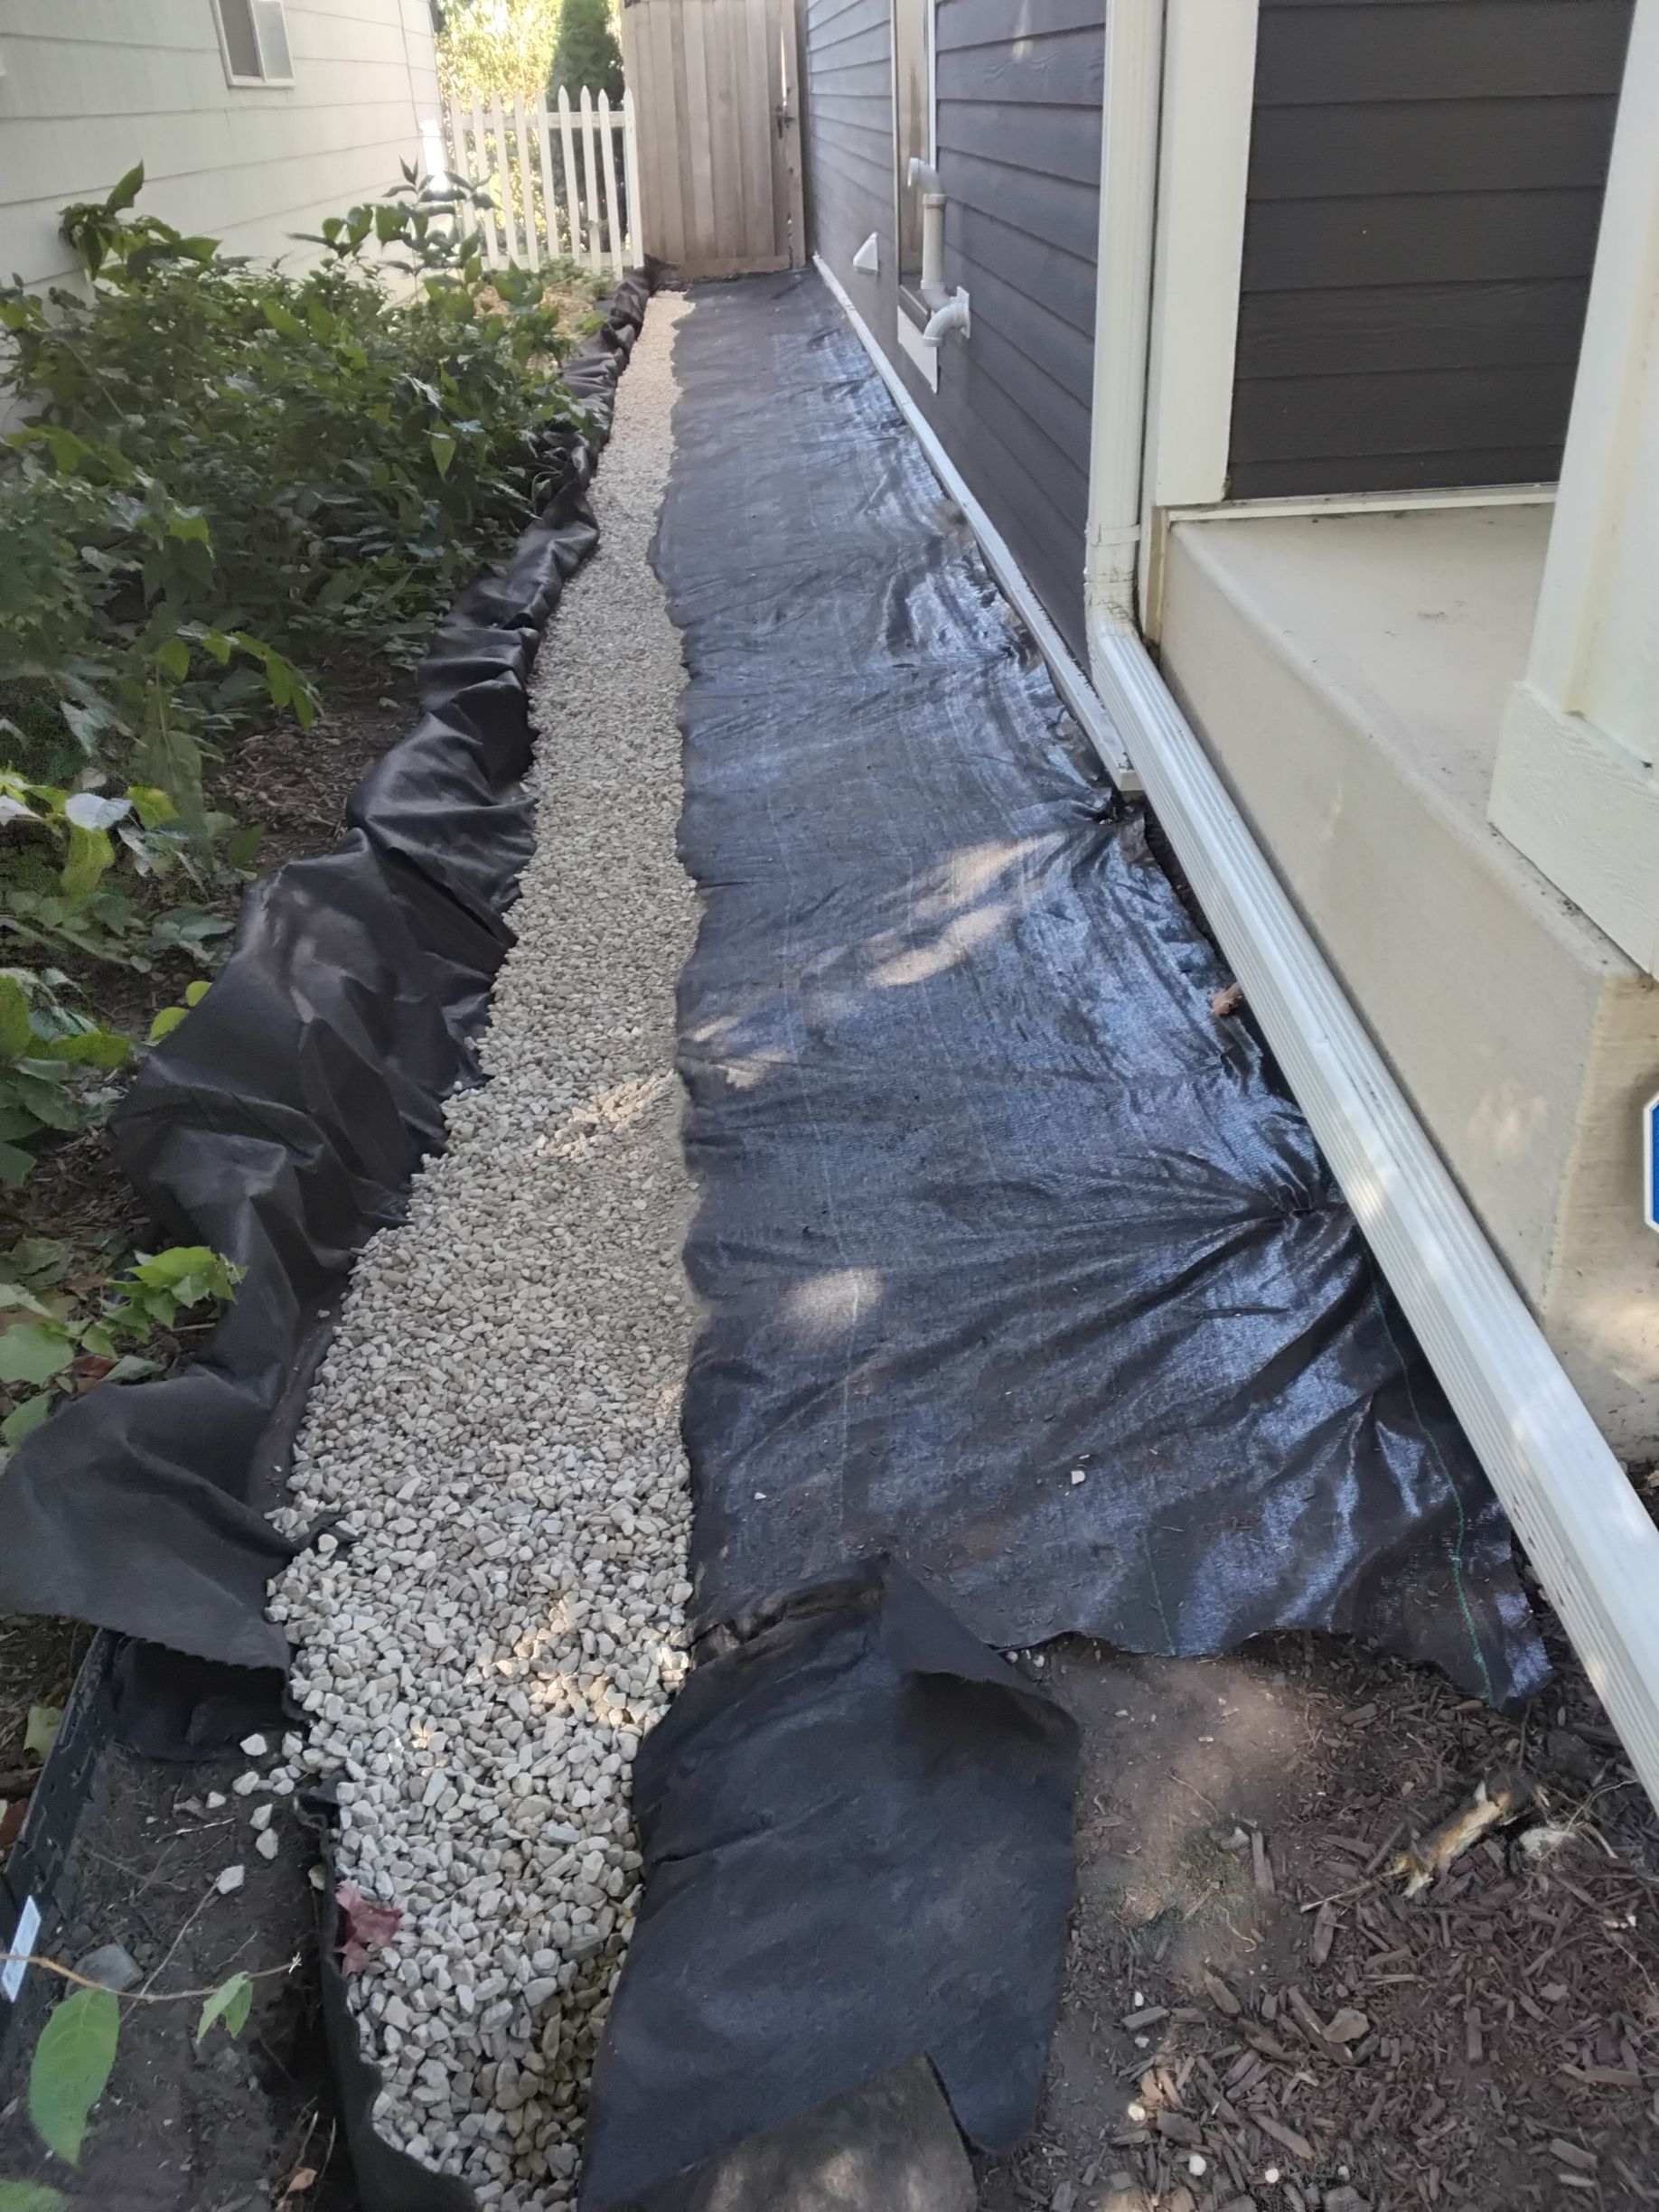
- Geotextile Fabric : To separate the soil from the base material and prevent weed growth.
- Class II Road Base : A mixture of crushed gravel and sand to create a solid foundation.
Excavation
Begin by marking the area where you want to install the pavers. Use a shovel to remove the top layer of soil. For pedestrian areas, aim to excavate about 7 ½ inches deep. If you're working on a driveway, you'll need to dig down around 9 ½ inches.
Remember to call 811 before you start digging to ensure there are no underground utilities in your area.
Grading
Once the area is excavated, it's time to grade the surface. Use a level to ensure a 2% slope away from your home for proper drainage. This means a ¼ inch drop per foot for the first four feet and ⅛ inch per foot thereafter. Grading helps prevent water from pooling on your pavers, which can lead to damage over time.
Compacting
A strong sub-base is crucial for a successful paver installation. Begin by laying down the geotextile fabric to prevent soil from mixing with your base material. Then, pour the Class II road base in 2-inch layers, compacting each layer thoroughly with a tamper or plate compactor. This step removes air gaps and ensures stability.
By following these steps, you’re setting a solid foundation for your paver project. Proper ground preparation is key to ensuring your pavers remain level and beautiful for years to come.
Next up, we’ll dive into laying the paver base and leveling sand to get your project ready for the pavers themselves.
How to Install Pavers
Laying the Foundation
Once your ground is prepped, it's time to lay the foundation for your pavers. This step is crucial for stability and longevity.
1. Gravel Base
Start by spreading a 4-inch layer of gravel across the excavated area. This gravel base acts as a solid foundation, helping with drainage and preventing shifting. Use a landscape rake to spread the gravel evenly.
2. Compacting the Gravel
After spreading the gravel, compact it thoroughly using a tamper or plate compactor. This step is vital to eliminate air pockets and create a stable base. For large areas, a plate compactor will save time and effort. Remember: Compacting should be done in different directions to ensure evenness.
3. Sand Layer
Next, add a 1-inch layer of leveling sand over the compacted gravel. This sand layer helps to smooth out the surface and provides a bed for the pavers to rest on. Use electrical conduit pipes as guides and drag a 2x4 board across them to level the sand.
Placing the Pavers
With the foundation ready, you can now begin placing the pavers.
1. Pattern Selection
Decide on a pattern before you start. Whether it's a classic herringbone or a simple running bond, a well-chosen pattern adds visual interest and stability.
2. Laying the Pavers
Start at a corner and lay the paver stones one by one. Work outward as if you're forming the tip of a triangle. Ensure each paver fits snugly against its neighbors. This snug fit helps prevent shifting over time.
3. Cutting Pavers
You'll likely need to cut some pavers to fit the edges. Use a masonry saw or a guillotine-style splitter for precise cuts. It's better to have extra pavers on hand to account for any mistakes or adjustments.
4. Compacting the Pavers
Once all the pavers are laid, compact them using a plate compactor. Place a protective covering over the compactor to prevent scuffing the pavers. Compacting helps settle the pavers into the sand and ensures a level surface.
By following these steps, you'll have a beautifully laid paver patio or walkway. Next, we'll explore the finishing touches that will secure your pavers and improve their durability.
Finishing Touches
After carefully laying your pavers, it's time to focus on the finishing touches that will ensure your patio or walkway remains secure and beautiful for years to come.
Adding Edging
Edging is essential for keeping your pavers in place and preventing them from shifting over time. Without proper edging, your carefully laid pattern might lose its shape.
1. Choose Your Edging Material
You can use concrete or specific paver edging products to create a solid boundary. Concrete provides a strong and permanent edge, while flexible plastic or metal edging can offer easier installation and adjustability.
2. Install the Edging
Begin by trenching around the perimeter of your paver area. The trench should be deep enough to accommodate the edging material, typically around the depth of your paver base. Place the edging snugly against the pavers and secure it with spikes or stakes. This will help keep everything in place and maintain the integrity of your design.
Sealing and Maintenance
Proper sealing and maintenance are crucial for the longevity of your paver installation. These steps help protect your investment from the elements and prevent common issues such as weed growth and staining.
1. Apply Joint Sand
After the edging is in place, sweep joint sand or polymeric sand into the gaps between the pavers. Polymeric sand is particularly effective for larger joints, as it hardens when moistened, locking the pavers in place. Ensure the sand is packed tightly and fills the joints to about 1/8 inch below the surface.
2. Compact the Sand
Once the sand is applied, use a plate compactor to settle it into the joints. Remember to use a protective pad on the compactor to avoid scratching the surface of your pavers. Compacting the sand helps prevent paver movement and adds stability.
3. Seal the Pavers
Sealing your pavers is an optional but recommended step to improve their appearance and durability. Use a quality paver sealer to protect against stains and fading. Apply the sealer with a spray applicator or roller, ensuring even coverage. Allow the sealer to dry completely before exposing the area to moisture or foot traffic.
By adding these finishing touches, you'll not only secure your pavers but also improve their look, making your outdoor space a lasting highlight of your home. Next, we'll dig into the importance of ongoing maintenance to keep your pavers looking their best.
Conclusion
Installing pavers is a rewarding project that transforms your outdoor space into a beautiful and functional area. However, the process can be complex and time-consuming. That's where we come in at KG Landscape . Our team of experts is dedicated to providing professional installation services that ensure your paver project is completed with precision and care.
Why Choose KG Landscape?
- Expertise and Experience : With years of experience in landscape design and installation, we have mastered the art of paver installation. Our detail-oriented approach ensures that every paver is placed perfectly, creating a seamless and durable surface.
- Quality Service : We pride ourselves on delivering high-quality service. From the initial consultation to the final touches, our team is committed to exceeding your expectations. We use only the best materials and techniques to ensure your pavers withstand the test of time.
- Customer Satisfaction : At KG Landscape, customer satisfaction is our top priority. We work closely with you to understand your vision and turn it into reality. Our goal is to create an outdoor space that not only meets but exceeds your expectations.
By choosing KG Landscape, you're not just investing in a paver installation; you're investing in the long-term beauty and functionality of your outdoor space. Let us handle the hard work so you can enjoy your new patio or walkway without the stress.
Ready to get started? Contact us today to learn more about our paver installation services and how we can help bring your outdoor vision to life.
Ready to Start on Your Next Project?
Call us at (763) 568-7251 or visit our quote page.
