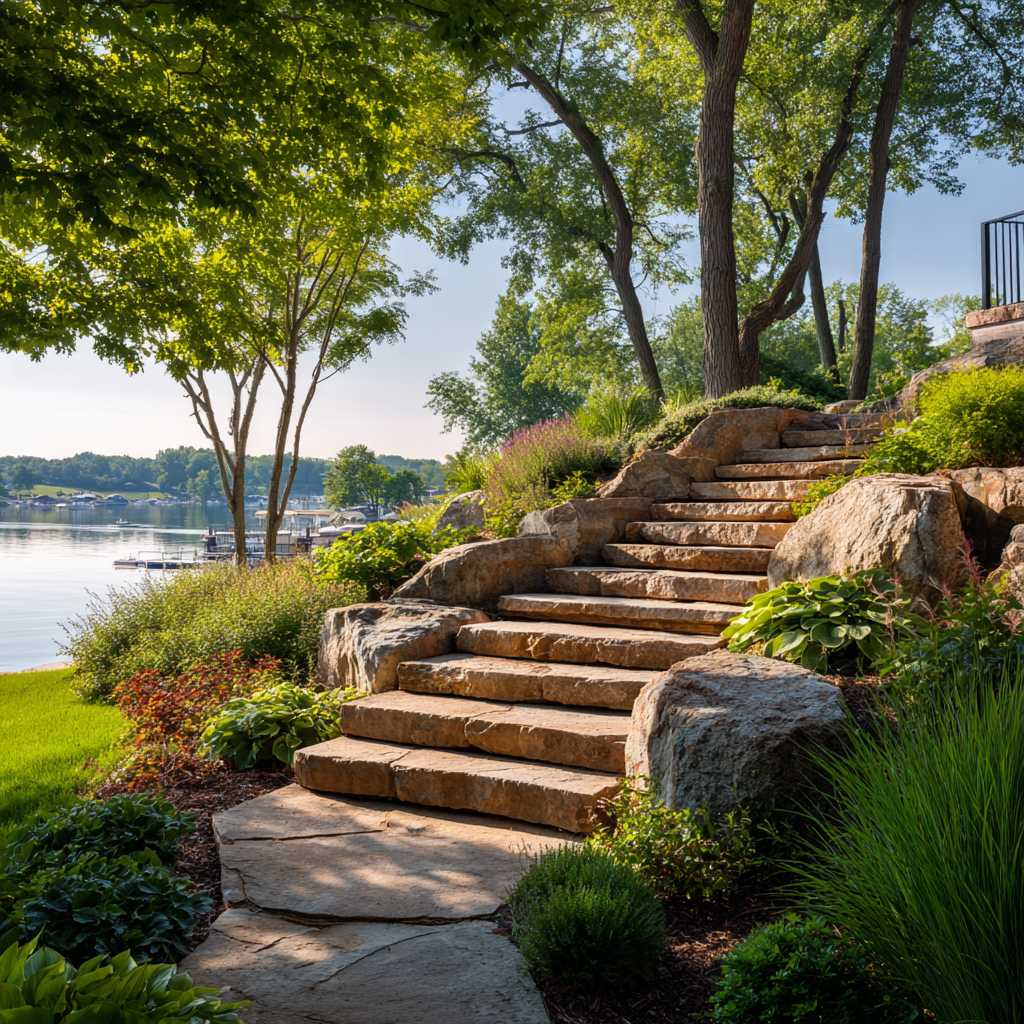
130 Creative Grass Pavers Ideas for a Beautiful Backyard
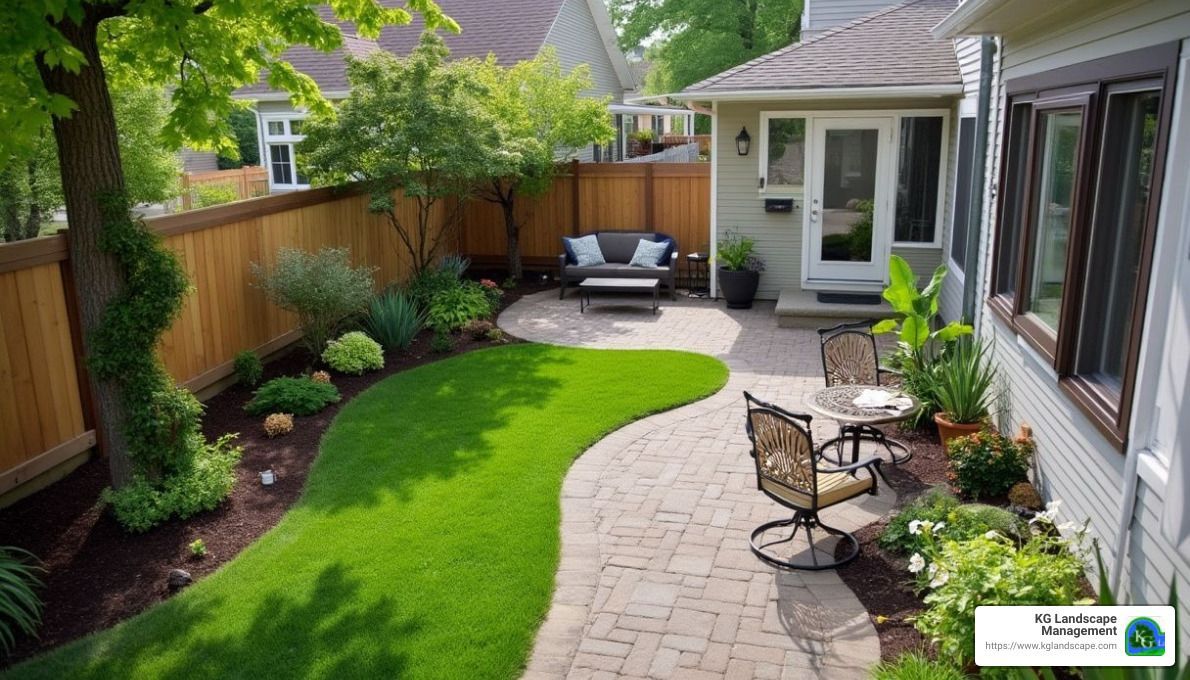
Looking for small backyard ideas with pavers and grass? You've come to the right place. Creating a functional and beautiful outdoor space can seem daunting, but with the right blend of pavers and greenery, even the tiniest backyard can become an inviting retreat. Here's a quick rundown:
- Grass pavers add texture and greenery.
- Define areas for different activities with pavers.
- Mix materials for a visually appealing look.
- Optimize space with vertical gardening.
Start by choosing the right pavers to craft pathways and seating areas. Then, intersperse lush patches of grass to soften the hardscape. Consider elevating your space with multi-functional elements and blending natural materials harmoniously to maximize the visual appeal and functionality of your backyard.
Check out this infographic for more quick tips:
Benefits of Using Grass Pavers
Grass pavers offer a ton of benefits for your backyard. They’re not just about looks—they’re practical too. Here’s why you should consider them:Erosion Control
Grass pavers are excellent for erosion control. The spaces between the pavers allow water to seep into the ground, reducing runoff. This helps maintain soil structure and prevents erosion, especially during heavy rains.Aesthetic Appeal
Grass pavers create a visually stunning backyard. The combination of green grass and the hard texture of pavers adds a modern yet natural look. You can design checkerboard patterns, pathways, or even a cozy seating area. The options are endless, and the result is always eye-catching.Eco-Friendly
Grass pavers are an eco-friendly choice. They help in water conservation by allowing rainwater to absorb into the ground. This reduces the need for artificial irrigation systems. Plus, the grass between the pavers can improve air quality and reduce heat in urban areas.Low Maintenance
Maintaining grass pavers is easier than you might think. Unlike traditional lawns, they don’t require frequent mowing. The grass patches are smaller and more manageable. Plus, the pavers themselves are easy to clean—just sweep or spray them down. This makes them a great option for busy homeowners who want a beautiful yard without the hassle.Looking for more small backyard ideas with pavers and grass? Keep reading to find how to maximize your space and create a stunning outdoor retreat.
How to Choose the Right Pavers for Your Backyard
Selecting the right pavers can make or break your backyard design. Here’s what to consider:Material Types
Concrete Pavers: They're durable, versatile, and come in various shapes and sizes. Ideal for creating modern designs.Brick Pavers: Offer a classic, timeless look. Perfect for cottage-style or traditional landscapes.
Natural Stone: Includes options like sandstone, bluestone, and flagstone. These are great for creating a natural, organic feel.
Terracotta Pavers: Best for Mediterranean-inspired landscapes. They add a warm, rustic touch.
Size and Shape
Large Slabs: These are great for creating a spacious feel in small backyards. They can also be used to form clean, modern lines.Small Pavers: Ideal for intricate designs and pathways. They offer flexibility in pattern creation. Irregular Shapes: Natural stones often come in irregular shapes, perfect for a more organic, less structured look.
Color Options
Neutral Tones: Shades of gray, beige, and white are versatile and can match any design. They also reflect sunlight, keeping the area cooler.Earthy Hues: Browns, reds, and terracotta colors can add warmth and blend well with natural surroundings.
Bold Colors: For a modern, eye-catching look, consider black, dark gray, or even custom-colored pavers.
Durability
Climate Considerations: In areas with freeze-thaw cycles, choose pavers that are resistant to cracking. Concrete and natural stone are good options.Wear and Tear: If your backyard will see a lot of foot traffic, go for durable materials like brick or concrete. These materials can withstand heavy use without showing wear.
Maintenance: Some materials, like natural stone, may require sealing to maintain their appearance. Consider your willingness to perform regular upkeep when choosing your pavers.
Selecting the right pavers involves balancing aesthetics, durability, and maintenance. The right choice can transform your backyard into a beautiful, functional space.
Next, we’ll explore some creative small backyard ideas with pavers and grass. Keep reading to find out how to make the most of your outdoor space.
Small Backyard Ideas with Pavers and Grass
Vertical Space Utilization
When space is limited, think vertically. Vertical gardening is an excellent way to maximize a small backyard. Use wall planters or hanging pots to create a lush, green wall. Plants like morning glories, clematis, and English ivy are perfect for this. Not only do they save ground space, but they also add a beautiful backdrop to your outdoor area.Creating Defined Spaces
Even in a small backyard, you can create distinct areas for different activities. A floating deck can serve as a cozy seating area. Add a few lounge chairs and a small table, and you have a perfect spot for relaxing or dining.Pathways made from pavers can guide visitors through your garden, creating a sense of journey and findy. Use different paver materials to define each space. For example, use brick pavers for the pathways and larger concrete slabs for the seating areas.
Mixing Ground Cover Materials
Mixing different ground cover materials can add texture and visual interest to your backyard. Combine stone pavers with artificial grass to create a modern, low-maintenance look. The contrast between the hard stone and soft grass is visually appealing and functional.Mulch is another great option. It’s low-maintenance, helps retain soil moisture, and adds a natural look to your garden. Use it around plants and trees to create a cohesive design.
Incorporating Biophilic Design
Biophilic design connects your backyard to nature. Use native plants that are well-suited to your local climate. They require less water and maintenance, making them perfect for a water-wise landscape. Examples include flowering plum, dogwood, and dwarf chokecherry.Drought-tolerant plants like succulents and ornamental grasses can thrive with minimal water. These plants are not only practical but also add a unique texture and color to your garden.
Water-wise landscaping is essential in areas with water restrictions. Incorporate features like drip irrigation systems and rain barrels to make the most of natural rainfall. This approach not only conserves water but also supports a healthy, sustainable garden.
By combining vertical gardening, defined spaces, mixed ground cover materials, and biophilic design, you can create a beautiful, functional backyard, even in the smallest of spaces.
Next, we’ll dive into installation tips for grass pavers. Stay tuned for practical advice on preparing the ground, laying pavers, and maintaining the grass between them.
Installation Tips for Grass Pavers
Preparing the Ground
Before you start installing your grass pavers, it's crucial to prepare the ground properly. Here are the steps:- Removing Grass: Use a sod cutter or a shovel to remove any existing grass or vegetation. Make sure to clear the area down to the soil to ensure a smooth surface.
- Leveling Soil: Once the grass is removed, level the soil. Use a rake to even out the surface and remove any debris. This step ensures that your pavers will sit evenly and securely.
- Adding Topsoil and Compost: Adding a layer of topsoil mixed with compost will improve soil fertility and help grass grow between the pavers. Spread a 2-3 inch layer of this mix over the leveled soil and rake it smooth.
Laying the Pavers
Laying the pavers correctly is key to a stable and long-lasting installation. Follow these tips:- Spacing Between Pavers: Decide on the spacing between your pavers. A common choice is 2-4 inches, which allows enough room for grass to grow while maintaining stability. Use a tape measure or a spacer to keep the gaps consistent.
- Stability Tips: To prevent pavers from shifting, lay them on a solid base. A layer of coarse sand or crushed rock can provide the necessary stability. Make sure the base is compacted and level before placing the pavers.
- DIY Installation: Installing pavers can be a DIY project if you have the time and energy. Start from one corner and work your way out, laying one paver at a time. Use a rubber mallet to tap each paver into place, ensuring they are level with each other.
Maintaining Grass Between Pavers
Once your pavers are installed, maintaining the grass between them is essential for a lush, green look. Here’s how:- Watering: Regular watering is crucial, especially during the first few weeks after installation. Water the grass between pavers deeply but infrequently to encourage deep root growth.
- Trimming: Keep the grass trimmed to a uniform height. Use a string trimmer or lawn scissors to cut the grass between the pavers. This helps maintain a neat and tidy appearance.
- Fertilizing: Apply a balanced fertilizer to promote healthy grass growth. Organic options like compost or slow-release fertilizers are ideal. Fertilize in the early spring and late summer for the best results.
By following these installation tips, you can create a beautiful and functional backyard with grass pavers. Up next, we'll explore creative design ideas to make your outdoor space truly unique.
Creative Design Ideas for Grass Pavers
Checkerboard Patterns
One of the most eye-catching ways to use grass pavers is by creating a checkerboard pattern. This design alternates pavers and grass, providing a modern look that adds visual interest to any backyard. Checkerboard patterns are not only stylish but also practical, offering stable walking surfaces while maintaining a green, lush appearance.Stepping Stone Pathways
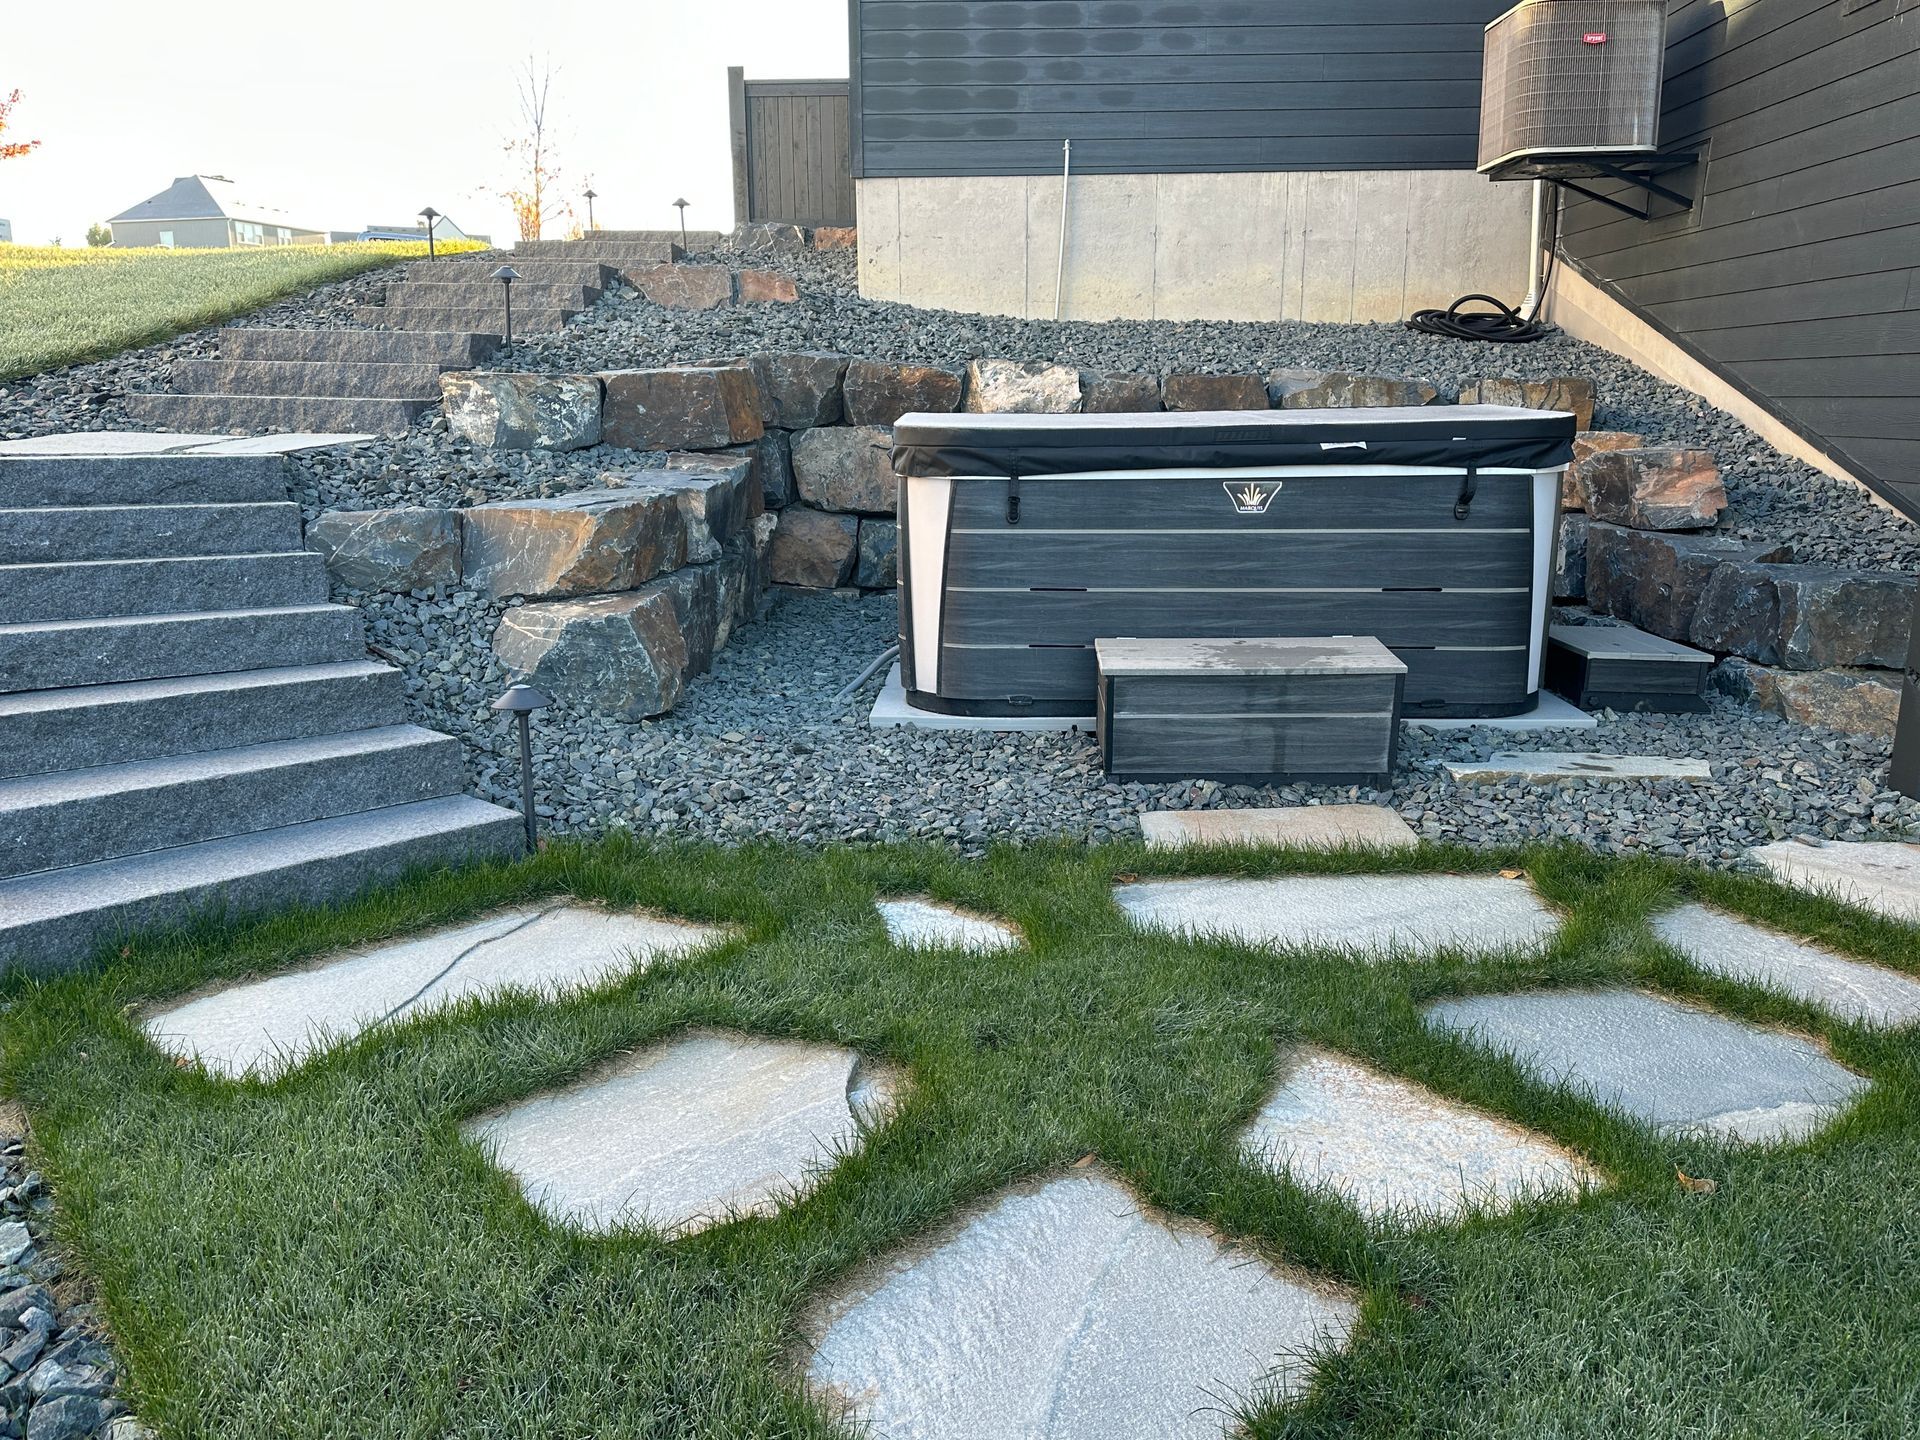
Stepping stone pathways are a classic and neat way to incorporate natural elements into your backyard. Using materials like natural stone or flagstone, these pathways guide visitors through your garden or yard, creating a serene and inviting atmosphere. The spaces between the stones can be filled with grass, moss, or even gravel to improve the natural look.Cozy Backyard Retreats
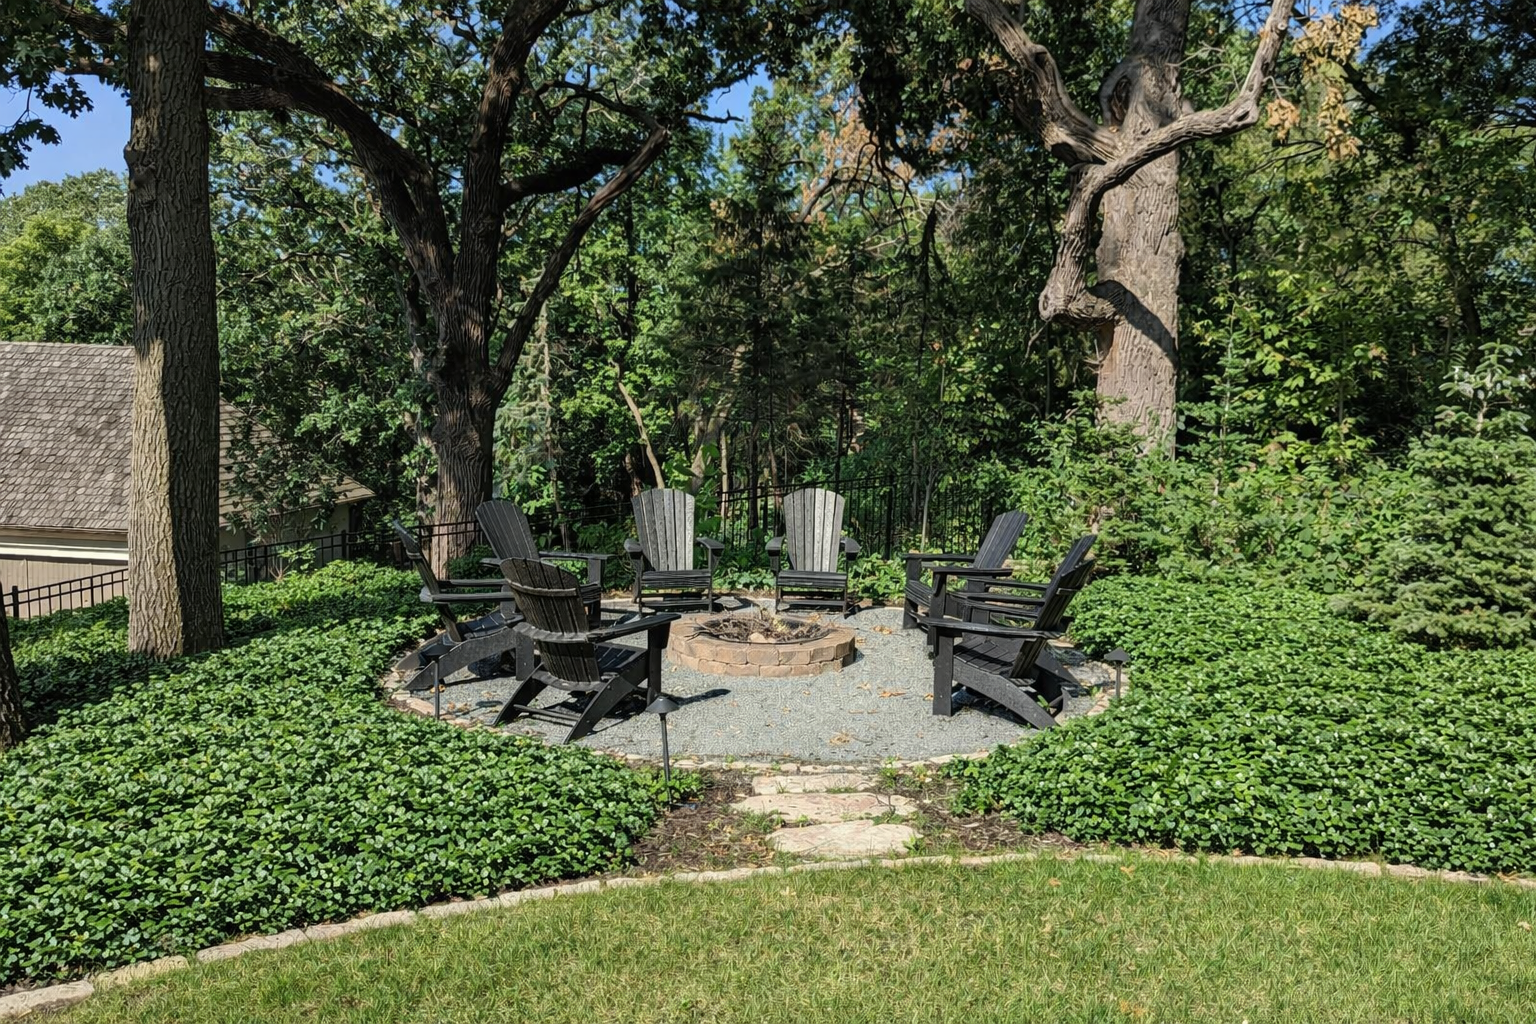
Transform your backyard into a cozy retreat by combining grass pavers with comfortable outdoor furniture. Hammocks, lounge chairs, and string lights can turn any space into a relaxing haven. Lay pavers in a defined seating area and surround it with grass for a soft, inviting feel. String lights overhead add a magical touch, perfect for evening gatherings.Pet-Friendly Areas
Creating a pet-friendly backyard is easy with grass pavers. Opt for durable turf and ensure proper drainage systems to keep the area clean and dry. Some turf options even come with antimicrobial technology to reduce odors and bacteria, making it a safe and enjoyable space for your pets to play.Children's Play Areas
Designing a safe and fun play area for children is a top priority for many homeowners. Grass pavers can be used to create a soft, shock-absorbent surface by installing a shock-absorbent underlay beneath the grass. Add play equipment like slides, climbing frames, and trampolines to keep kids entertained. This setup not only encourages physical activity but also ensures a safe environment for endless playtime.By incorporating these creative grass paver ideas, you can transform your small backyard into a beautiful and functional space that everyone will enjoy. Next, we'll answer some frequently asked questions about using pavers and grass in small backyards.
Frequently Asked Questions about Small Backyard Ideas with Pavers and Grass
Is grass between pavers a good idea?
Absolutely! Grass between pavers offers several benefits:- Erosion Prevention: Grass helps hold the soil in place, reducing erosion.
- Aesthetic Benefits: The combination of green grass and pavers creates a visually appealing, natural look.
- Maintenance Tips: While it requires some upkeep, like regular mowing and watering, grass between pavers is relatively low-maintenance compared to a full lawn.
What to put between pavers and grass?
The right materials between pavers and grass ensure stability and healthy grass growth:- Topsoil: Use a good quality topsoil to fill the gaps between pavers. This encourages grass roots to grow strong.
- Compost: Mixing compost with topsoil provides nutrients, fostering healthier grass.
- Spacing Requirements: Leave enough space between pavers (typically 2-4 inches) to allow grass to thrive without being overcrowded.
Can I just lay pavers on grass?
Laying pavers directly on grass is not recommended. Here’s why:- Stability Concerns: Pavers need a stable, level base to prevent shifting and sinking.
- Preparation Steps: Remove existing grass, level the soil, and add a layer of topsoil and compost before placing pavers.
- Porcelain Pavers : If you’re using porcelain pavers, ensure a solid foundation as they can crack under uneven pressure.
By following these guidelines, you can create a beautiful and functional backyard space with grass and pavers. Next, we will explore some common questions about using pavers and grass in small backyards.
Conclusion
At KG Landscape Management, we take pride in changing outdoor spaces into beautiful, functional areas that improve your home’s value and your quality of life. Our professional services cover everything from design to installation, ensuring every detail is perfect.Based in Minneapolis and St. Paul, we understand the unique climate and soil conditions of our region. This local expertise allows us to recommend the best materials and plants for your landscape, ensuring longevity and beauty.
Our team is dedicated to delivering high-quality work and an excellent customer experience. We listen to your needs and preferences, tailoring our services to meet your vision. Whether you’re looking to install grass pavers, create a cozy backyard retreat, or design a pet-friendly area, we have the skills and experience to bring your ideas to life.
Ready to transform your backyard? Visit our Paver Patios page to learn more about our services and get started on your project today.
Ready to Start on Your Next Project?
Call us at (763) 568-7251 or visit our quote page.
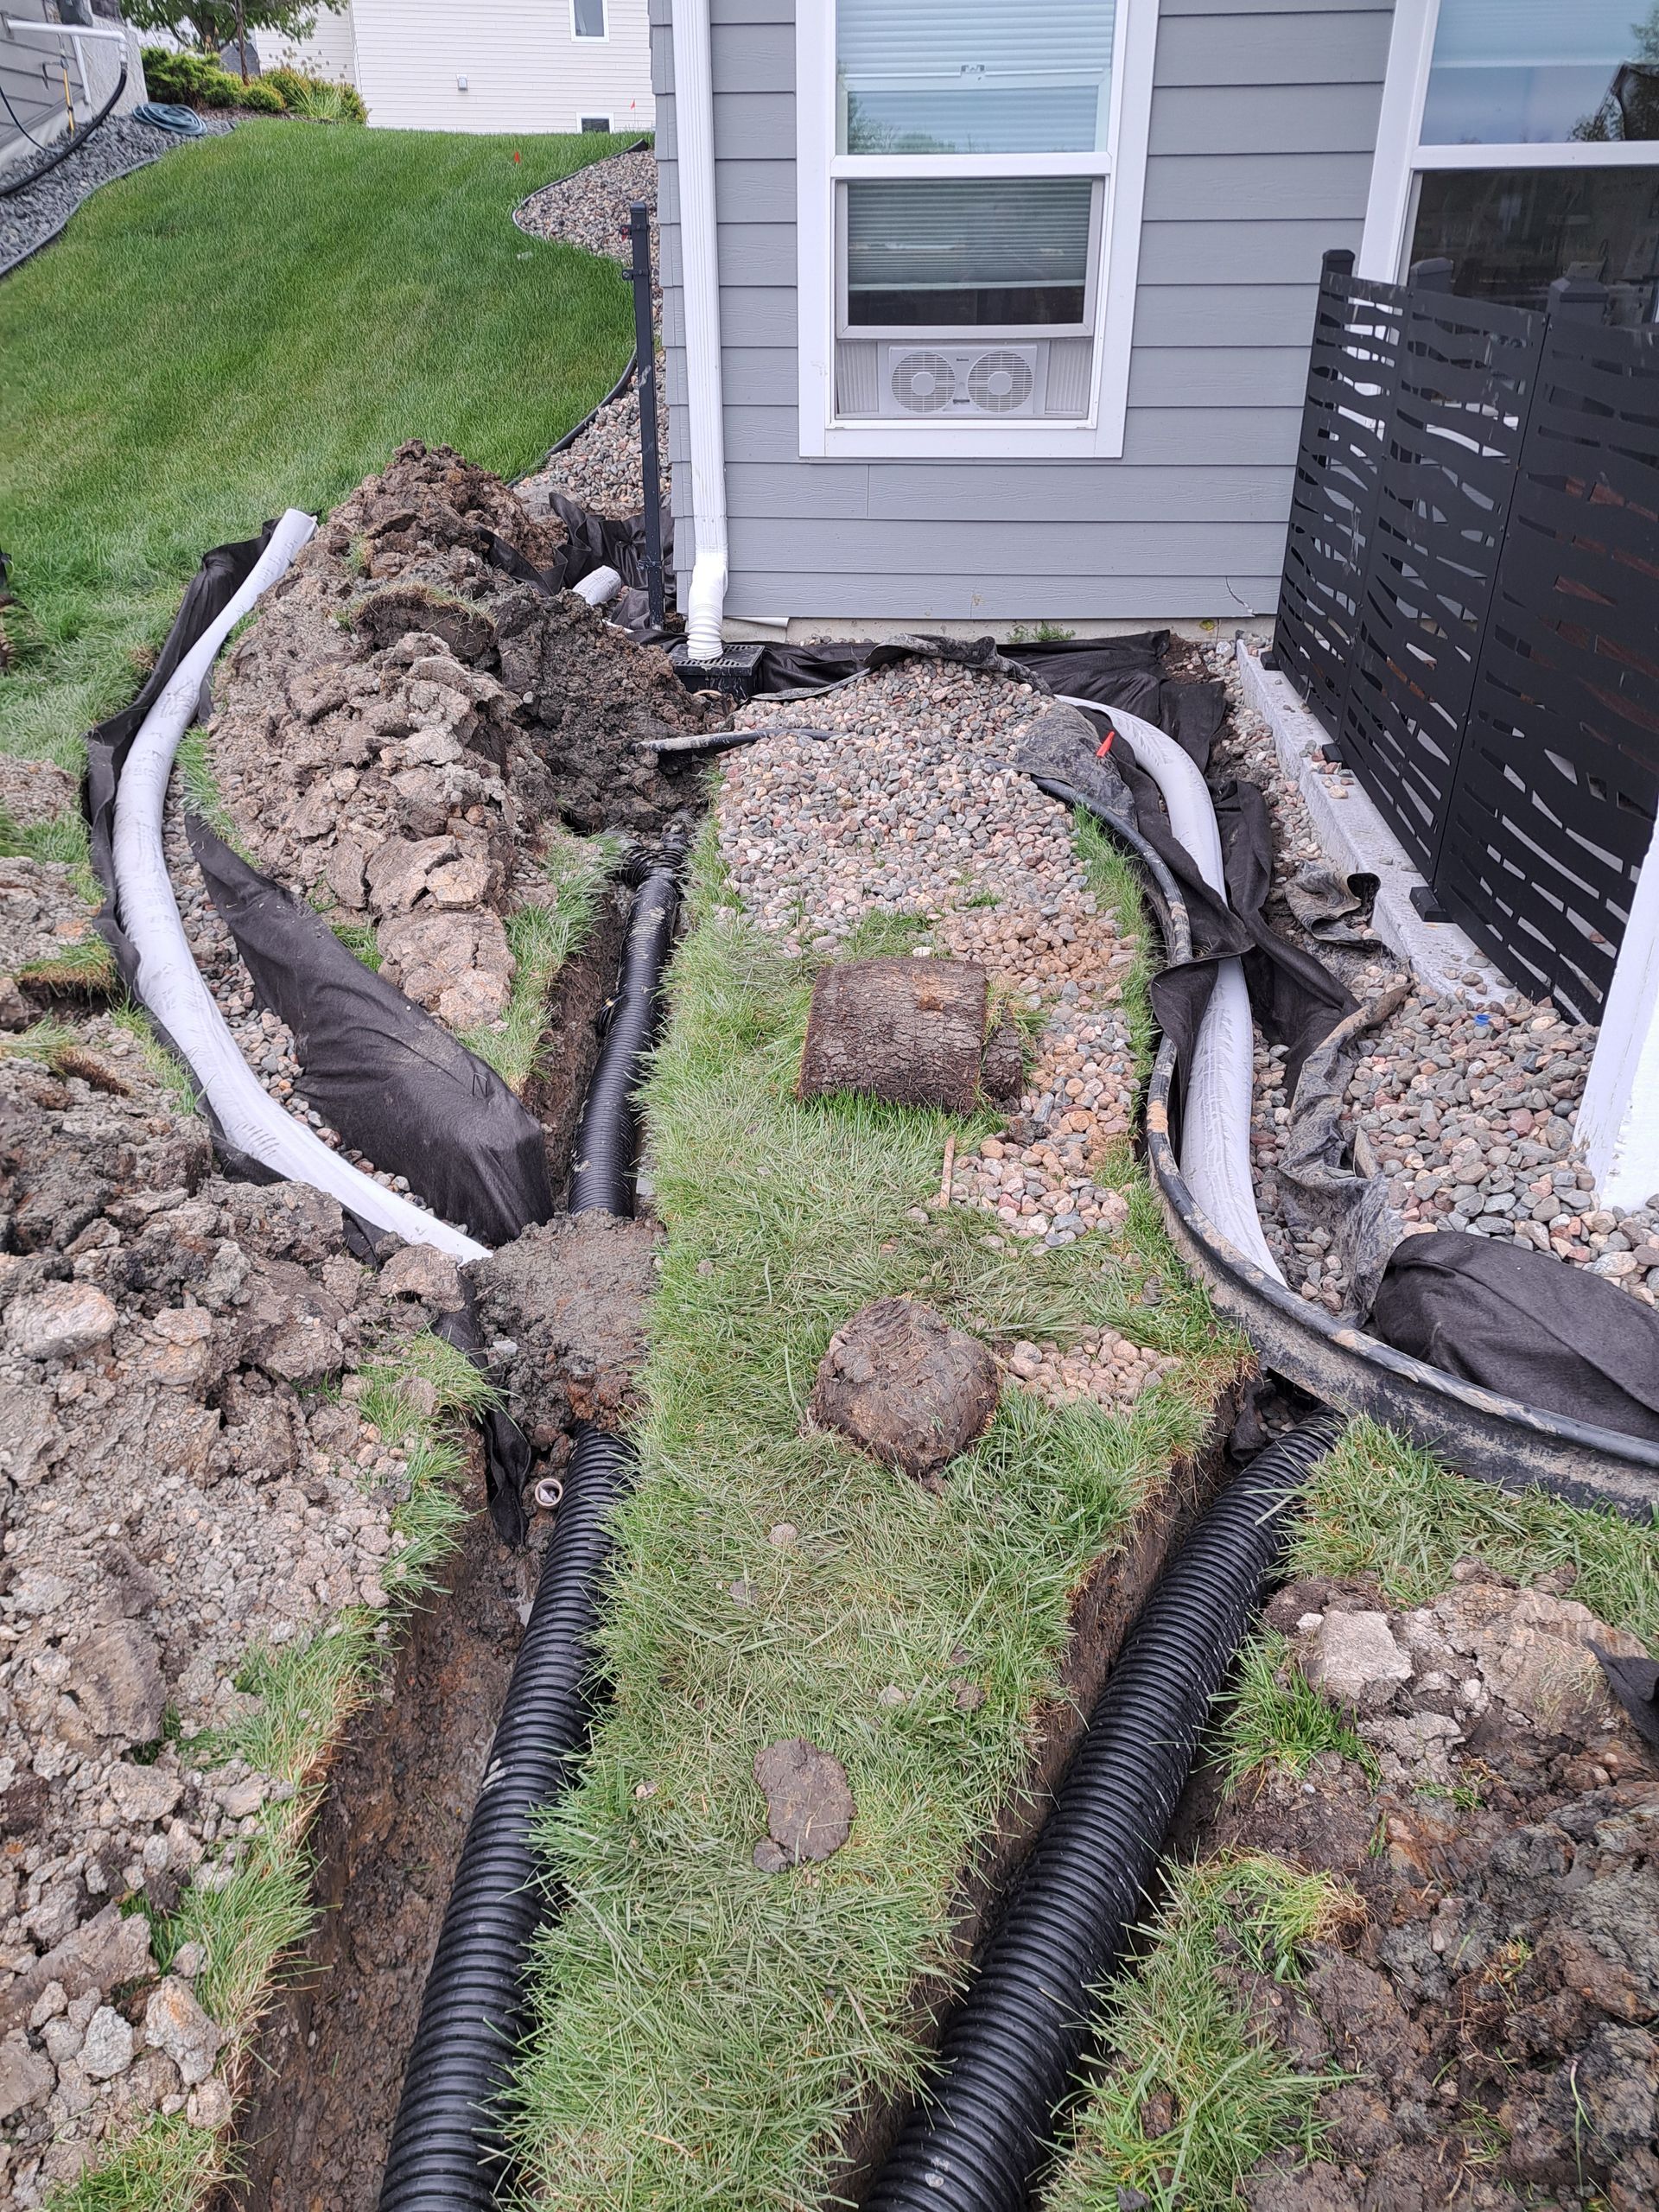
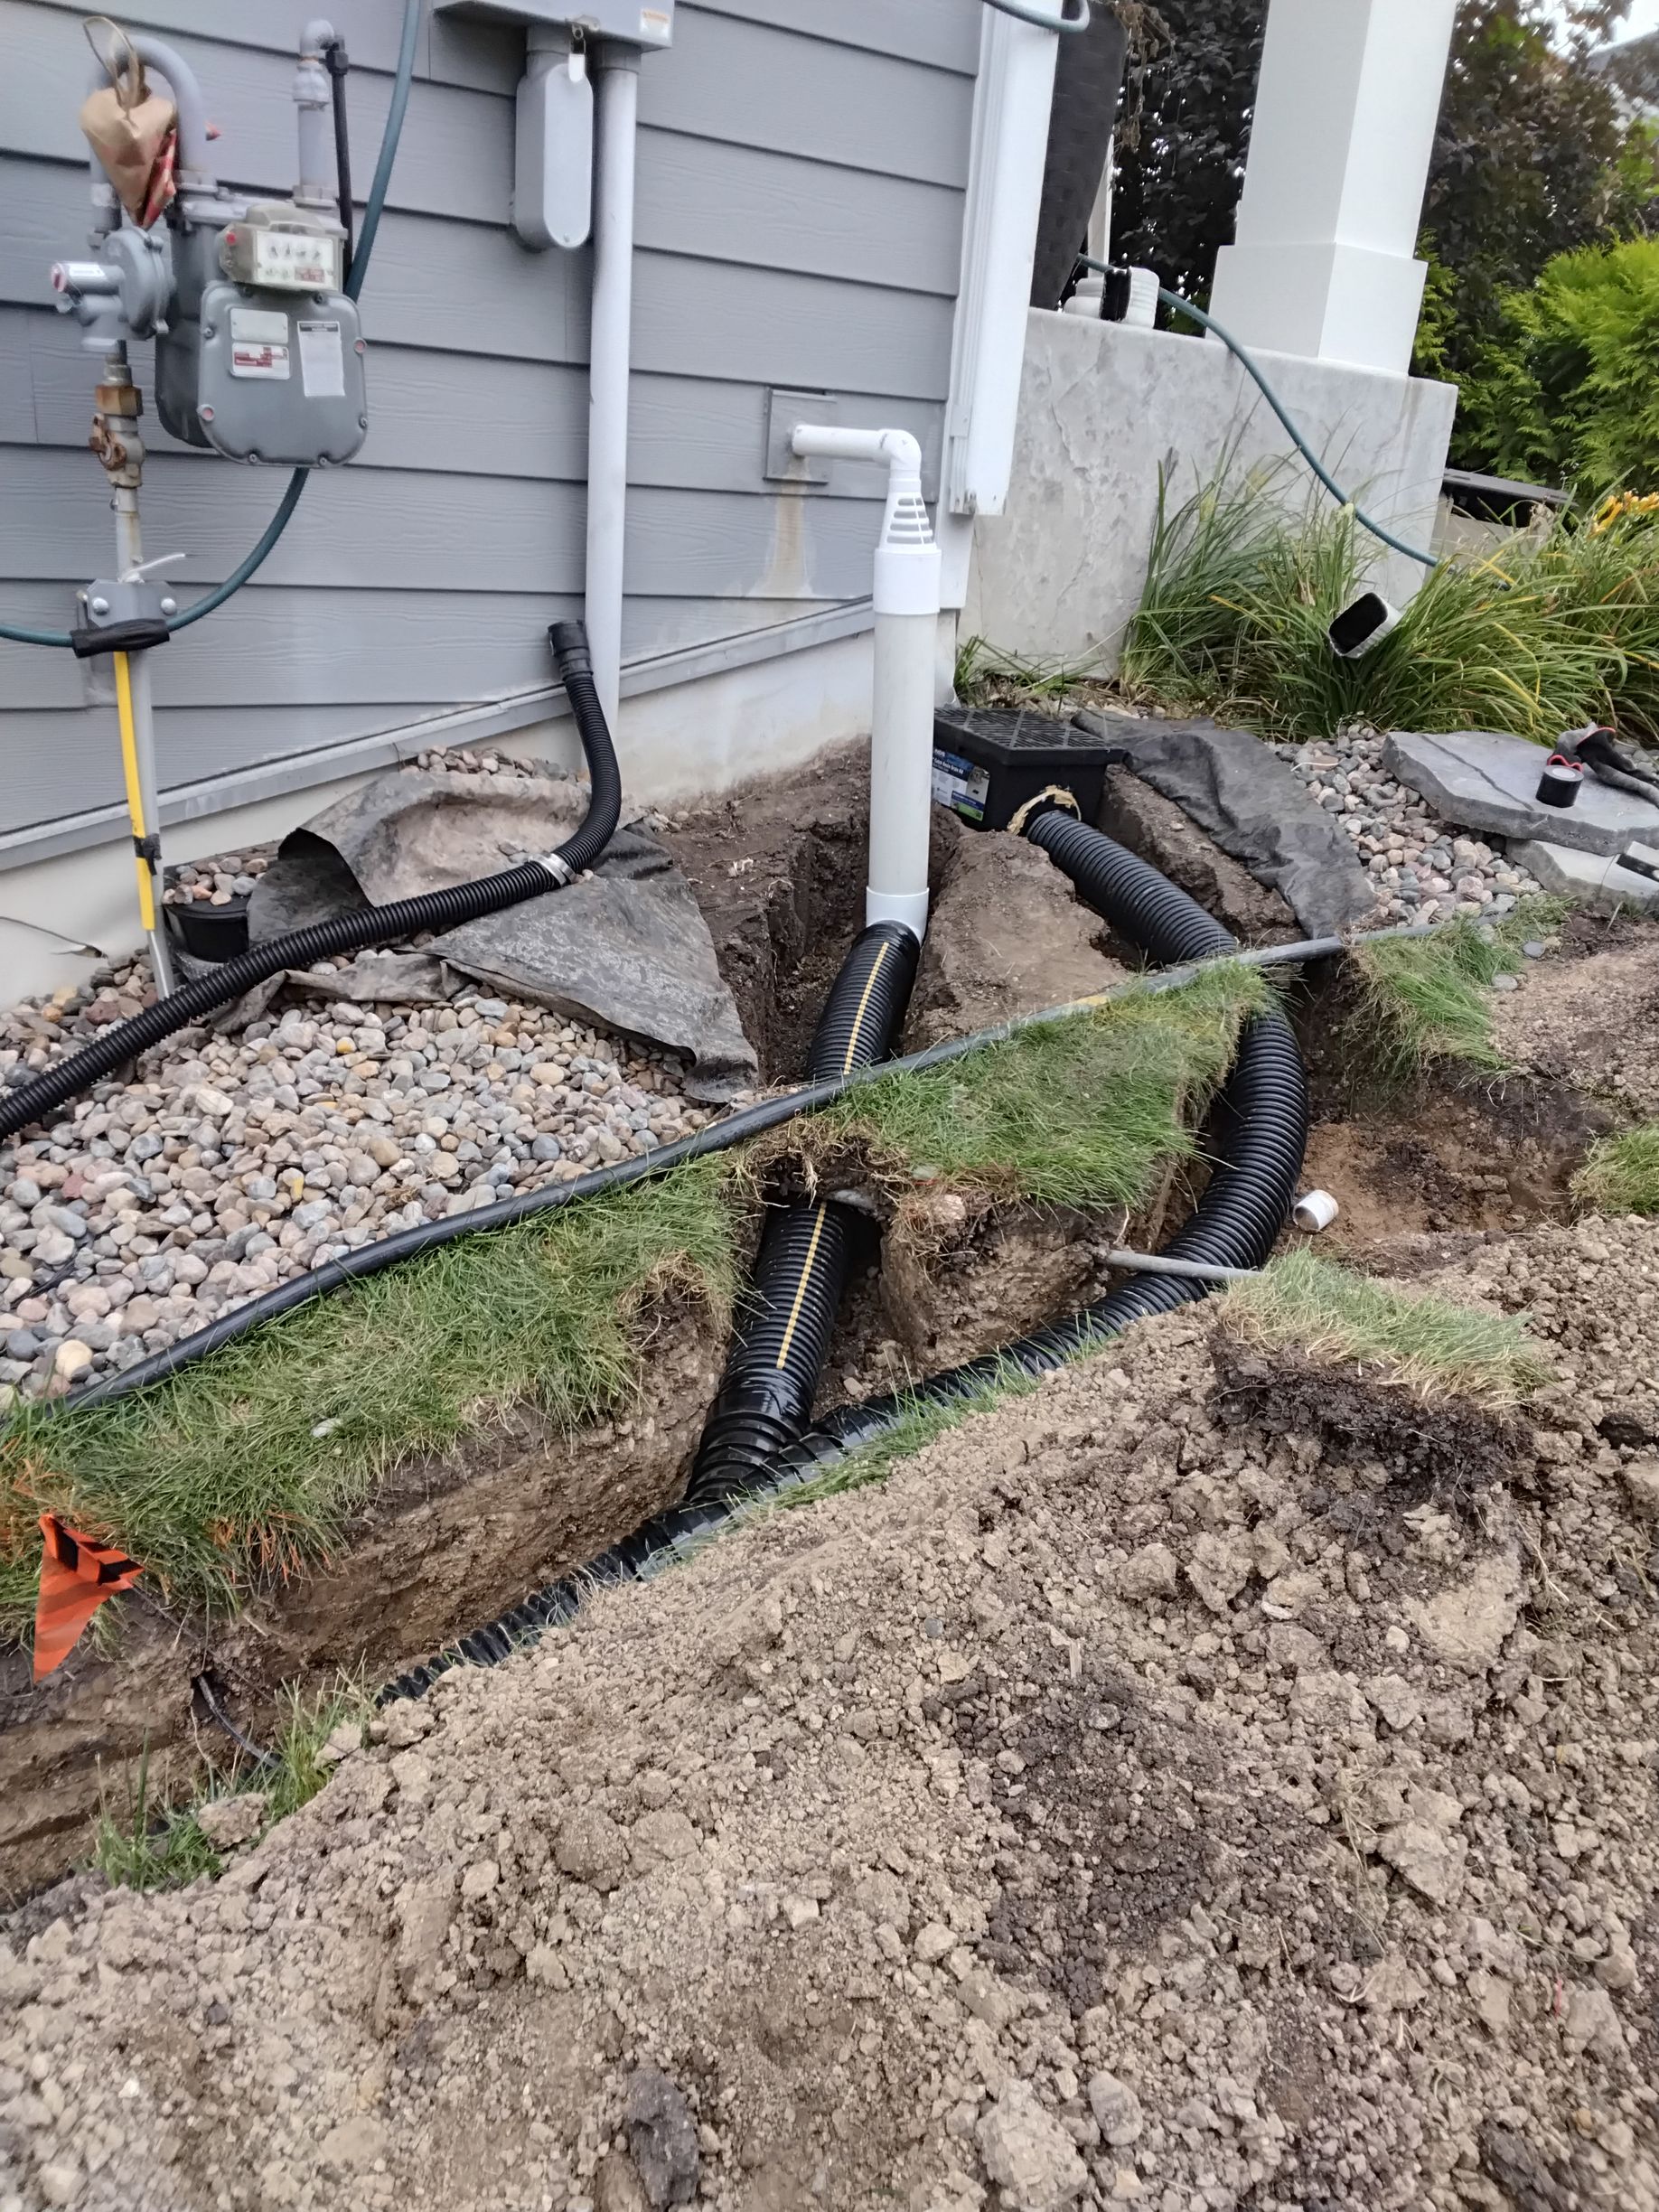
Where All That Water Is Actually Coming From Your backyard stays wet. You've noticed the soggy spots, the mud, maybe some frost heave damage to your patio or fence. You're thinking about French drains. But before you start digging trenches, look up. A huge amount of water hitting your yard isn't coming from rain falling on the lawn. It's coming from your roof. A moderate rainfall on a typical Plymouth home puts hundreds of gallons through your gutter system. Every bit of that water exits through your downspouts. Where it goes from there determines whether you have a drainage problem or not. Then there's your sump pump. Every time it kicks on, it's pushing water out of your basement and into your yard. On a wet property, that pump might run dozens of times a day. All that water has to go somewhere. If your downspouts dump water next to your foundation and your sump pump discharges into a side yard that drains toward your backyard, you're adding water to an already saturated situation. French drains alone might not be enough. You need to manage the sources. The Problem With Surface Discharge Most downspouts in Plymouth end with a splash block or a short extension that dumps water a few feet from the foundation. That's technically moving water away from the house, but not far enough.

