
Rain Garden Construction
Fig 1; Residential Rain Garden
Rain gardens can be sized to handle a specific amount of runoff coming off all or some your properties hard surfaces or they can be sized based on how big of an available space you have. The amount of benefit will vary, but even the smallest bit helps. First, it is important to locate your garden where it will collect the runoff. It will need to be in the vicinity of the spaces and downspouts it will be collecting from and also set at least 10 away from structures. Other design considerations are listed below.
Residential rain gardens are typically designed to hold one inch of runoff from the contributing surface area. We would locate and estimate the square foot size of the surfaces we would want to collect water from, for example 1000 sf of roof, patio, and walks. Then we’d take the square footage measurement and divide by the 6” average raingarden pond depth. For our 1000 sf this comes out to be 167 sf area or roughly a general shape of 17’x10’.
Residential rain gardens are typically designed to hold one inch of runoff from the contributing surface area. We would locate and estimate the square foot size of the surfaces we would want to collect water from, for example 1000 sf of roof, patio, and walks. Then we’d take the square footage measurement and divide by the 6” average raingarden pond depth. For our 1000 sf this comes out to be 167 sf area or roughly a general shape of 17’x10’.
Rain Garden Design Considerations
- Located at least 10 feet from structures to avoid damaging foundations;
- Located less than 30 feet from a downspout;
- Do not locate over utilities or septic system;
- Should not be placed on slopes greater than 12%;
- Side slopes of basin should not exceed 3:1;
- If the on-site soils have low permeability, an amended soil drainage bed should be added to help with infiltration and aerate the soil;
- Placement of excess soil;
- A minimum of 3’ bottom of the excavation to seasonably high-water table in order to maintain water quality and effective hydraulic capacity;
Planting the Rain Garden
A rain garden installation is an opportunity to create a sustainable living community that will change over time and add distinct curb appeal to your landscape. The use of deep-rooted plants helps by up taking water, aerating and improving the soil condition and water intake. Additional benefits occur from, the creation of pollinator habitat, filtration of pesticides and fertilizers, aesthetic quality, and more. Plants should be selected to be placed in the wet, slope and dry (top) zones of the garden. Plants in the wet zone are water tolerating for short periods of time. Many native shrubs, grasses and forbs will work in raingardens and should be given precedence in the design for all of the above reasons.
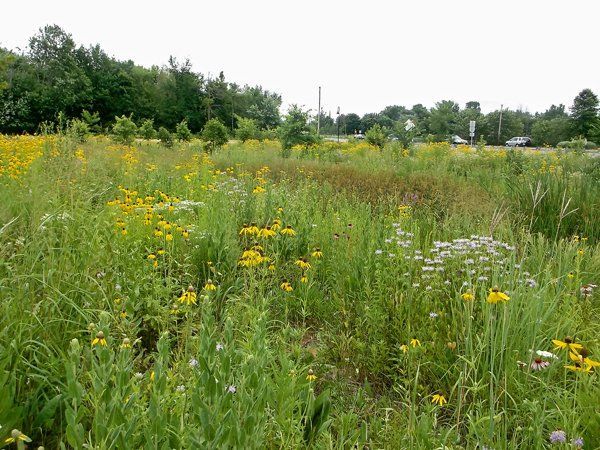
Fig 2; Deep-rooted native plants filter water in rain gardens
There are several ways to plan and plant a raingarden with each one having some advantages depending on what you are looking for. The first method is to seed your raingarden basin using a specific mix of grasses, sedges, and forbs. This creates a more meadow like look and allows for a more diverse mix of plants while also being very cost effective. It does take a more time to establish and looks a little messy until fully established, but only recommended watering and light weeding will be necessary to maintain during that time.
The second method is to install plants that have already been started which can also give you a more manicured look if that is the aesthetic you’re looking for. This is accomplished by planting plugs, which are started plants grown in trays, only a few inches tall. The plugs would be spaced out according to size and location in the garden and more regular weeding and watering is needed in regards to maintenance. Similarly, you can plant even larger plants from quart or gallon pots. Costs rise incrementally with plant size and there is a little more upfront maintenance, but you have a more established, finished looking garden bed sooner.
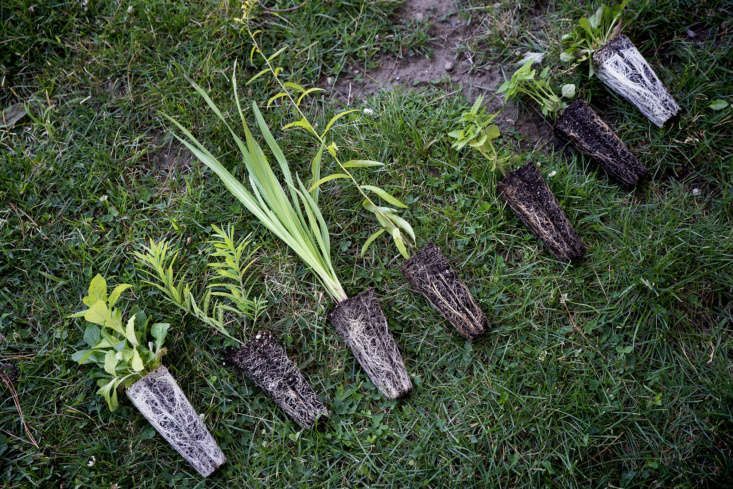
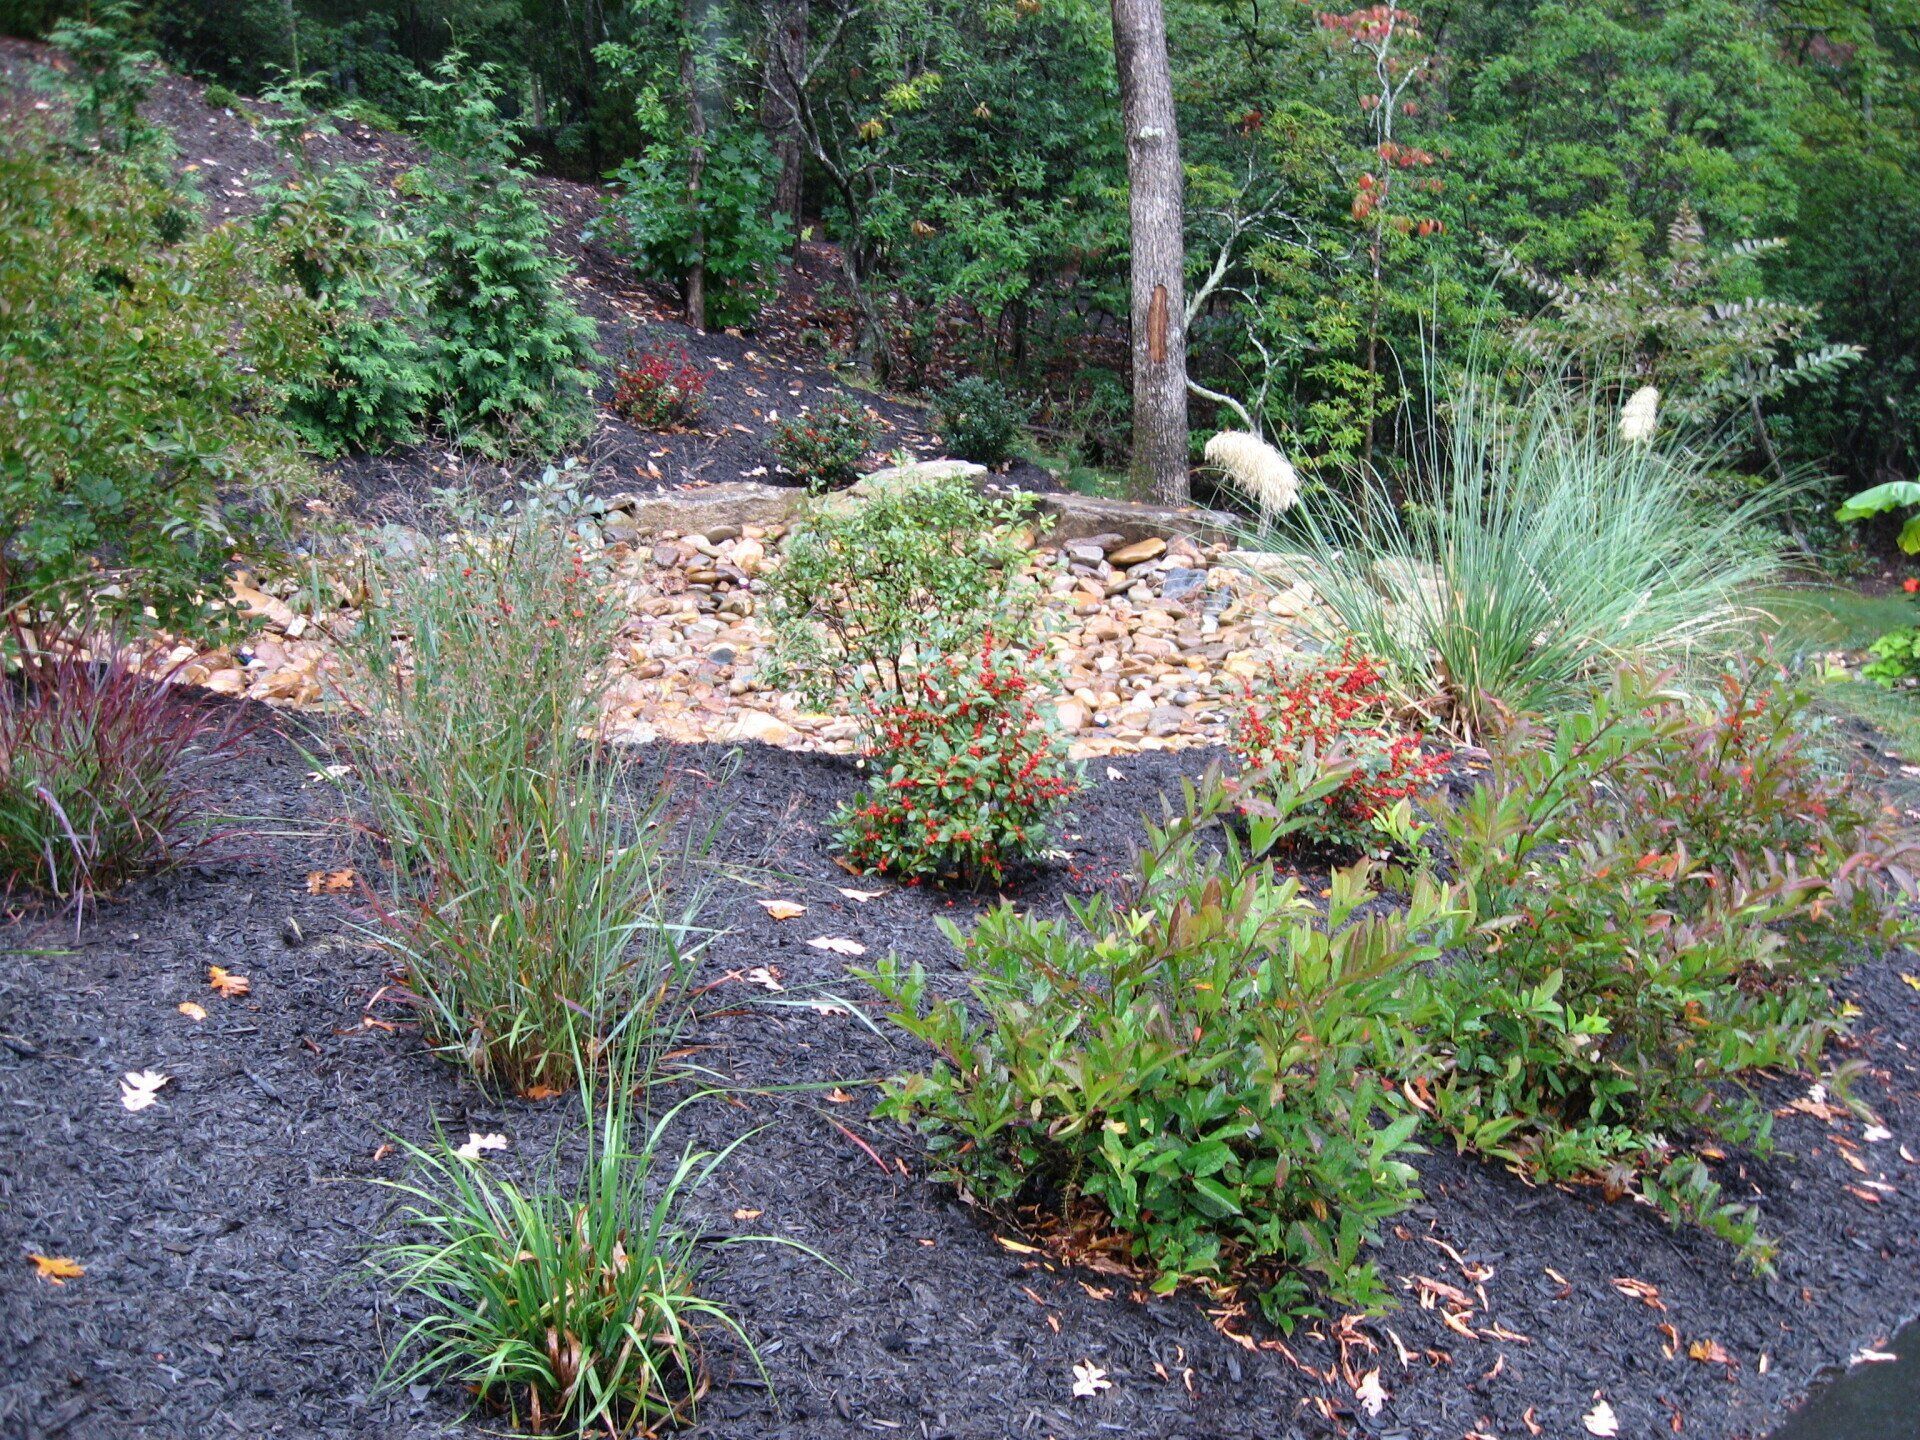
Fig X; Various rain garden plant plugs. Fig X; Individual plants from pots spaced out in the rain garden.
Lastly you can plant in a hybrid combination by installing some larger plants from pots and seeding around them. This installation will give you some more instant appeal in the garden but also allow additional diversity to fill in naturally around it and some cost and maintenance flexibility.
Working with a seed and/or native plant company that specializes in ecological restoration can help you find the right mix of grasses, sedges, and forbs for your project. Additionally, they can add or recommend the right supplementation to provide specific enhancements for pollinators, bees, or songbirds depending on your preference.
Let KG Landscape Management Inc help you with your raingarden project. We have the technical expertise and installation experience to provide you with a great looking raingarden project that will function to benefit your yard for years to come.
Ready to Start on Your Next Project?
Call us at (763) 568-7251 or visit our quote page.

The legendary architect Louis Sullivan coined a phrase that has driven architecture and design ever since: "form follows function." While aesthetics are critical to buildings and landscapes alike, that physical beauty must always remain secondary to the fundamentals of good design. In Shoreview, Minnesota, just outside St. Paul , we encountered a landscape where, unfortunately, function followed form. Here, the realities and principles of effective drainage were downstream of their original builder's aesthetic choices. That meant water from snowmelt and rainfall was streaming into parts of the lawn where it wasn't meant to be. The standing water that had been allowed to collect in the back and side yards was putting a considerable amount of the property out of play. In order to reclaim usable space and rethink the way the land handled water, this Shoreview homeowner entrusted KG Landscape with identifying key issues, presenting potential solutions, and doing the necessary work the client decided upon to restore their lawn.

On the shores of Lake Minnetonka, perhaps the most famous of Minnesota's 10,000 lakes, an Orono, Minnesota homeowner was struggling with a back yard that was becoming more marsh than yard. The yard was a scenic one. The back porch opened up to the top of a small hill, which rolled down toward the lakefront and the boathouse. This flat space between the hill and the water would be ideal for backyard barbecues, some low-stakes games of bocce and badminton, or simply a spot to lay down a towel and get some summer reading done. Instead, this area was too waterlogged to enjoy. The runoff from the hilltop combined with unfavorable soil composition were limiting the use of the yard, closing off space while even diminishing the quality of the turf. How would this homeowner be able to reclaim this unusable land without disrupting the Lake Minnetonka shoreline that made the property so attractive? To find a solution, they turned to KG Landscape.

Can you use compost as lawn fertilizer in Minnesota? Learn how compost feeds turf, how to apply it, and where it fits. Get a free quote.

Organic weed control for Minnesota lawns: what works, what doesn't, and how to manage weeds without harsh chemicals. Get a quote.

Keep your lawn and your pets safe. Pet-safe lawn care tips for Minnesota yards, from products to timing. Get a free quote.

Looking for the best organic lawn fertilizer in Minnesota? See top options, how they feed your turf, and what KG uses. Get a quote.

Is compost a fertilizer? Learn what compost does for your Minnesota lawn, how it differs from fertilizer, and when to use it. Get a quote.

Compost feeds the soil, fertilizer feeds the grass. Learn which your Minnesota lawn needs, when to use each, and how to apply both. Get a quote.

Eco-friendly lawn care tips for Twin Cities yards: cut chemicals, save water, and build healthy soil naturally. Get a free quote.

Simple, proven lawn care tips for Minnesota yards: mowing, watering, feeding, and building healthy soil that lasts. Get a free quote.