Landscape Installation Care Guide
How to Take Care of Your New Landscape Following Installation
Sod
Watering:
Give your new sod 1” if water as soon as install is complete. Water once in the morning and again in the late afternoon/evening for the first two weeks. New sod requires about 2” of water per week for the first 30 days.
You can measure this by placing several flat bottom containers throughout the yard. Avoid foot traffic if possible. After two weeks (14 days), cut back to once-a-day watering in the morning. Do not mow until sod is rooted in. You can test this by tug testing multiple areas to ensure it has rooted in.
Mowing: Once you have determined the sod has rooted in, you can begin to mow. For the first mow, set your mower to the highest level and bag all the clippings. You can mow weekly from this point and mulch your clippings. Avoid removing more than 1/3 the height of the grass.
Fertilizing: A starter fertilizer can be applied right away after sod is installed. You can begin to fertilize your lawn with regular season fertilizers about a month after it has rooted down. Crabgrass preventer and broadleaf herbicides are ok to use in the first season with new sod. In the fall, a winterizer can be applied.
Seed
Watering:
Unlike sod, there isn’t a specific amount of water that needs to be applied. The soil must be kept moist in order for the seed to germinate. To keep the soil moist, water multiple times such as around 10 am, 2pm, and again at 6pm. This may have to be adjusted depending on how dry conditions are or if you have sandier soil. Soak the seed area thoroughly, but not to the point of puddling. When the sprouts reach 2-3 inches you can begin to water every other day.
Mowing: If any matting was applied during seeding, that should be carefully removed once the grass grows through by about 3”. Wait until grass has reached 3.5” inches in height before your first mowing and mow to a height of 3” inches. It takes approximately 6 weeks to reach this height.
Fertilizing: If a starter fertilizer was applied with your seed you should wait about 4 weeks before applying any seasonal fertilizers. Avoid crabgrass and weed prevention fertilizers until lawn is fully established as they inhibit seed germination. Broadleaf herbicide should be used sparingly on newly established seed as it can be harsh on young grass.
General: Young grass will continue to grow in and fill out for months after the seed germinates. Once a seed germinates, 2 blades become 4, 4 become 8, and so on as it becomes established and the roots grow stronger and deeper. Seeding a lawn is not a set it and forget it situation. Be patient, continue to love (water) and care (fertilizer/weed control) for your new grass and you will be rewarded!
Shrubs and Trees
Watering:
Watering your plant material is very important. However, there are a few factors that will determine how much water is needed and how frequently you should be watering. The two primary factors are: weather conditions and soil conditions.
Check soil conditions before watering to determine if water is needed. If the soil is dry at 4 to 7 inches deep, you should apply water. Generally, sandy soils will need moisture more often than any other type of soil, but always check before watering. Water thoroughly so moisture penetrates the soil. Plant roots will seek out moisture below the surface. Deeper roots enable plants to absorb moisture from farther below the surface, even when top soil dries out. With deeper root systems you get stronger, healthier plants.
Avoid frequent, light watering. Roots go where the water is. Frequent, light watering keeps the moisture near the surface and causes shallow root systems that are more vulnerable to weather conditions, especially heat and heavy rain.
Fertilizing : Fertilize established plant materials every few years. Apply fertilizer in the fall after the leaves have dropped, or early in the spring. Never apply fertilizer in the late summer . This promotes new growth, which makes the make the plant susceptible to winter damage by not hardening. To prevent the fertilizer from drawing too much moisture away from plants, water both before and after fertilizing.
Pruning: When planting new plant material, always cut any limbs that are damaged or rubbing with others. Always make the cut at the base of the branch collar. Never leave a stub extending off the collar. An open stub - like an open wound - makes plant vulnerable to disease and insects.
Generally, pruning should be done in late winter or early spring when the plant is dormant. But there are exceptions to the rules. Practice tree TLC. Proper pruning builds strong, healthy trees that resist disease and are less vulnerable to damage from high winds.
Winter Rabbit and Deer Protection: rabbits and deer can damage just about any tree or shrub when they are hungry enough. They seam to prefer the bark of younger trees, which makes protection of newly planted trees and shrubs very important. When feeding in the winter, rabbits particularly tend to eat the bark off the bases of trees and shrubs, girdling the tree tree or shrub, which often times completely Kills the tree or the branches of the shrub that they damage. A combination of trunk protection, chicken wire fencing and completely covering/wrapping in burlap are common methods of preventing winter damage from rabbits and deer.
KG landscape highly recommends that you take steps to protect your newly planted trees and shrubs from rabbit damage .
We recommend that you purchases and install plastic or wire trunk protection for new trees that's at least 36"-48" tall for the first (3-5) years at least, with the most important season for protection being winter. To protect shrubs during the winter time, we recommend chicken wire cages around the shrubs at least 24"-36" tall.
Perennials
Watering:
Soak the plants 3”-4” deep into the soil upon installation. In general perennials require 1” of water per week to promote strong root growth and should be watered at the base of the plants in the morning. More frequent watering may be needed if plants are showing signs of wilt or drooping in the morning during hotter/drier times. Prairie grasses/flowers and Sedums often require less frequent watering.
Fertilizing: Fertilize perennial plants lightly twice a year. Once, in the early spring when new growth begins to emerge, and again in the early fall.
In addition, anytime you cut a perennial back during the active growing season, a feeding is usually beneficial. This feeding will provide the plant with an extra boost to produce new foliage and possibly another flush of blooms.
Pruning:
Deadheading spent flower heads before seeding sets in promotes additional flowing. Remove the entire head, not just the flowing petals. Perennials can be divided after 3-5 years to improve appearance.
https://extension.umn.edu/planting-and-growing-guides/dividing-perennials
Annuals
Watering
: Soak the base of plants 2”-3” deep into the soil upon installation and every other day for the first 2 weeks and then as needed in the weeks beyond.
Fertilizing : 6-8 weeks after planting, if the appearance of annuals is fading, a fertilizer application can be made. Pruning : Cut faded flowers from annuals to promote additional growth
Fertilizing : 6-8 weeks after planting, if the appearance of annuals is fading, a fertilizer application can be made. Pruning : Cut faded flowers from annuals to promote additional growth
How to Care for your Landscape Beyond Installation
General Care
- Weed your garden regularly.
- Use mulch to keep the soil moist and cut down on weeds.
- Install new mulch every year or every other year.
- Water in the morning, before the heat of the day sets in.
- Soak the ground with water so moisture reaches the roots—don’t just water the surface.
- Deadhead flowering plants in the spring or fall to encourage a longer blooming period
- Upper Midwest Gardening Calendar
Perennials
- Cut down flowering perennials in late fall or early spring to promote proper growth.
- Many ornamental grasses provide great fall and winter interest in the landscape and can be cut back in the spring.
- Warm season grasses can be cut back to a couple of inches above the ground. These include Bluestem, Dropseed, Panicum, Pennisetum, Miscanthus, Northern Seas Oats, and Hakone grass varieties.
- For cool season grasses, leave 1/4 of the plant in place. These include Fescues, Oat Grass, Feather Reed Grass, Moor Grass, Sedges, and Tufted Hair Grass varieties.
- Plant bulbs in fall for spring growth (be sure to plant them facing up!).
- Fertilize when appropriate.
- Divide in the spring, every 3-4 years.
Annuals
- Plant annuals after the threat of frost has passed. Generally, for the Twin Cities metro area , this will be late April to mid-May. The threat for frost in northern Minnesota could last until the end of May.
- Fertilize when appropriate. We recommend a product called ‘Osmicote’ but there are a wide variety of brands and products on the market.
- It is possible to over water these plants so watch the water amount the first few times you water.
Seasonal Maintenance Checklist
Fall
- Keep watering your lawn and shrubs throughout the fall months or until the first hard freeze . The plant material needs moisture to help them survive the dry fall season.
- Use high nitrogen fertilizer in late fall when the weather is cool. This will help ensure a lush green lawn in the spring.
- Rake and mow any leaves that fall on the ground. Large amounts of leaves left on your lawn and gardens will create mildew in the spring (and a soggy mess).
- Cover tea and hybrid roses with mulch or straw to protect them from winter freeze and winds.
- Mow lawn to 2 inches to prevent snow mold.
- Install your Winter Rabbit/deer protection around young trees and all shrubs you wish to protect
Winter
- Oaks, honey-locusts, crabapples, pears, mountain ash, hawthorns and most non-flowering trees are best pruned in February. However, maple, walnut and birch trees can also be pruned in late spring/early summer after all their leaves have come in to reduce sap bleeding.
- Prune evergreen shrubs and yews late winter/early spring before new growth begins.
- Keep evergreens and shrubs free of heavy snow.
- If deep snow allows rabbits to feed above the height of your winter rabbit protection, add chicken wire, cages or burlap higher up to prevent damage.
Spring
- Prune shrubs grown primarily for their foliage rather than showy flowers in the spring before growth begins. These include alpine currant, barberry, burning bush, dogwood, honeysuckle, ninebark, and sumac.
- De-weed mulch beds and perennial gardens.
- Cut back perennials to new growth or mulch line.
- Apply preen to all mulch beds once de-weeding is complete.
- Top-dress beds with new mulch to give a fresh appearance.
- Fertilize trees.
Late Spring/Early Summer
- Prune flowering trees and shrubs such as azalea, chokeberry, chokecherry, plum, cherry, forsythia, lilac, magnolia, and early blooming spirea after they bloom.
Ready to Start on Your Next Project?
Call us at (763) 568-7251 or visit our quote page.
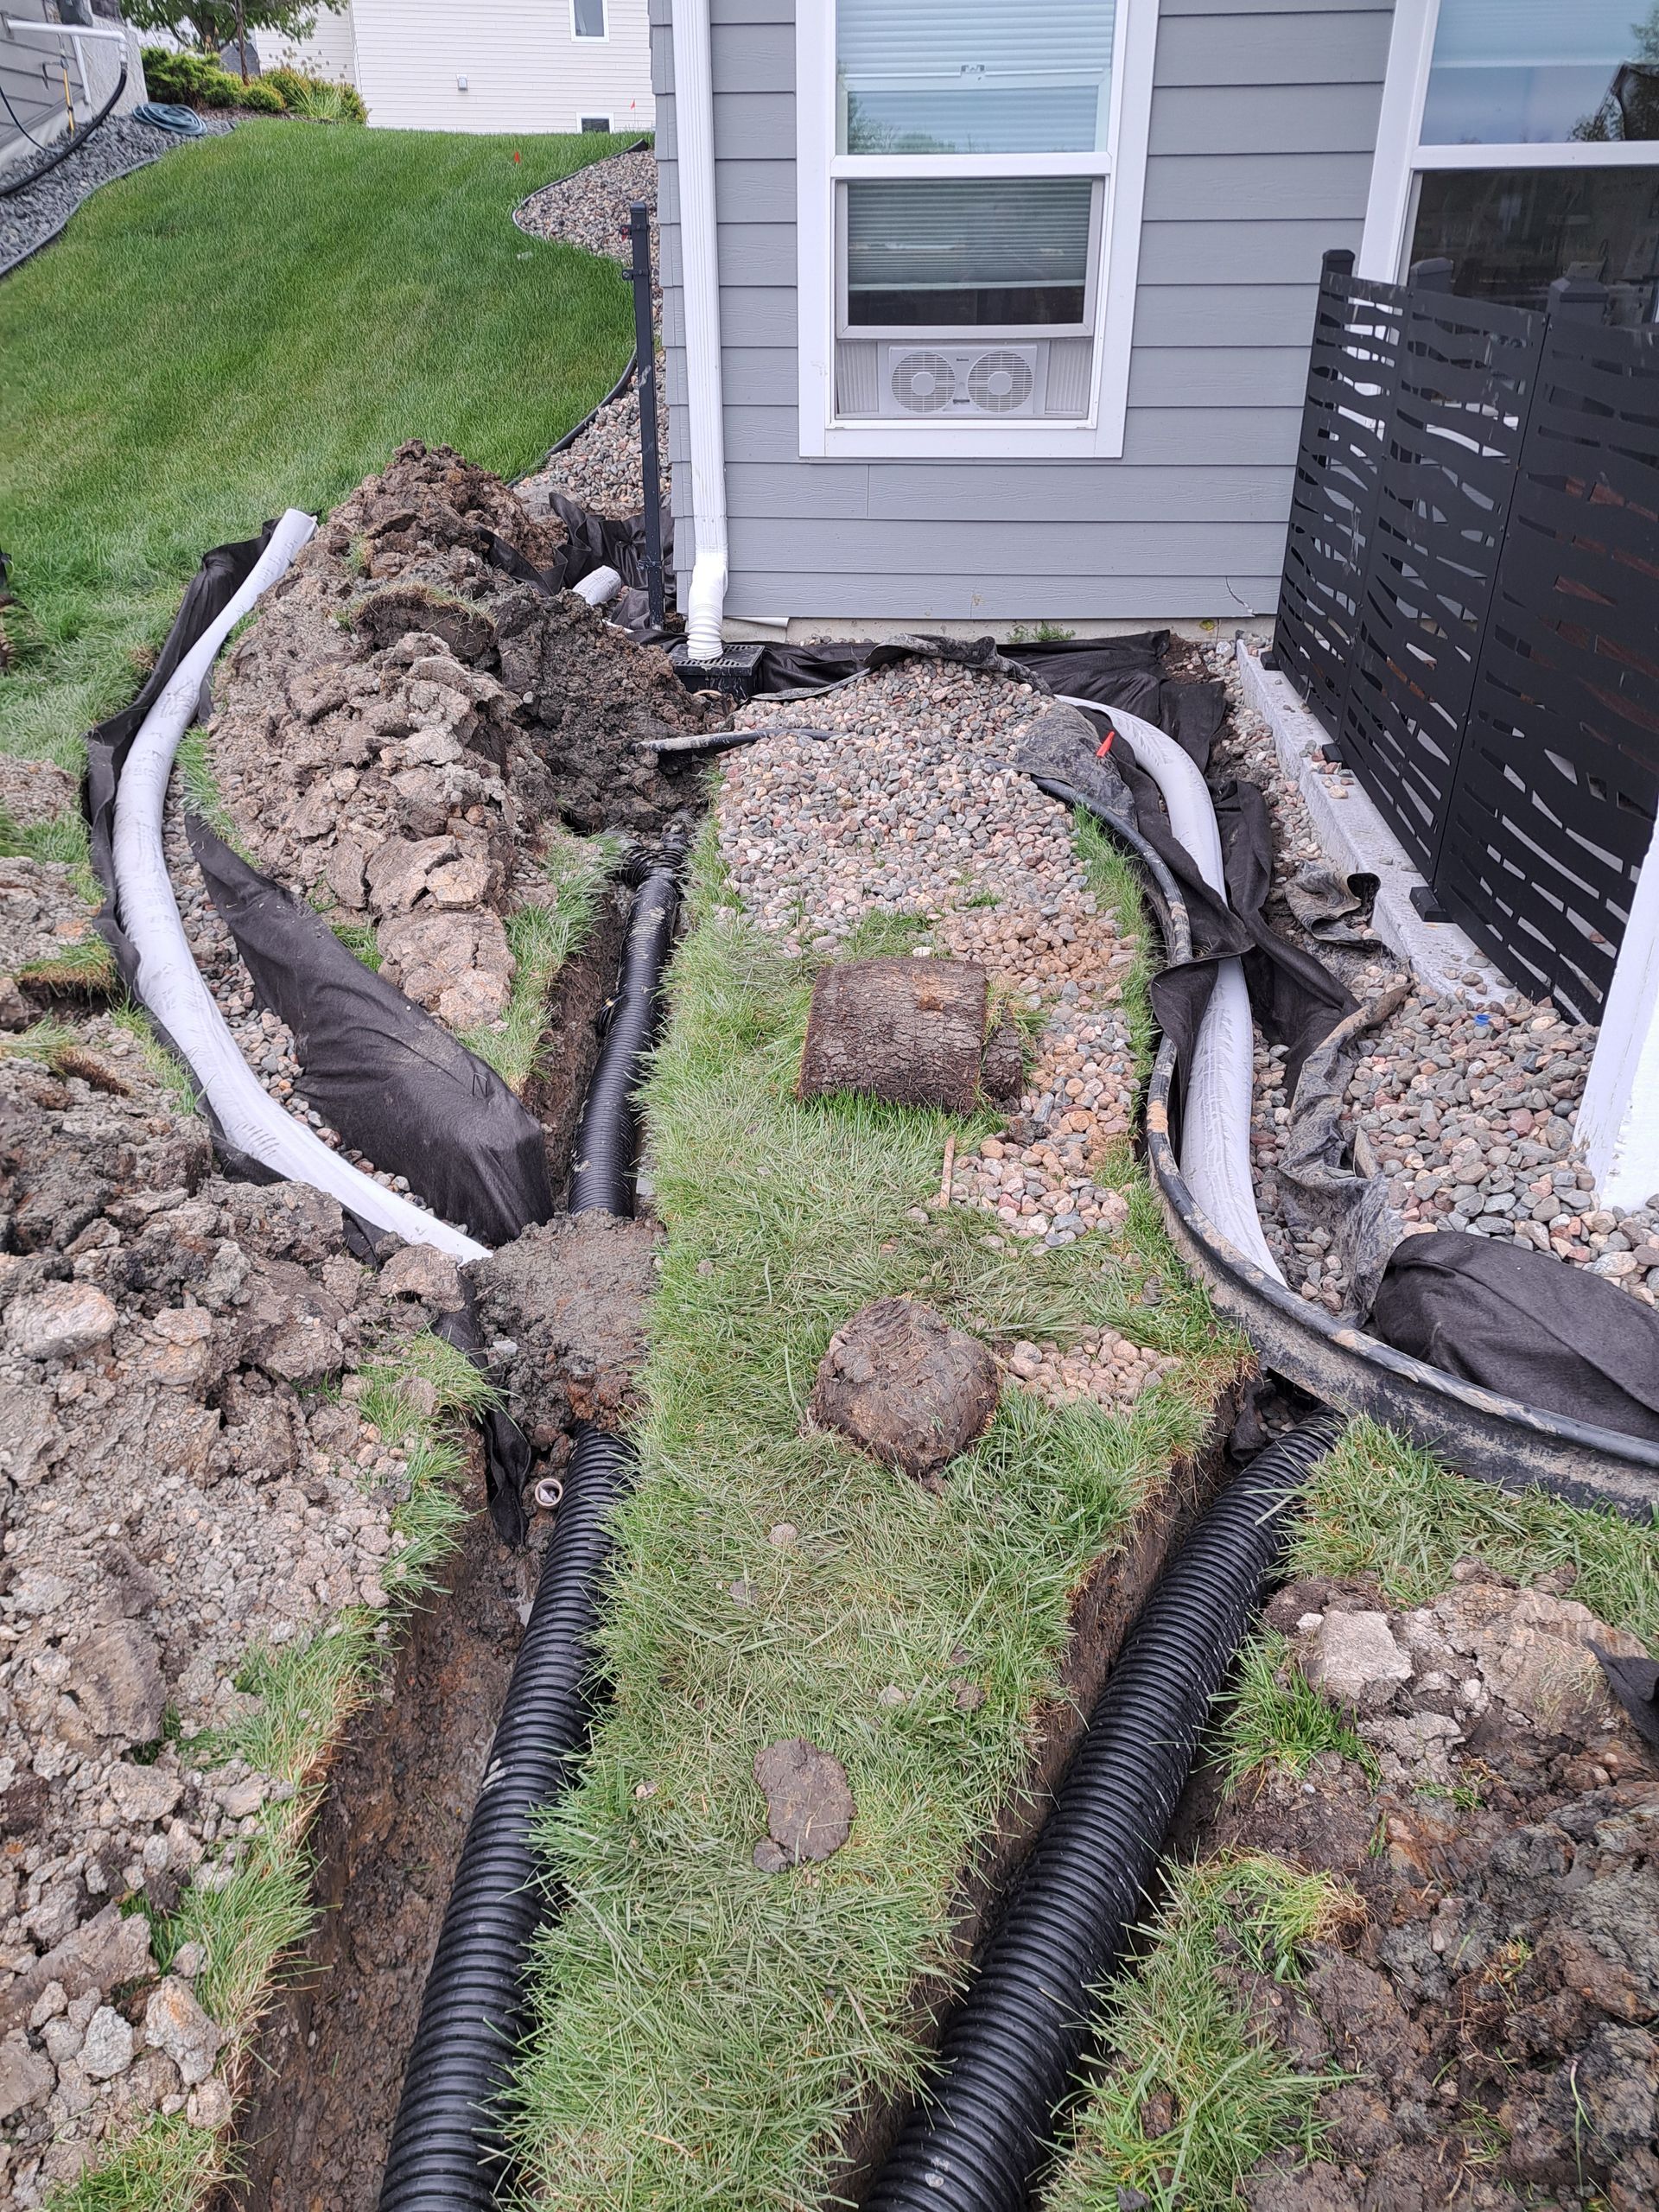
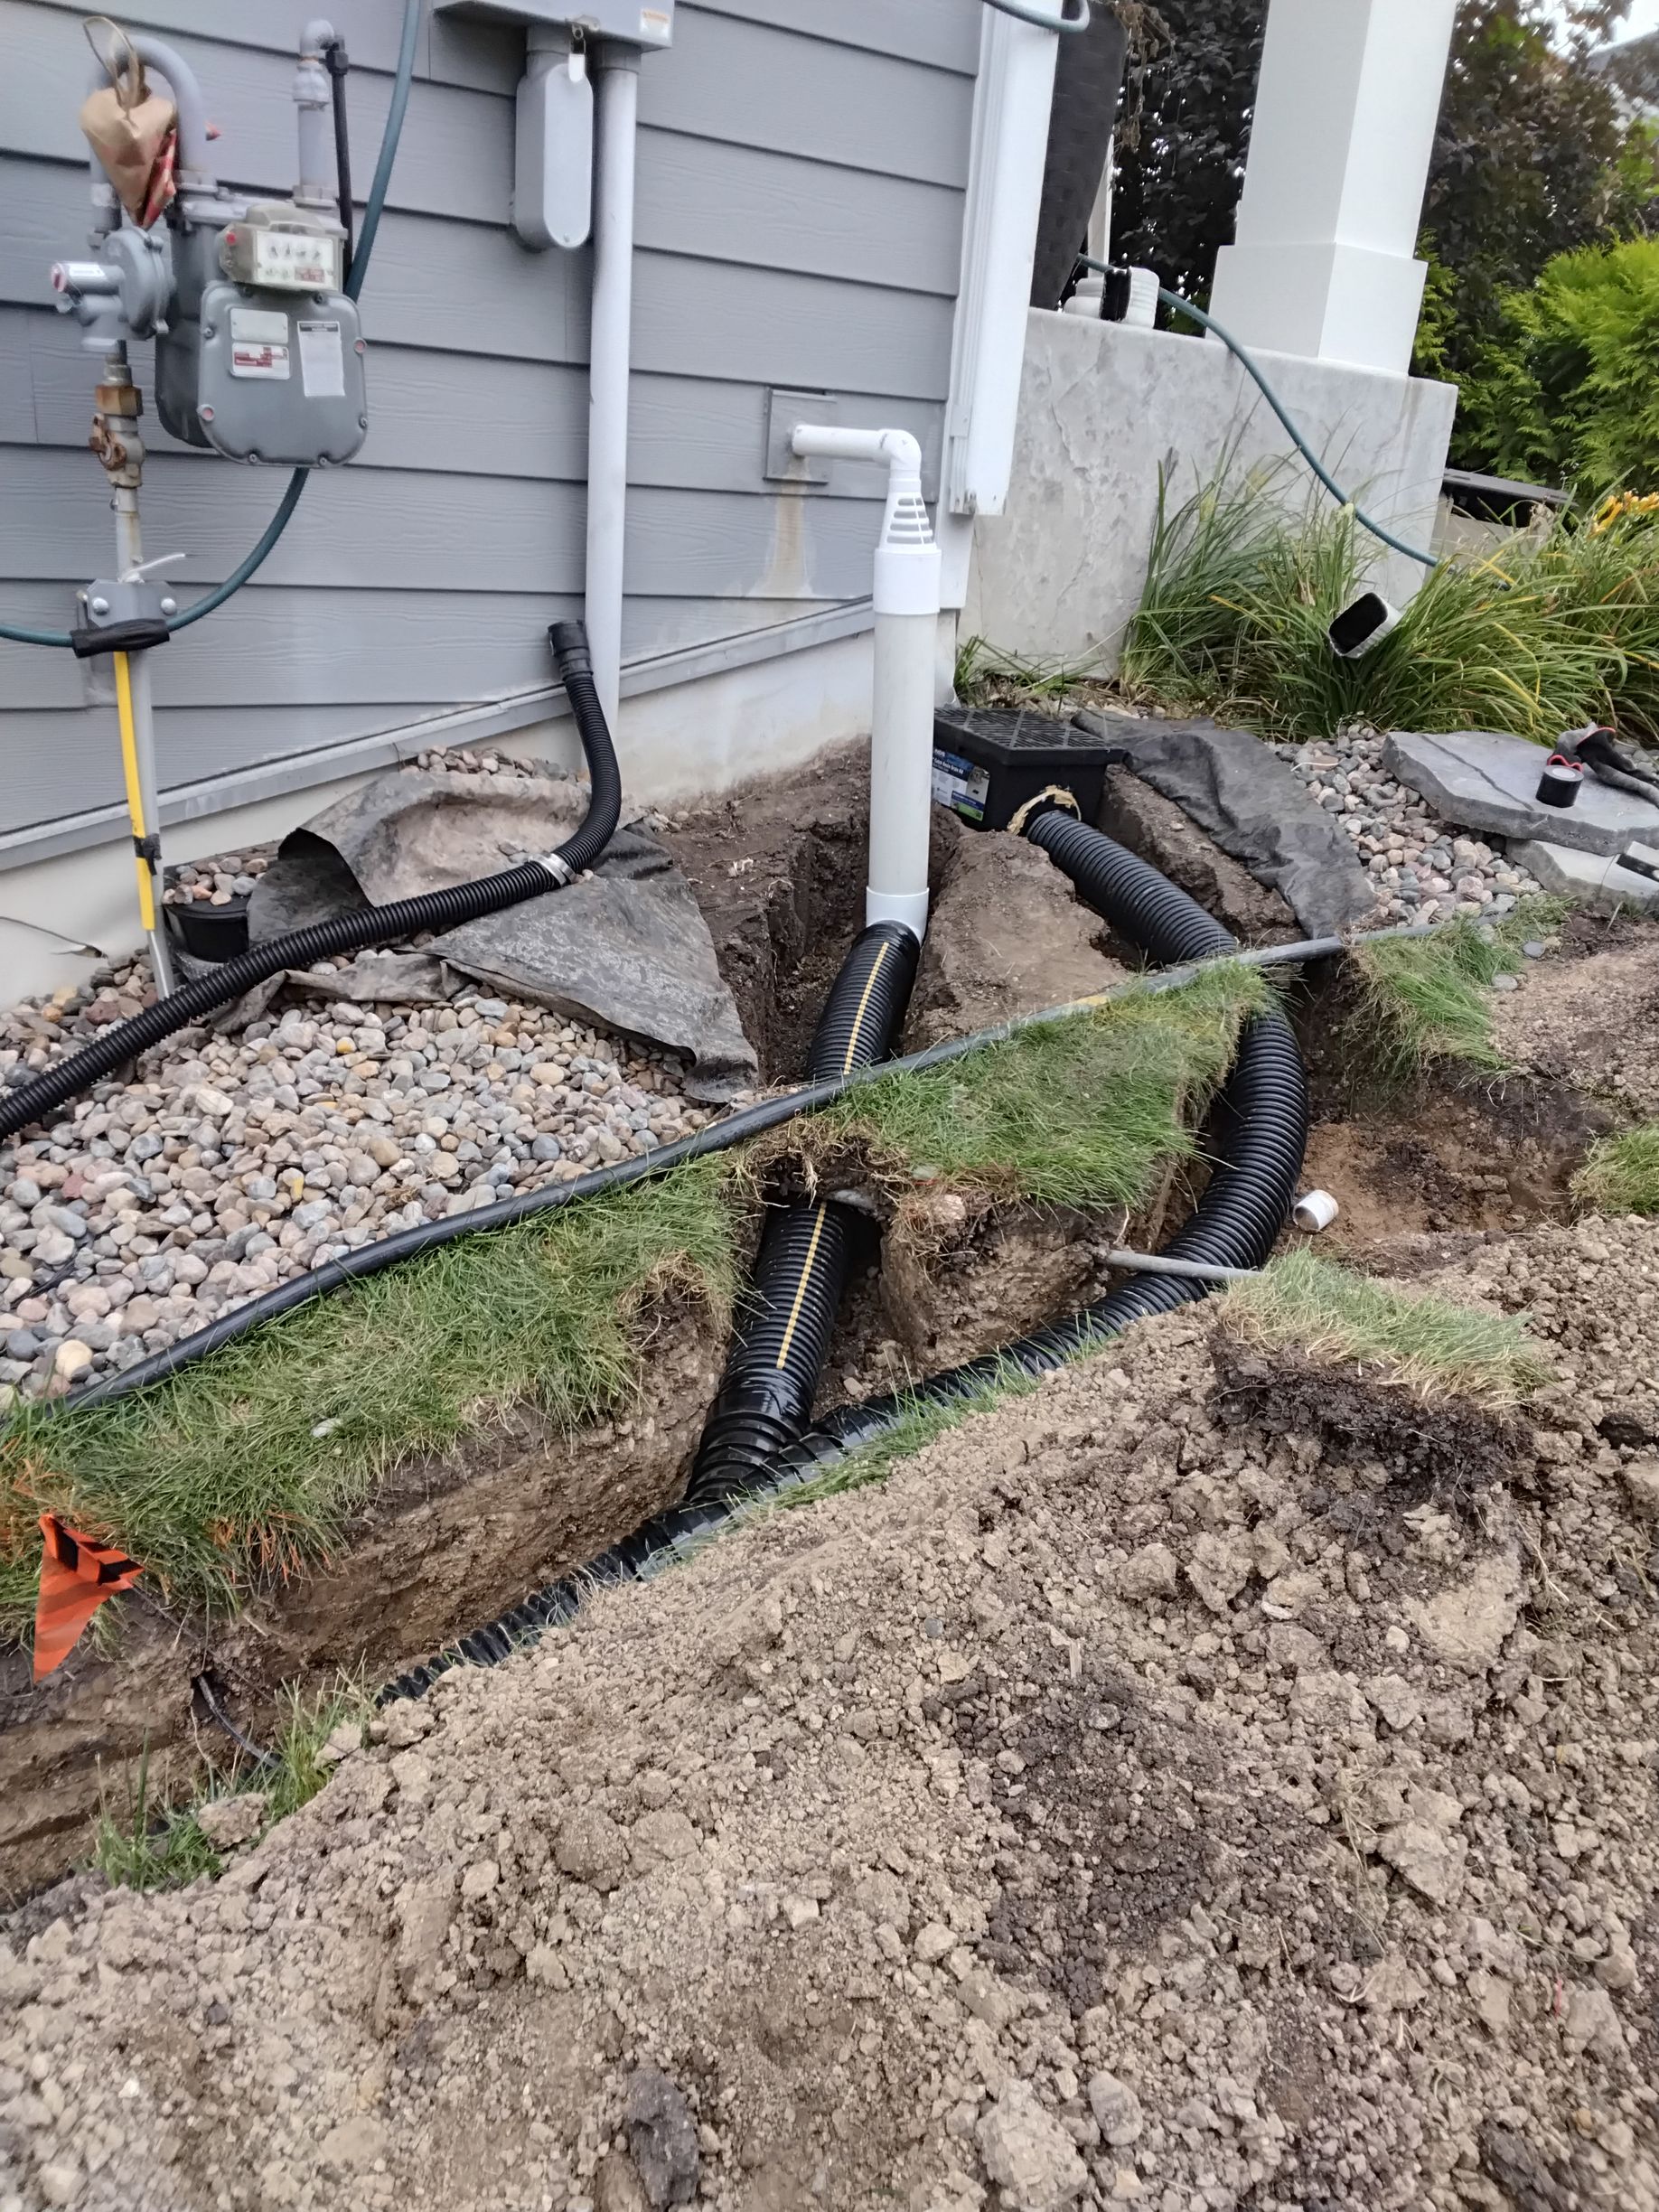
Where All That Water Is Actually Coming From Your backyard stays wet. You've noticed the soggy spots, the mud, maybe some frost heave damage to your patio or fence. You're thinking about French drains. But before you start digging trenches, look up. A huge amount of water hitting your yard isn't coming from rain falling on the lawn. It's coming from your roof. A moderate rainfall on a typical Plymouth home puts hundreds of gallons through your gutter system. Every bit of that water exits through your downspouts. Where it goes from there determines whether you have a drainage problem or not. Then there's your sump pump. Every time it kicks on, it's pushing water out of your basement and into your yard. On a wet property, that pump might run dozens of times a day. All that water has to go somewhere. If your downspouts dump water next to your foundation and your sump pump discharges into a side yard that drains toward your backyard, you're adding water to an already saturated situation. French drains alone might not be enough. You need to manage the sources. The Problem With Surface Discharge Most downspouts in Plymouth end with a splash block or a short extension that dumps water a few feet from the foundation. That's technically moving water away from the house, but not far enough.

